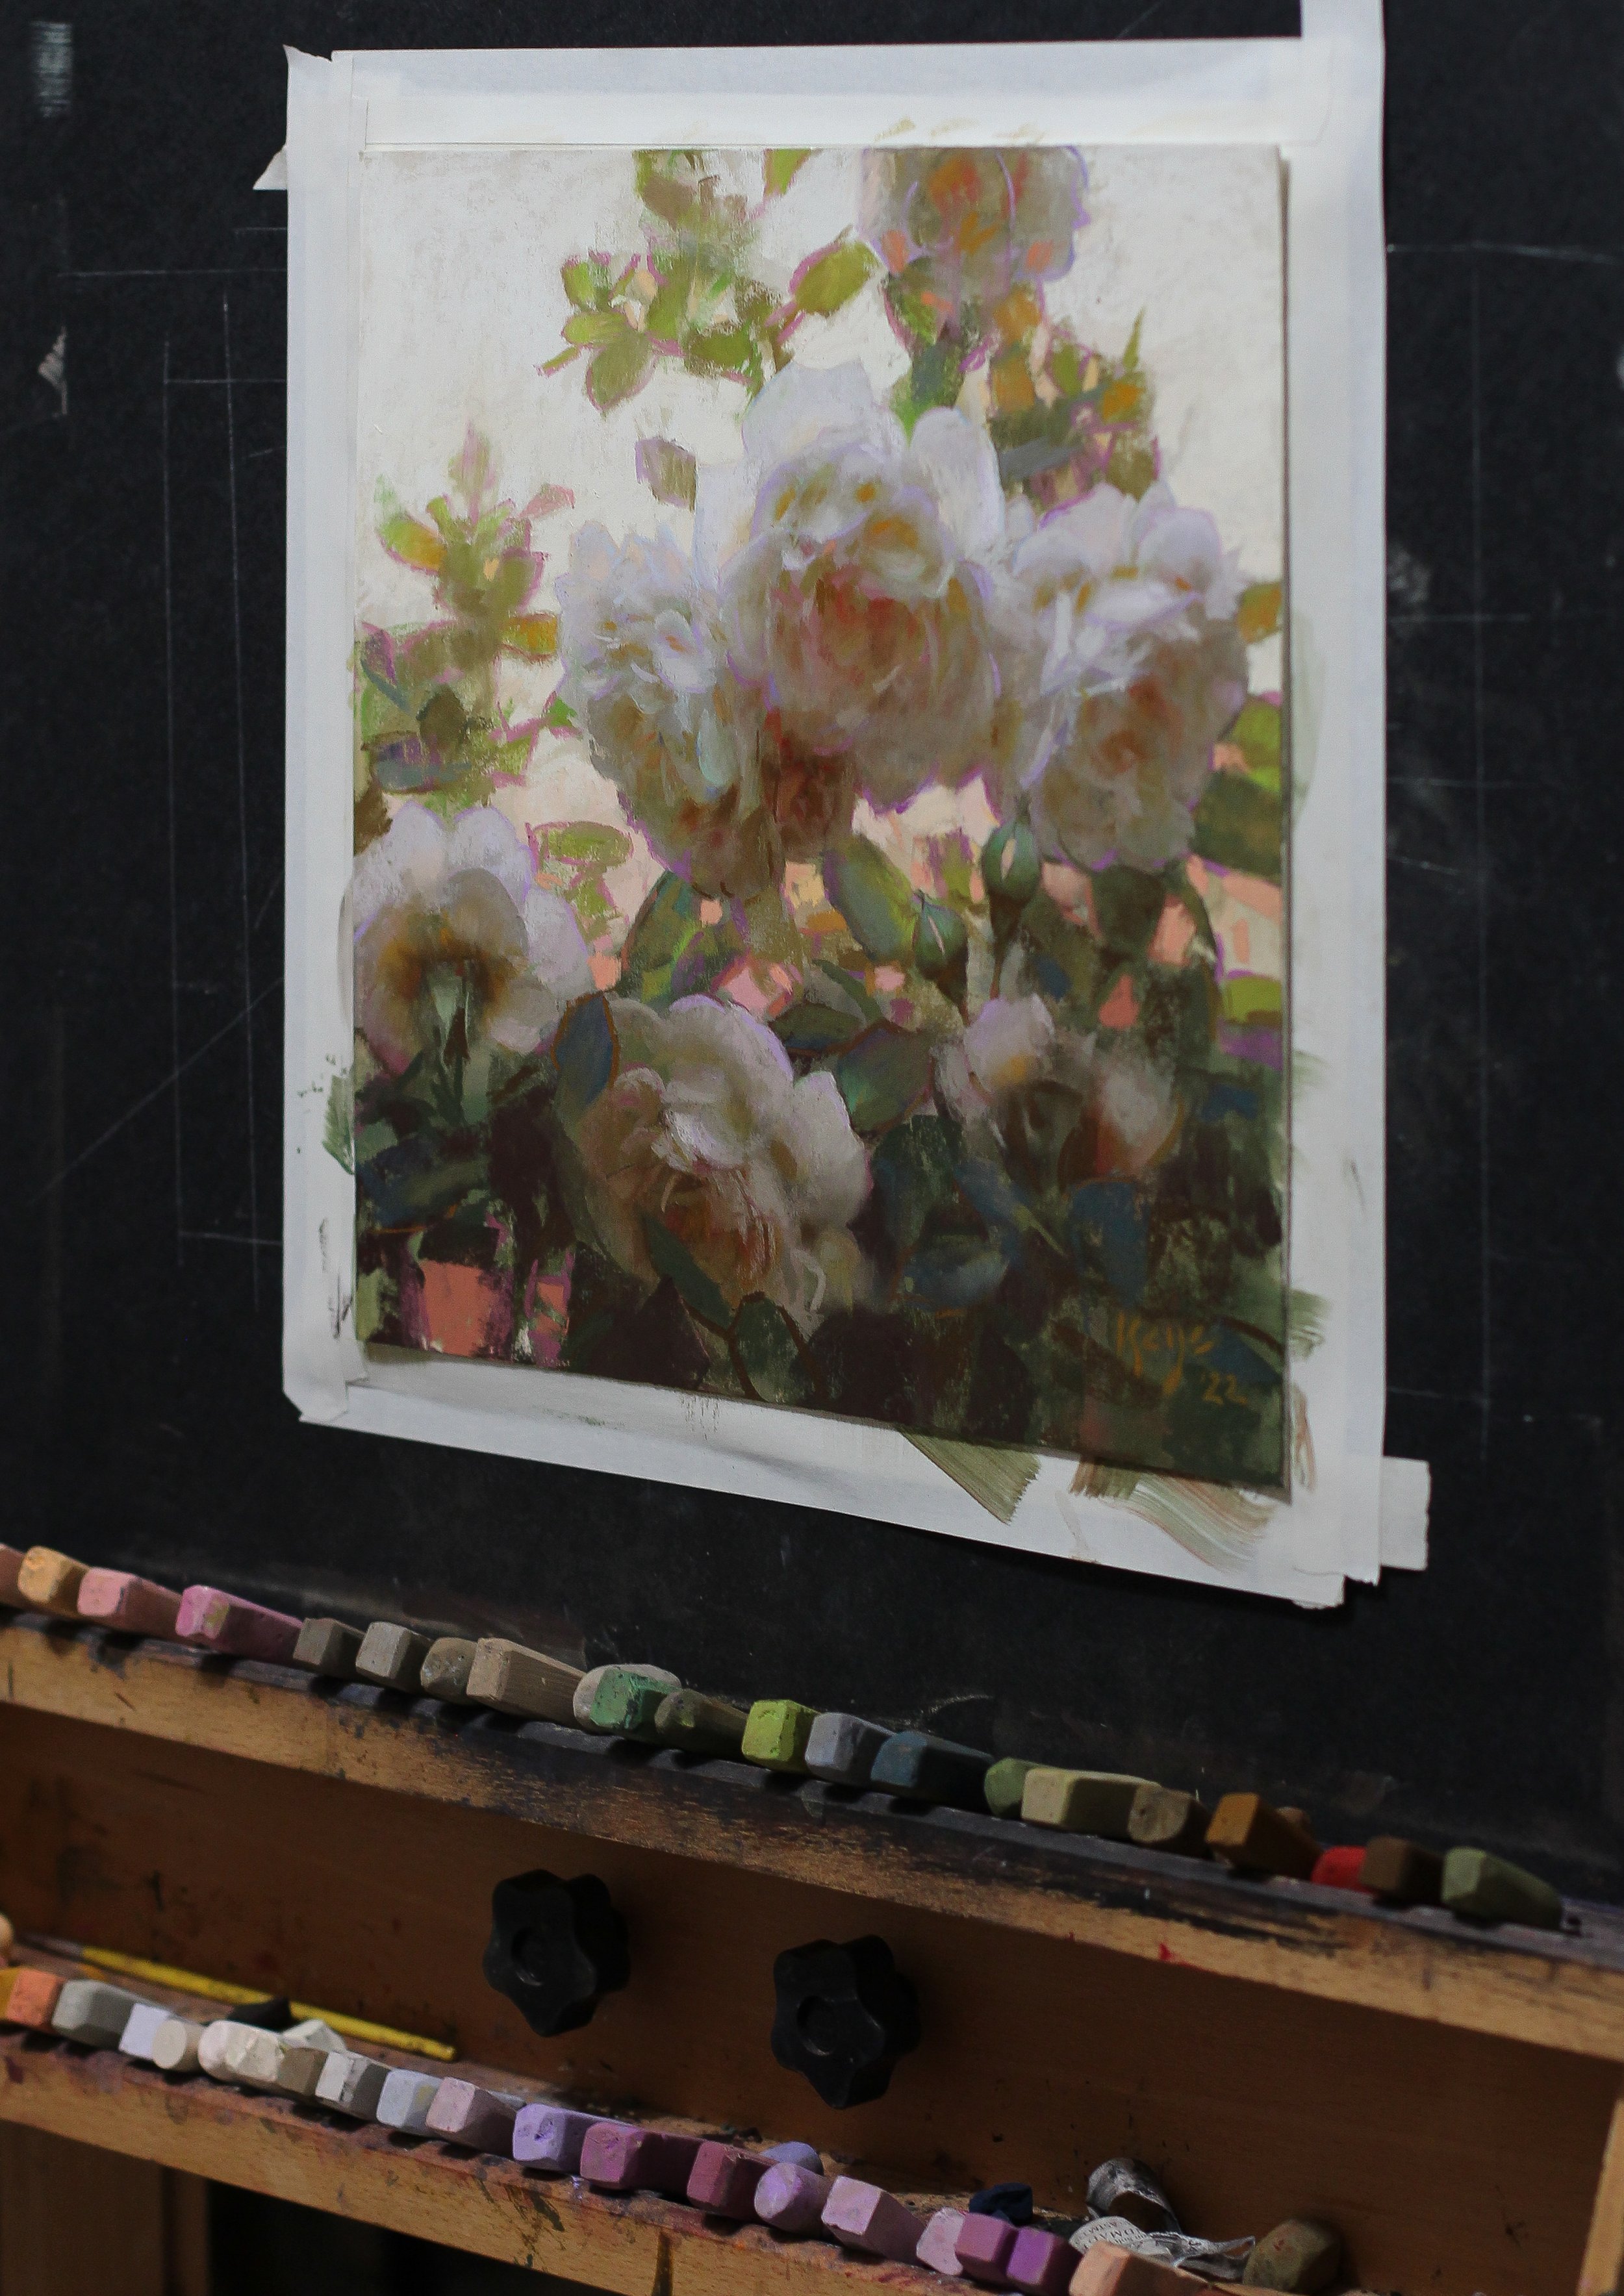
STEP 1.
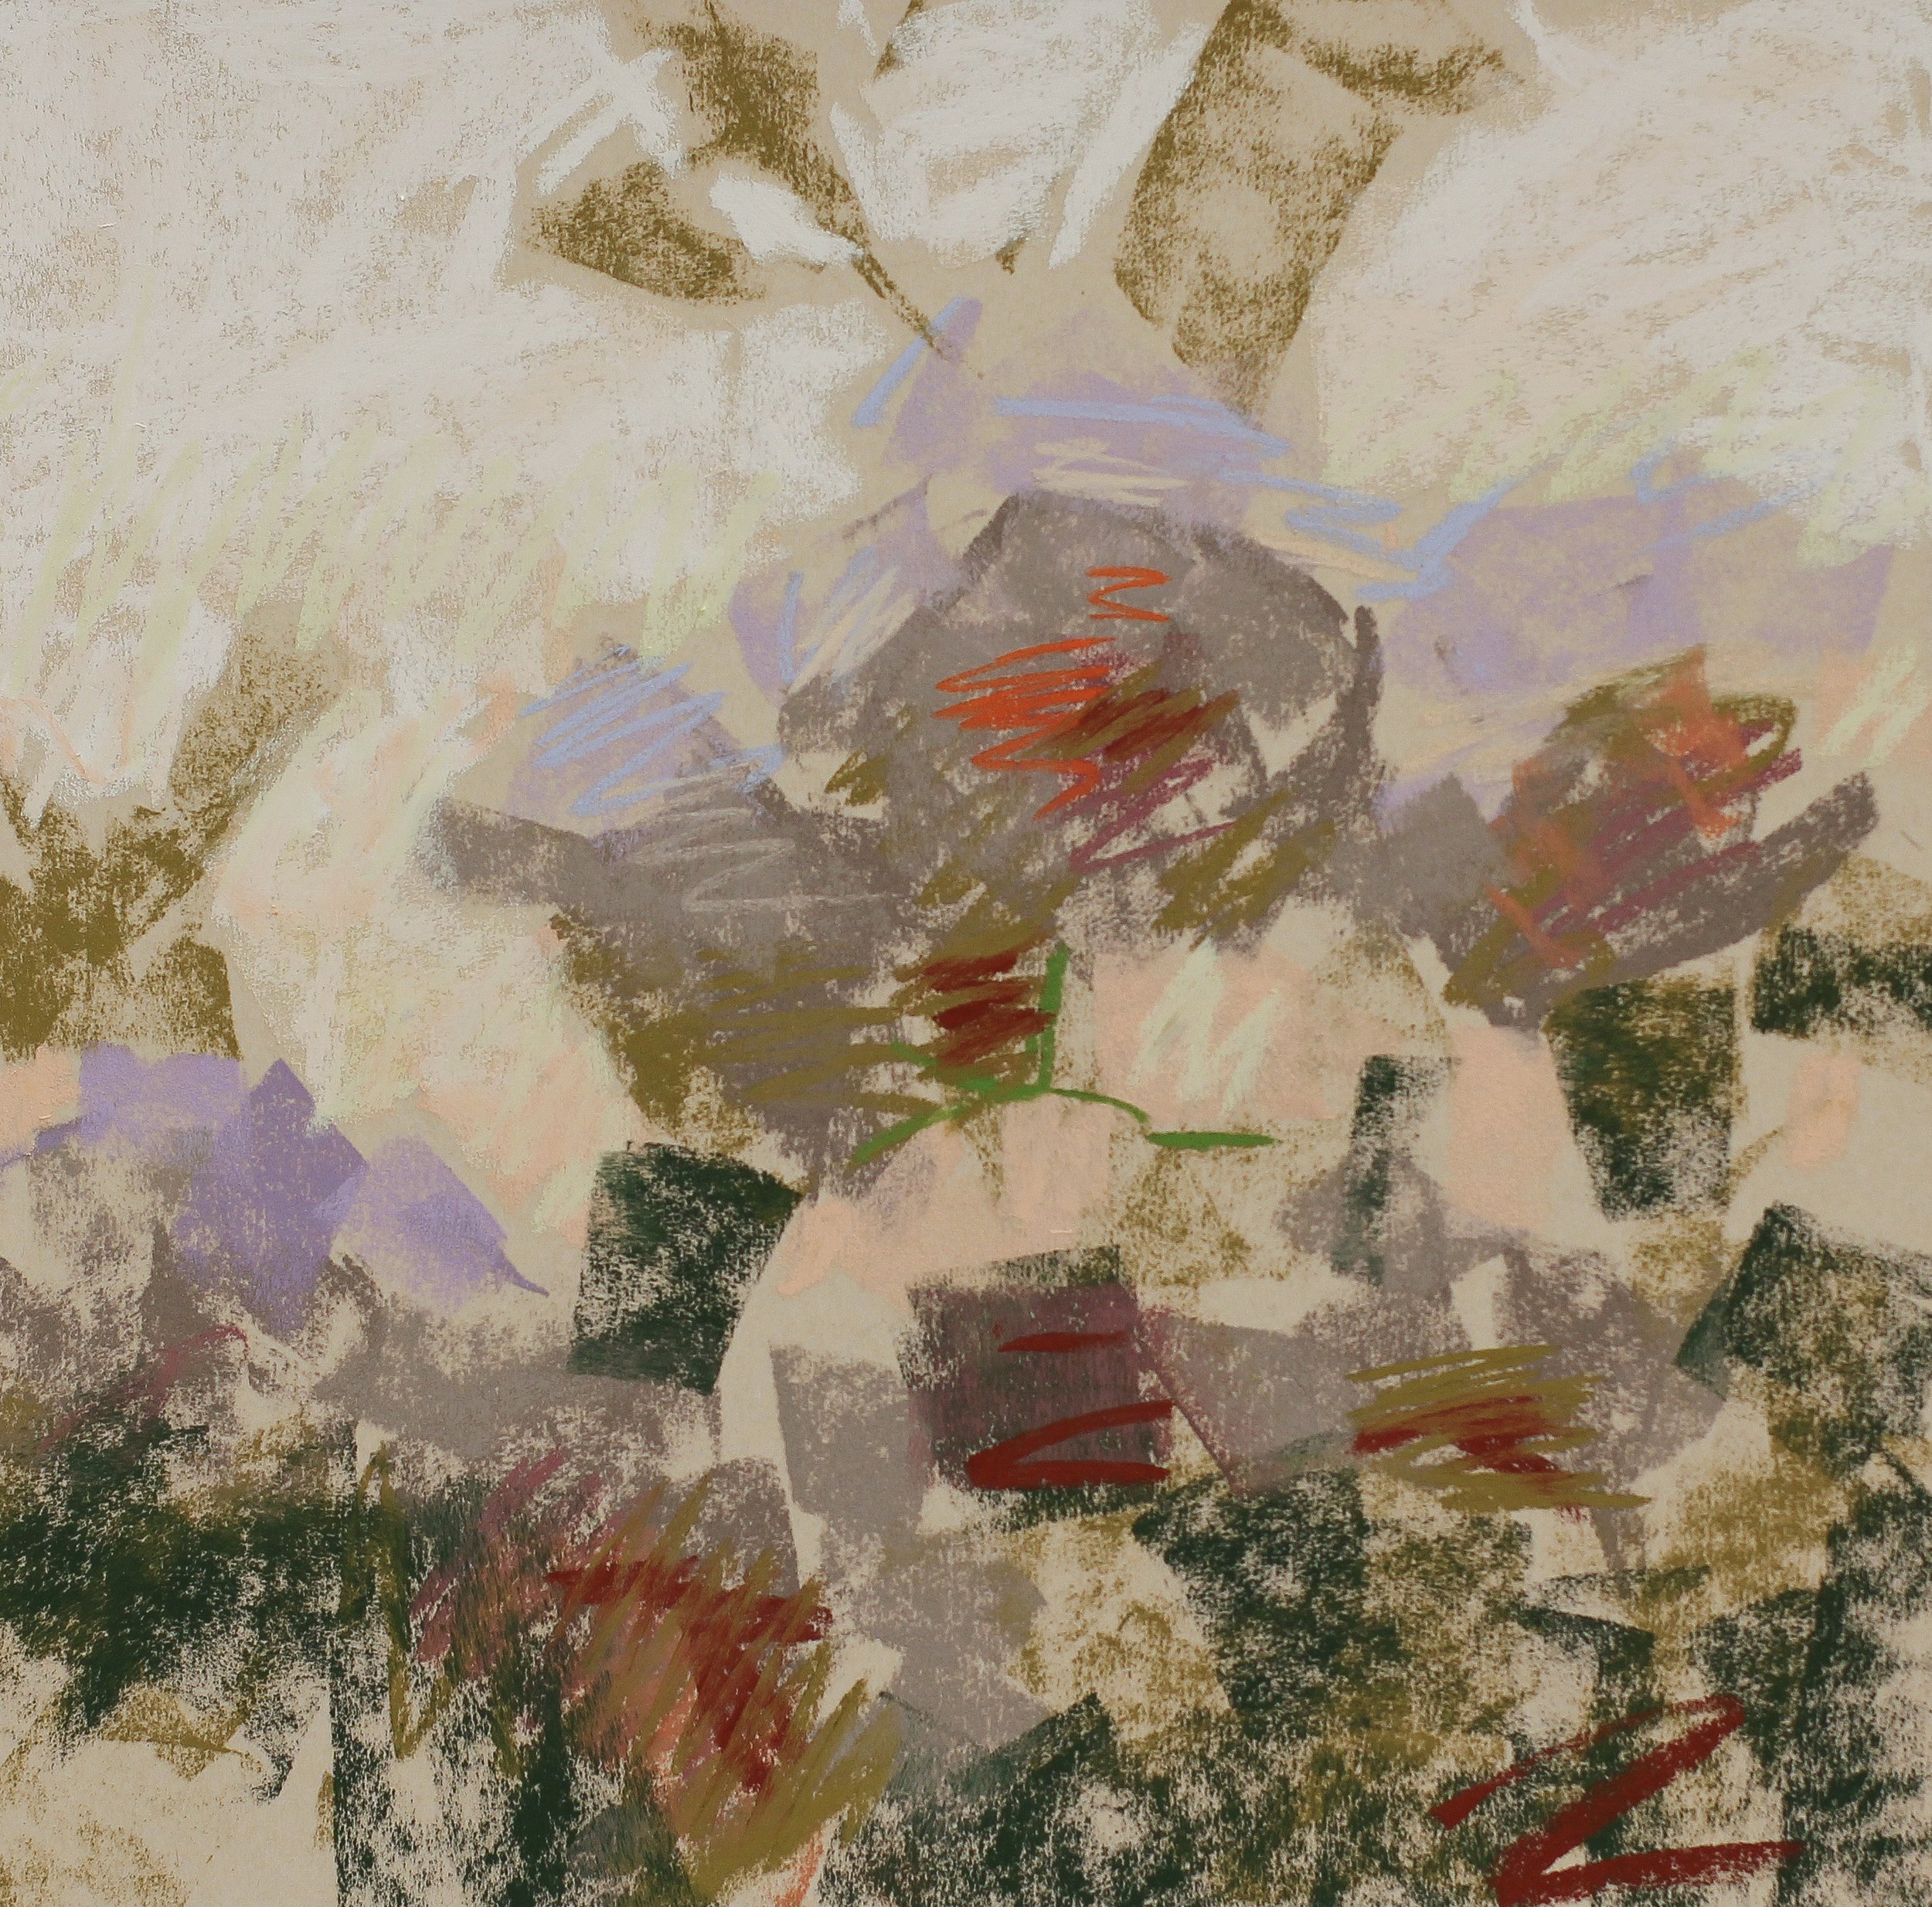
I begin with my firmer pastel brands, such as Rembrandt or Girault, and start laying color down onto the paper - I like using the broad side of the sticks to qickly and loosely cover each area. IMPORTANT: I don’t concern myself with ANY details at this point - I just want to put down the approximate shape/color/value of each major element (the light and shadow areas of the flowers for instance, or masses of leaves, or background sky, etc.)
STEP 2
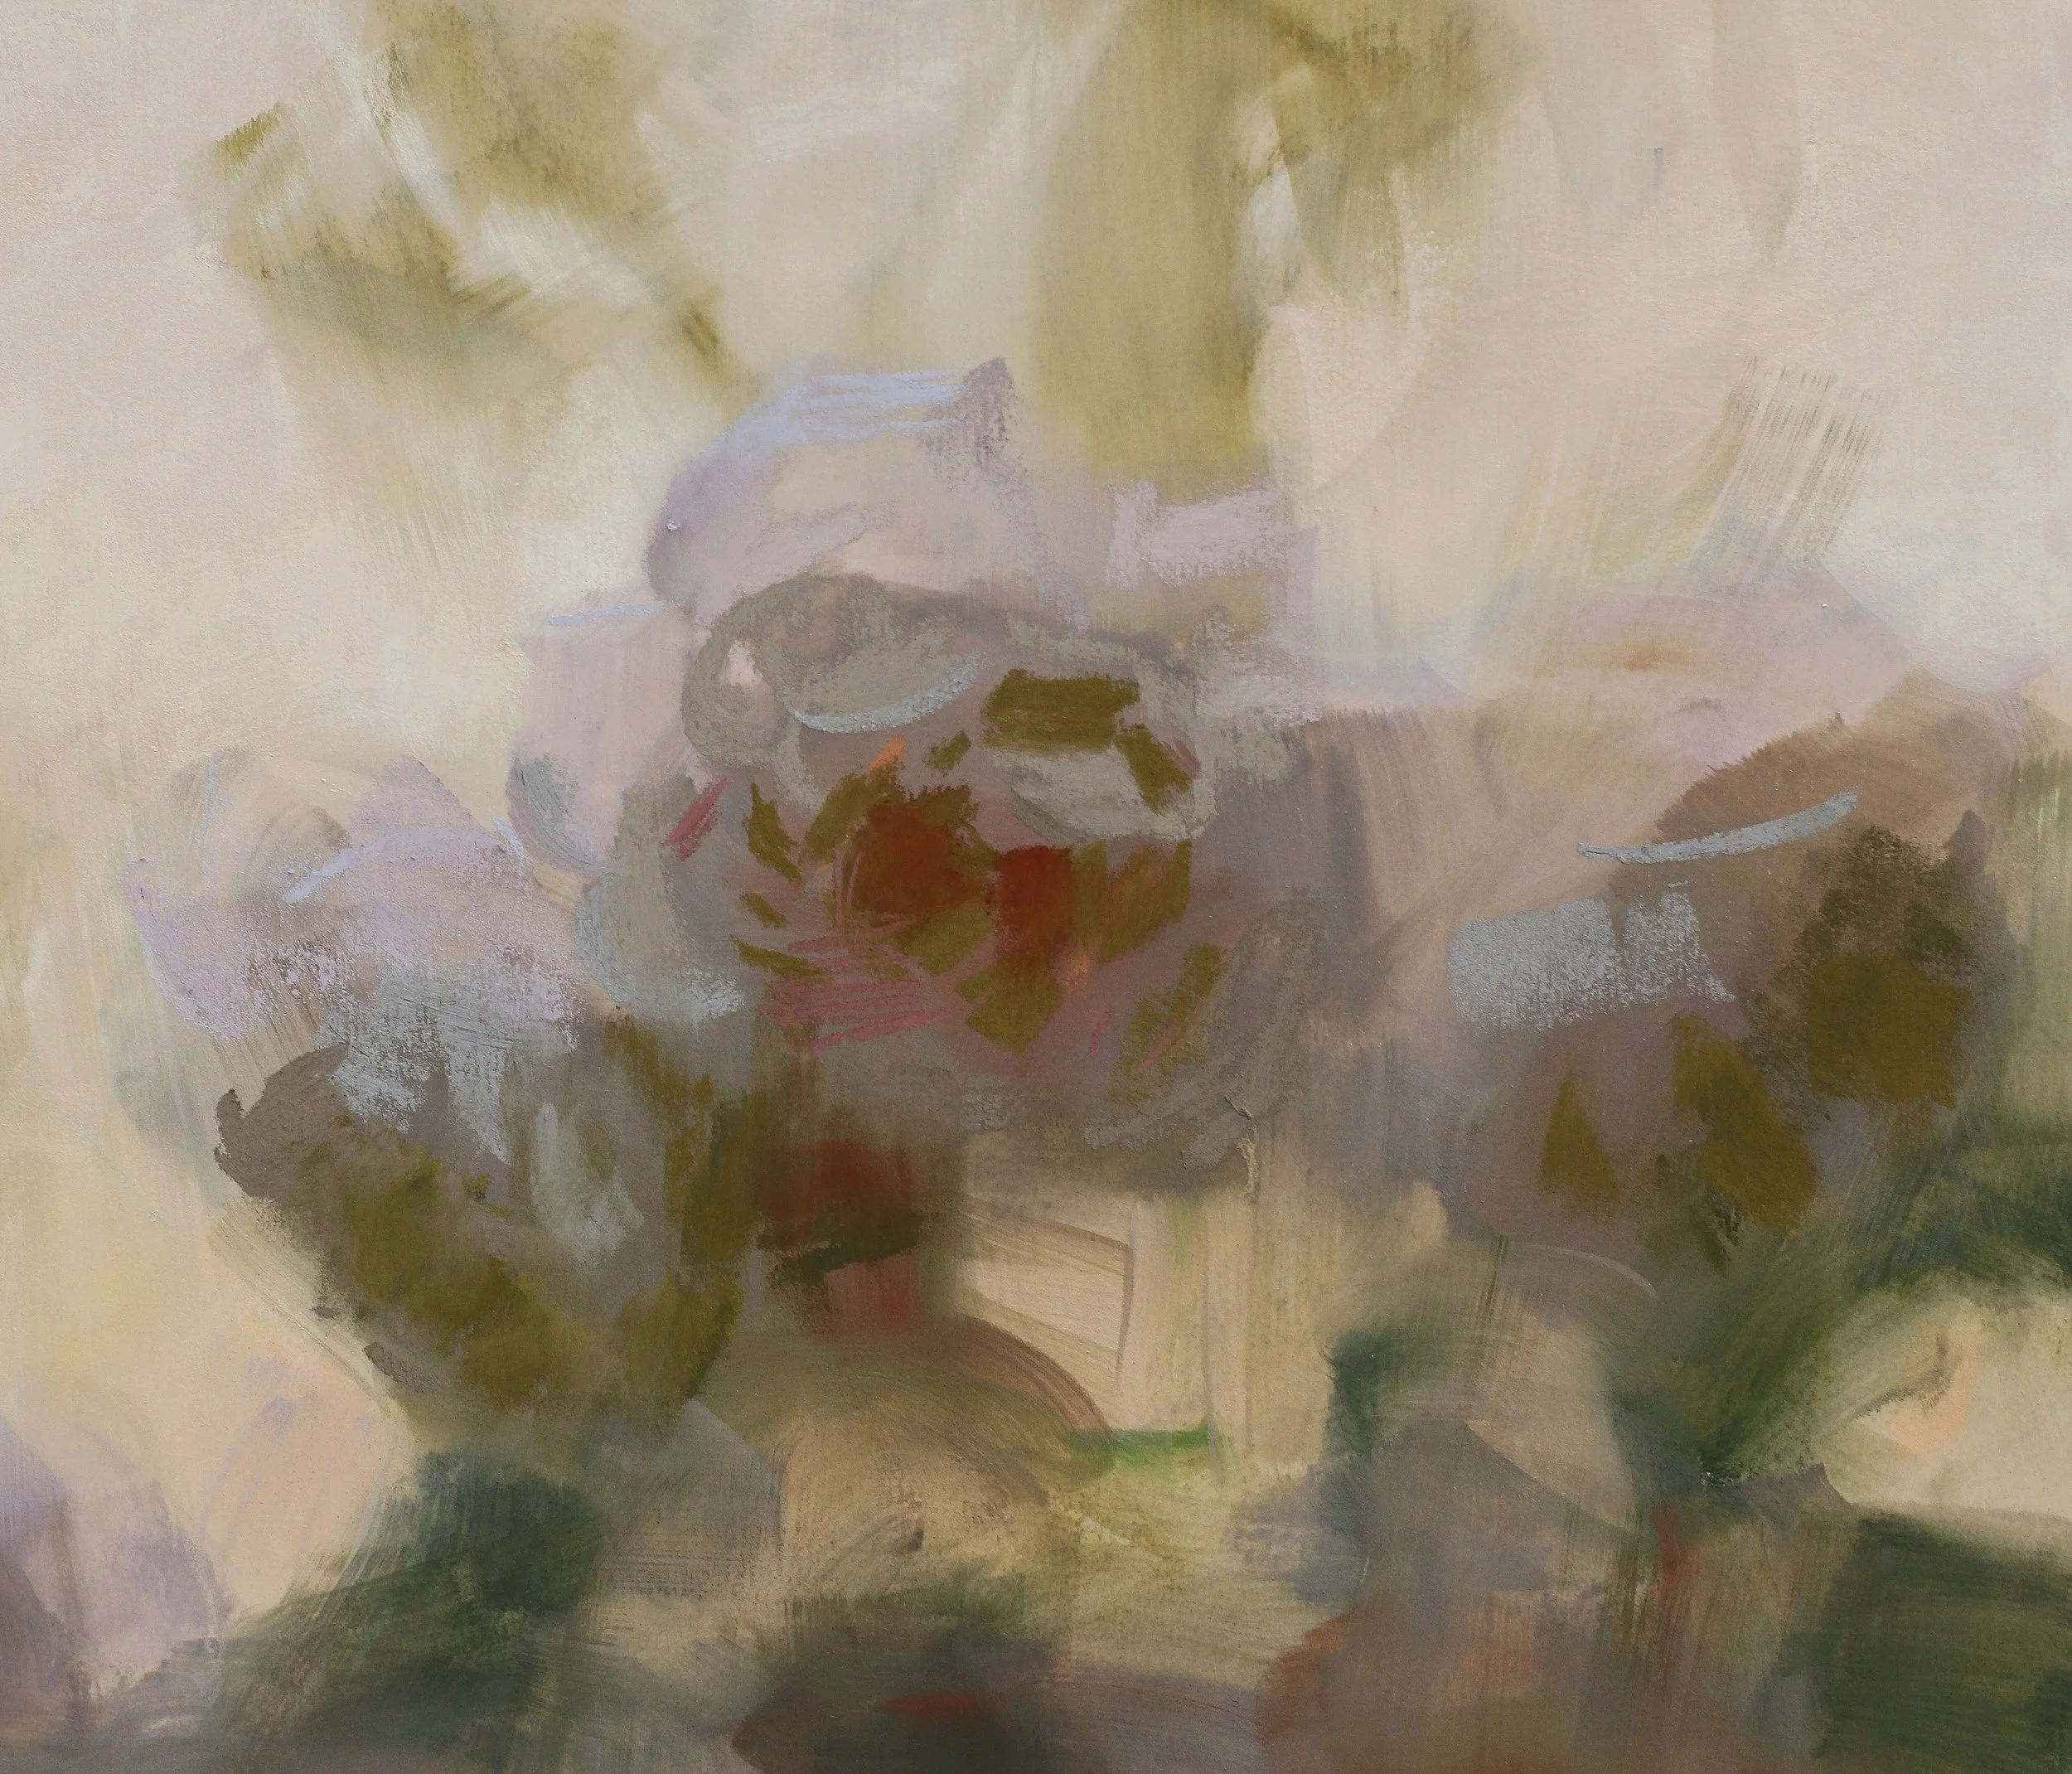
Once I have the general elements in place, I reach for my rubbing alcohol and a large flat brush. I like to absorb enough of the alcohol into the bristles that I can really move the pigment around on the paper before it completely evaporates. This is where I have to trust the process a bit because the colors will immediately go dark and saturated once the liquid mixes in, but given a few minutes it’ll lighten and soften greatly, allowing for the next pass of pigment.
STEP 3
After the wash has completely dried, I go back in starting with the flowers, carefully analyzing the values and colors as I work. SQUINTING & COMPARING as I look at my subject is crucial through out the painting process, but never more so than when determining the values as I develop the painting beyond the initial wash. Here is where I feel I can “make or break” the whole thing, and if I’m not careful to compare values, I’ll misread them. But, if I take the time to get it right at this stage, I’ll be safe!
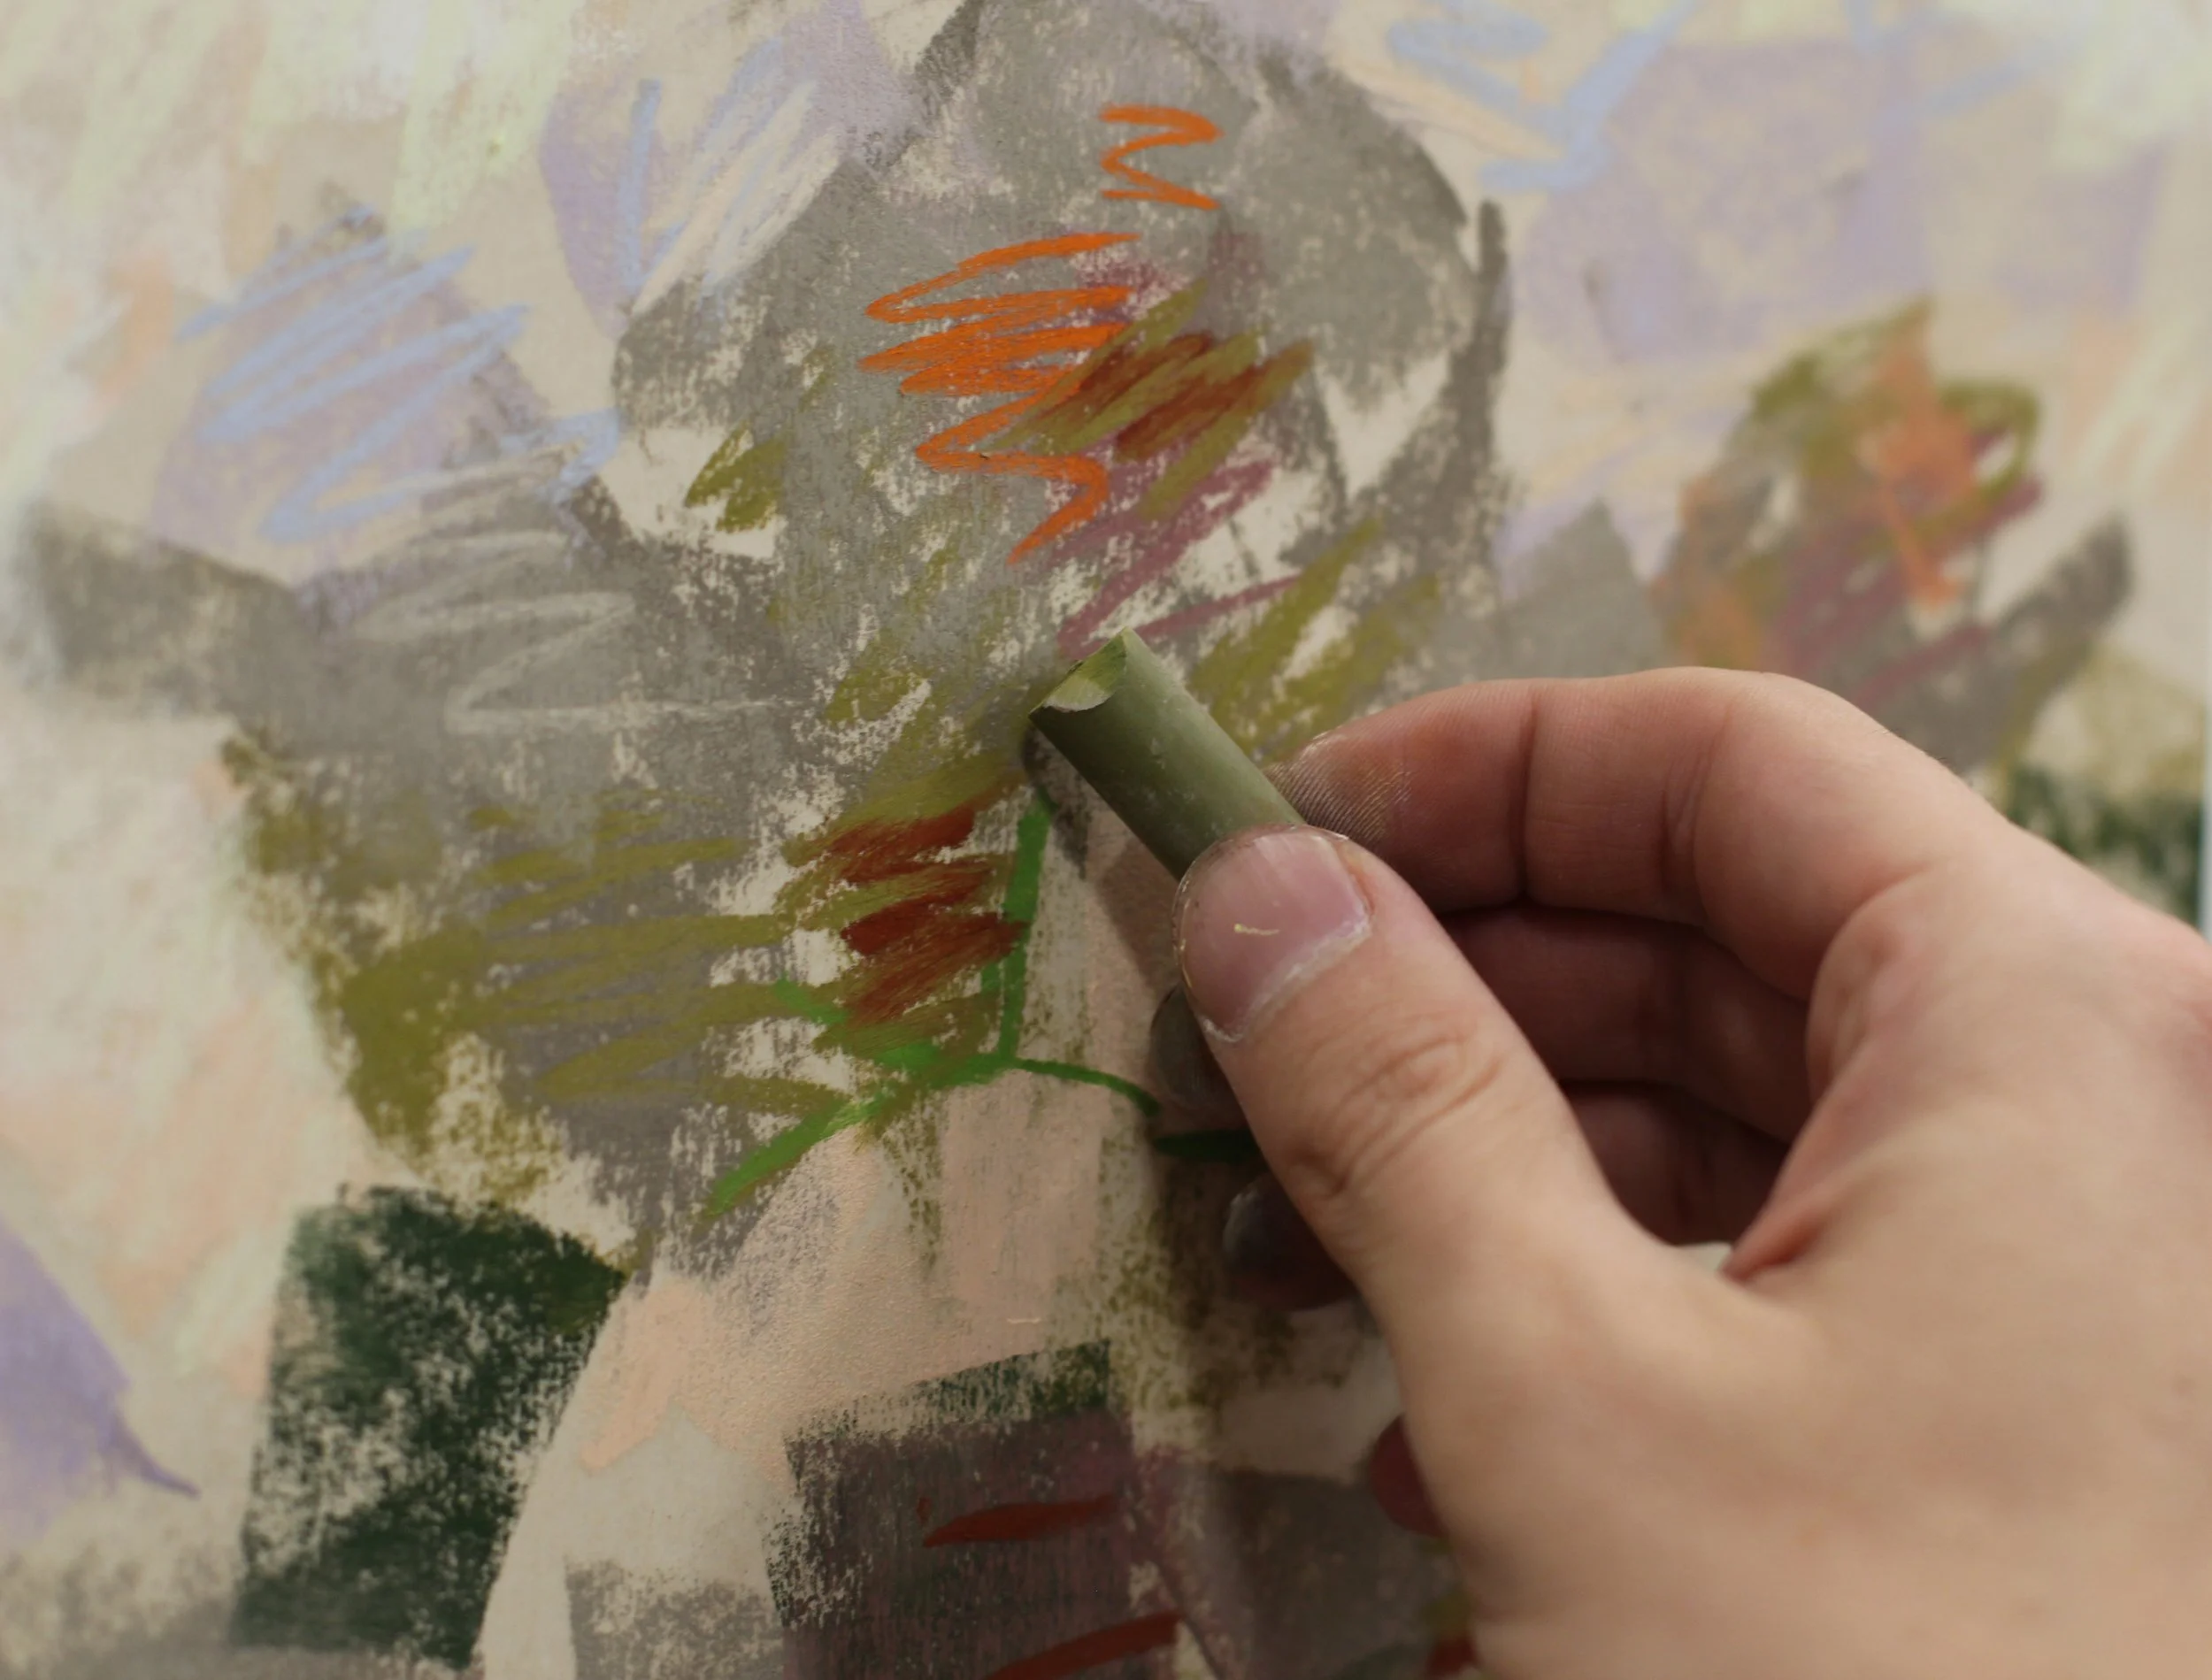
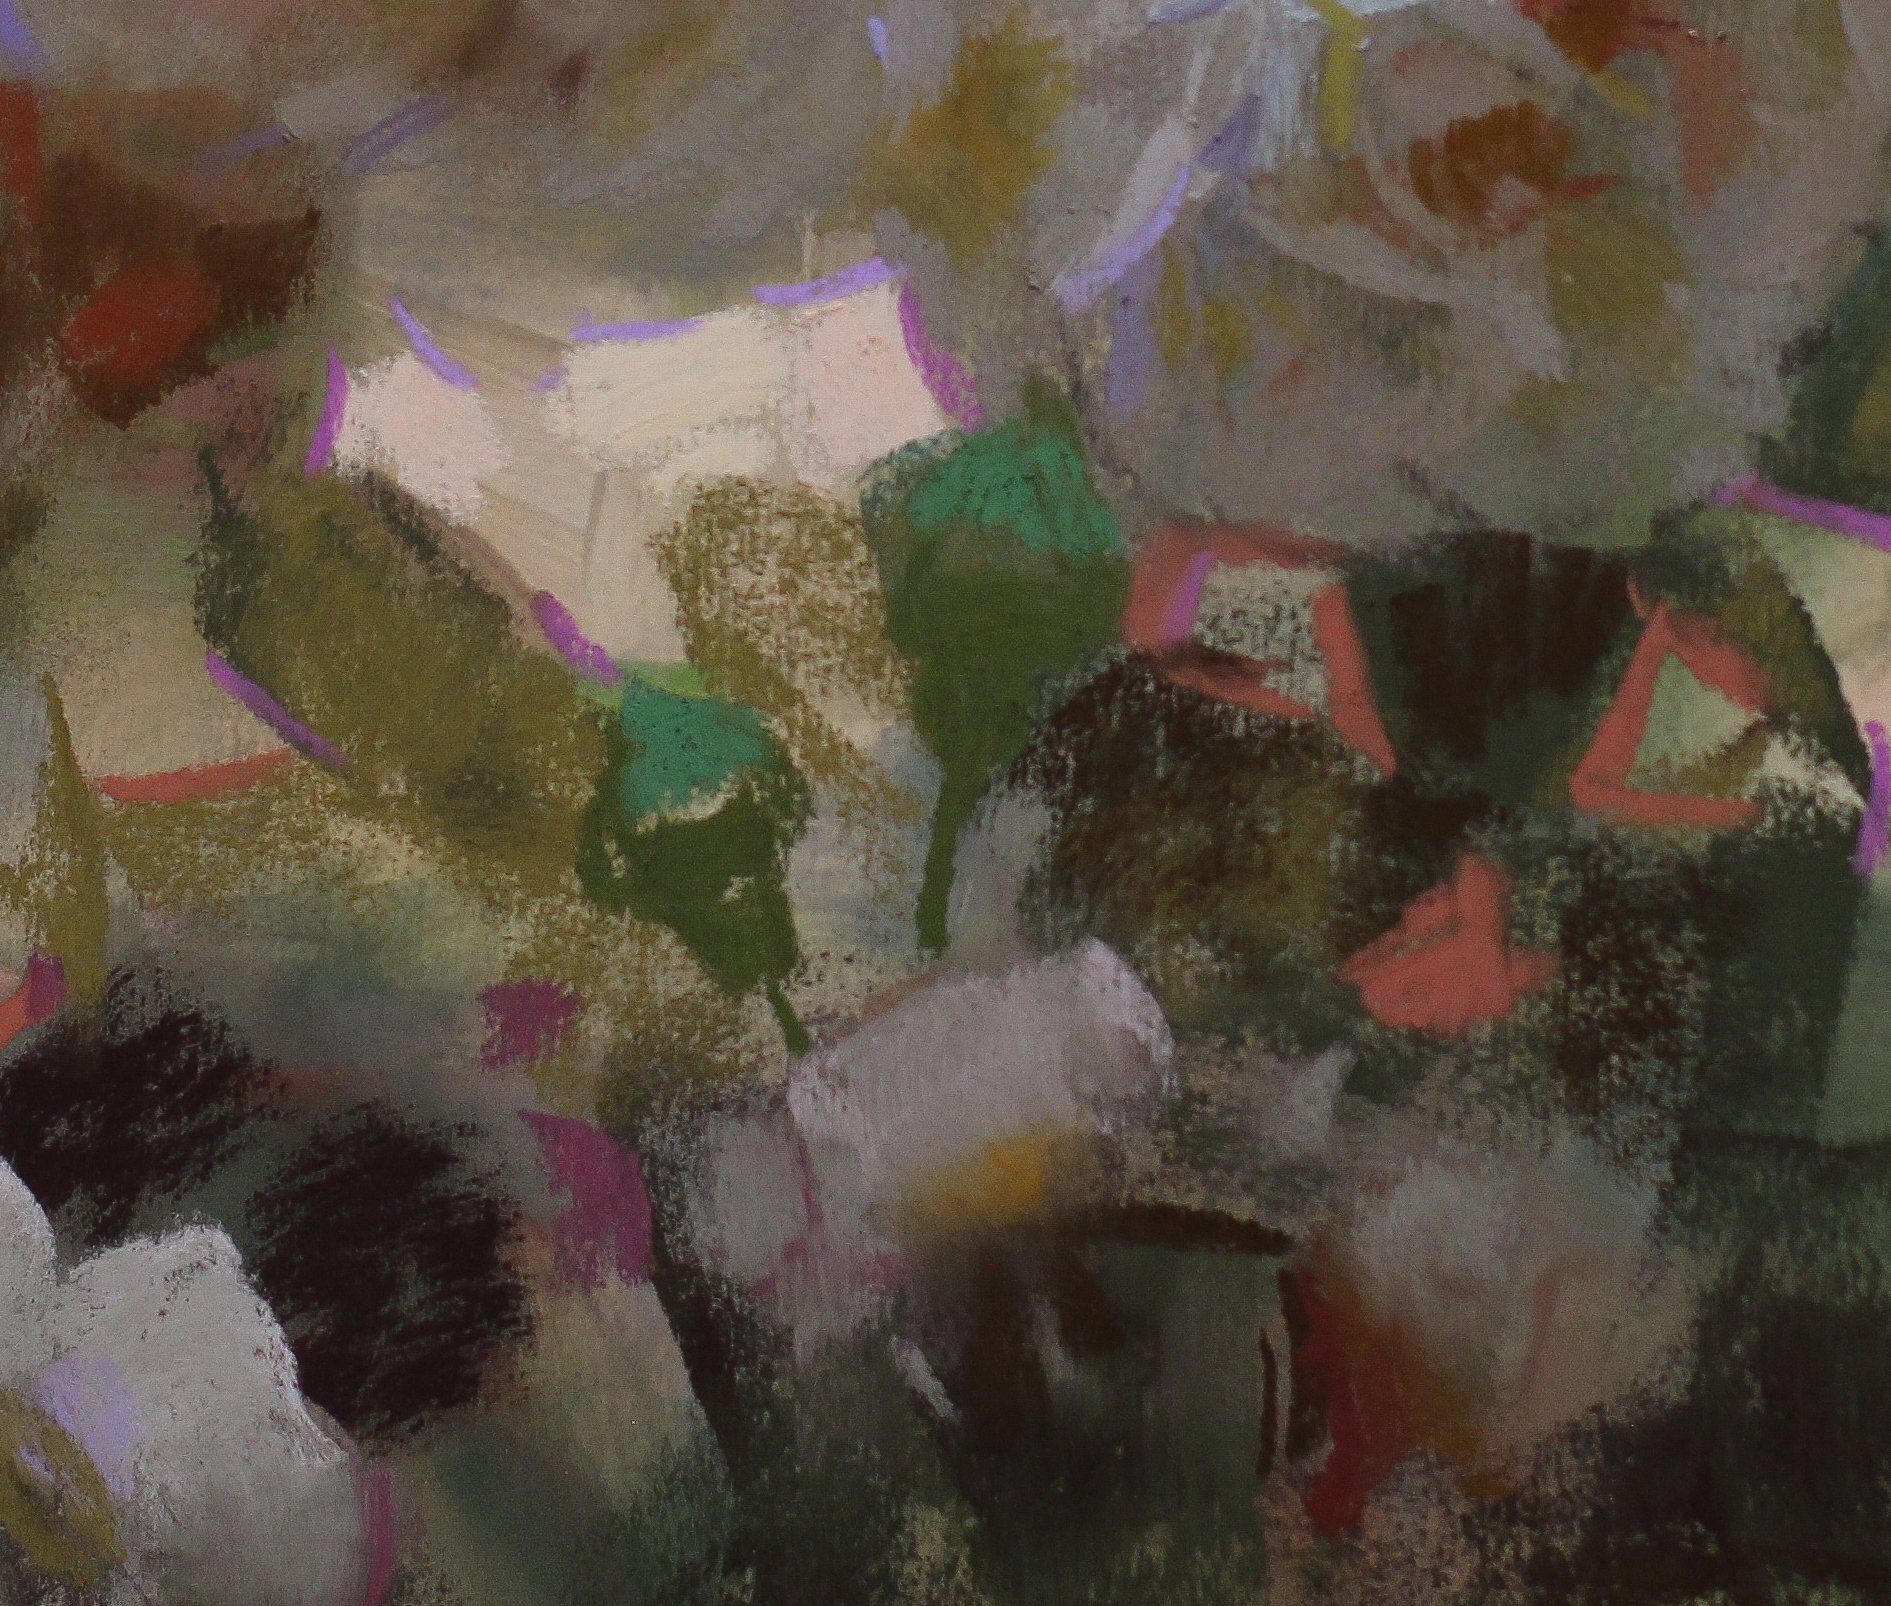
ABOVE: Laying in the warm grays, greens, yellows, and reds found inside the roses! Despite all of the various colors, notice the similarities in values. Try squinting at the image and take note how all of the rose’s shadow colors blend together - there’s not as much contract between them as you might think!
BELOW: The palette is growing and becoming a fuller spectrum.
ABOVE: As more and more pigment is added, I can take my fingers and rub a bit if I need to soften an edge. I try not to over-work an area of course, but sometimes you just need the colors to blend together!
STEP 4
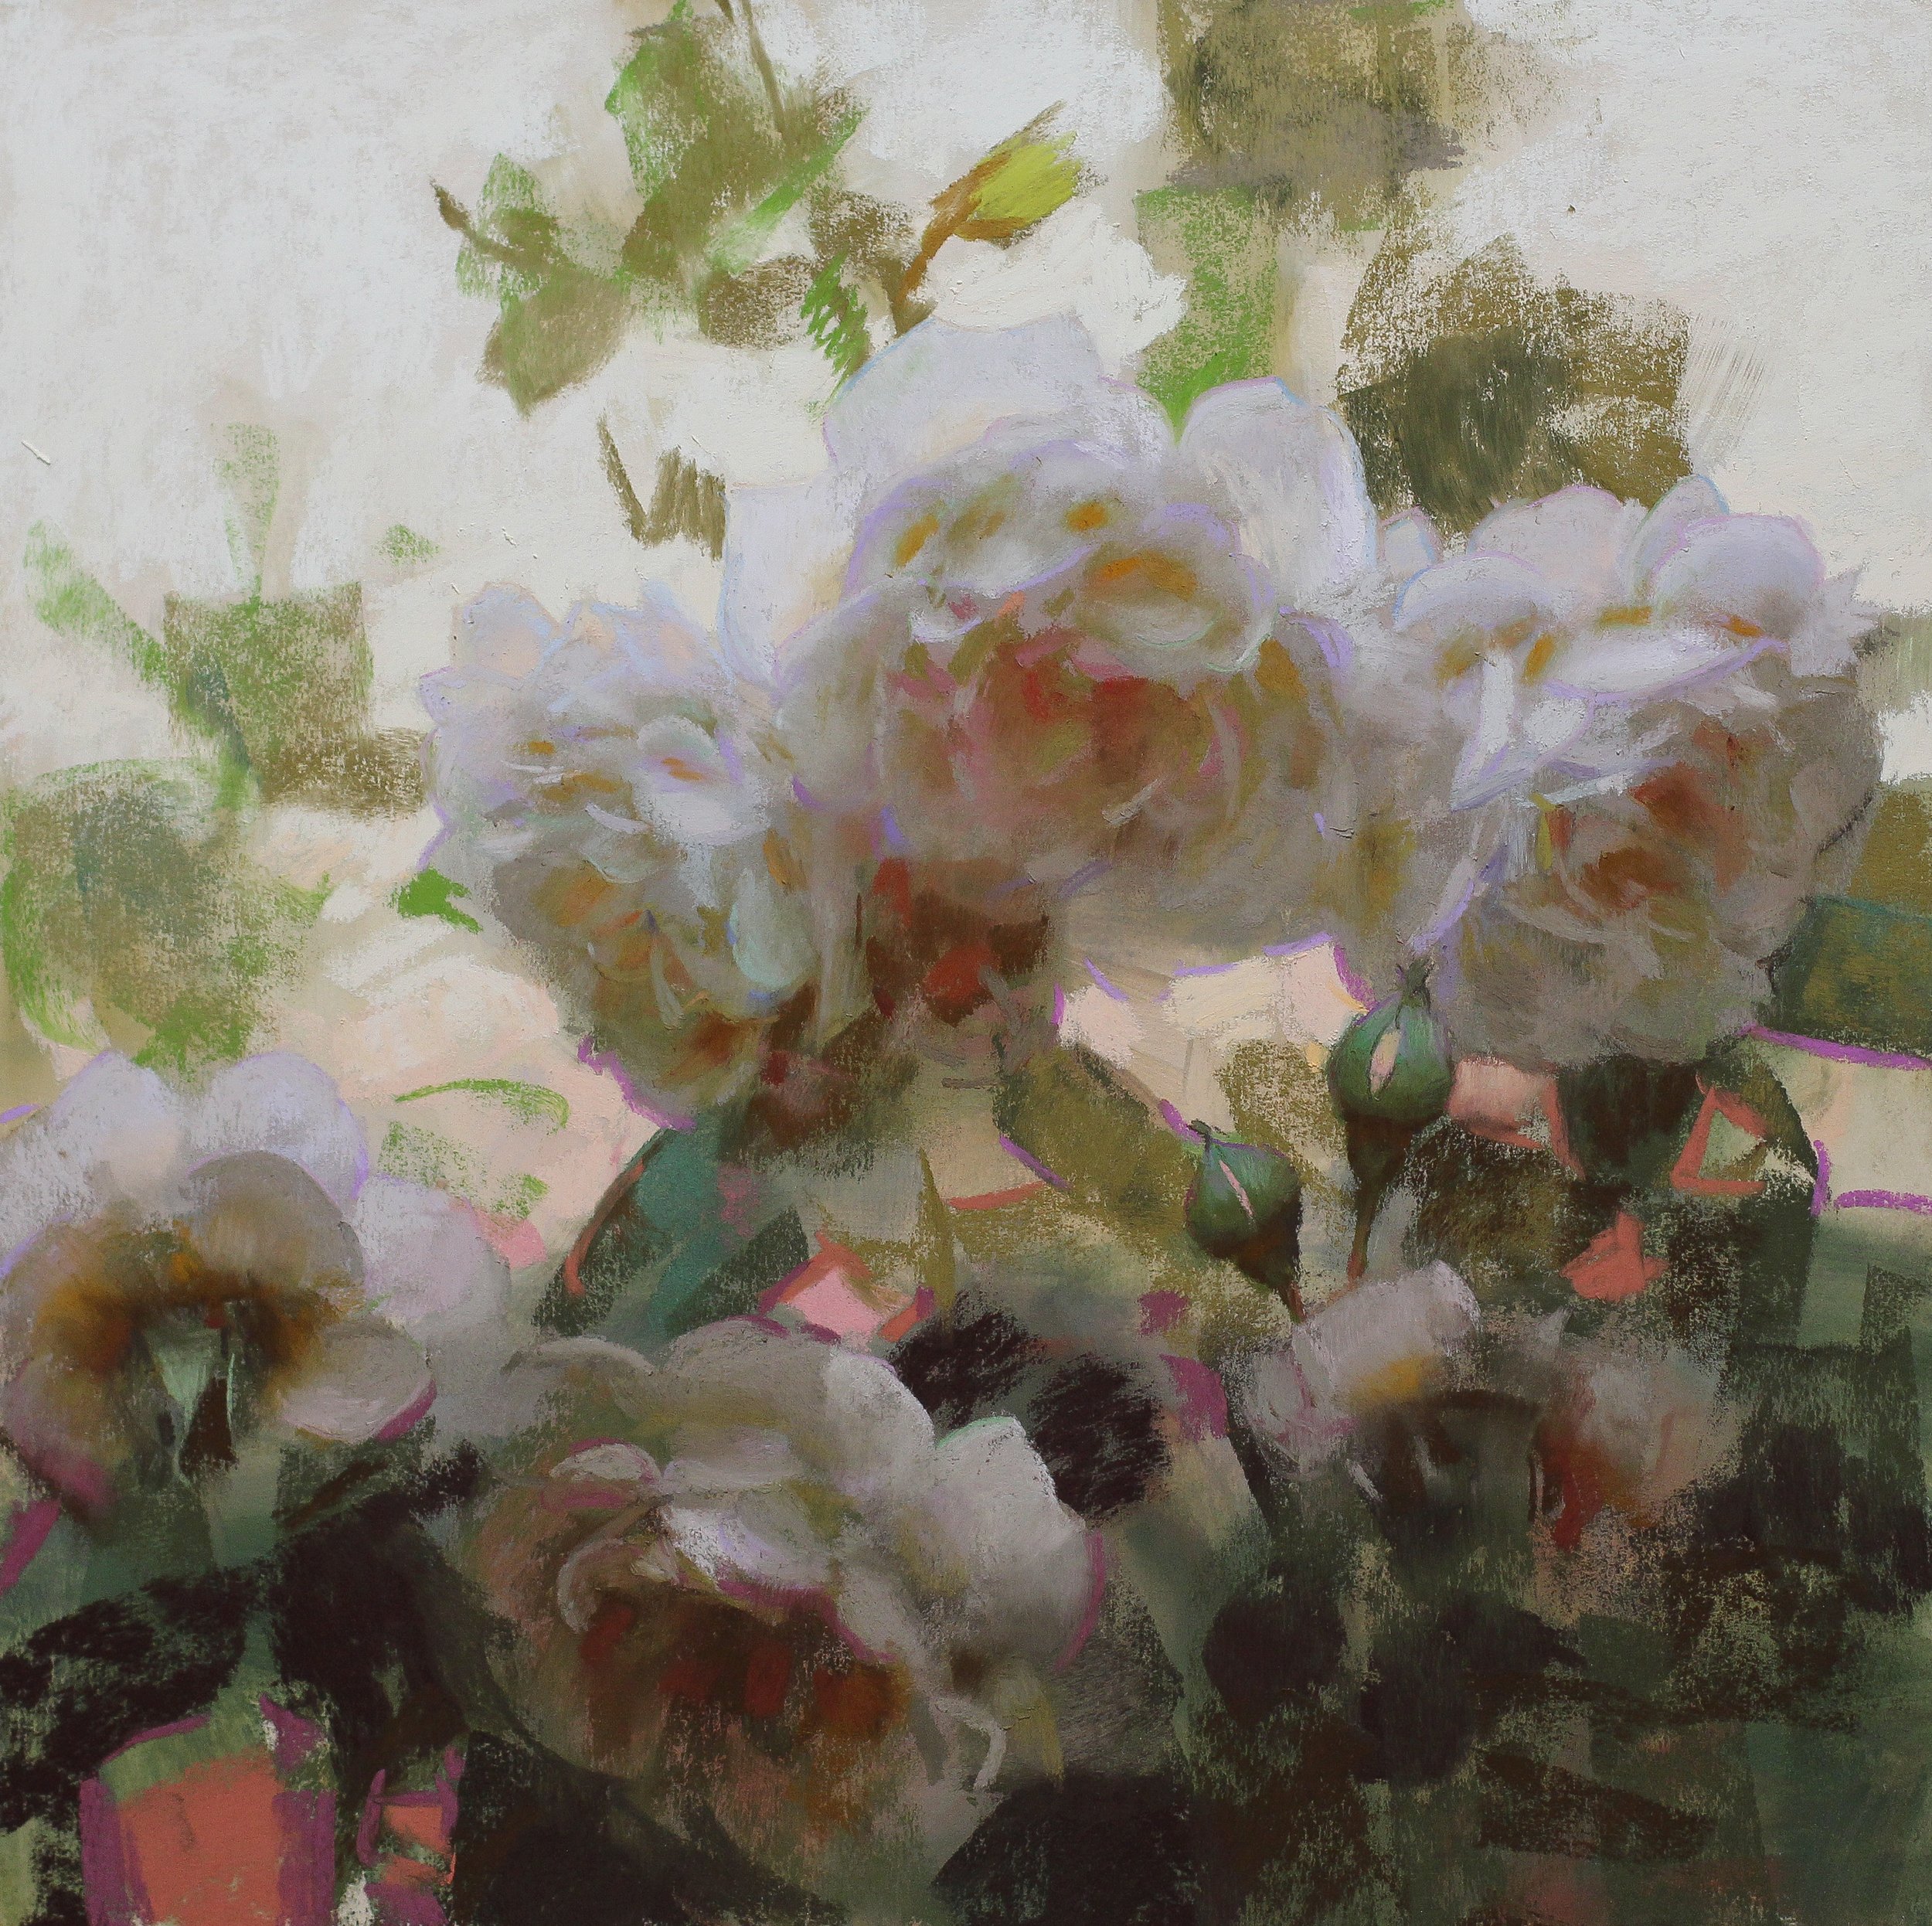
Continuing to add shapes of color, I’m also addressing the background colors. This scene is of golden sunset light softly filling the sky behind these roses, and is making me work hard to see values and color temperature relationships. Even though there are some lighter “whites” on the flowers, I can’t go lighter than the sky and still have it look accurate. But they also don’t blend into the sky completely and so need to stand out at least a little. So, I’m doing one thing in particular to avoid problems: I’m keeping the sky a warmer color/temperature, and making the petals a bit cooler around their edges. This not only keeps them distinguishable when they’re the same values, but also helps make the lighting situation more convincing.
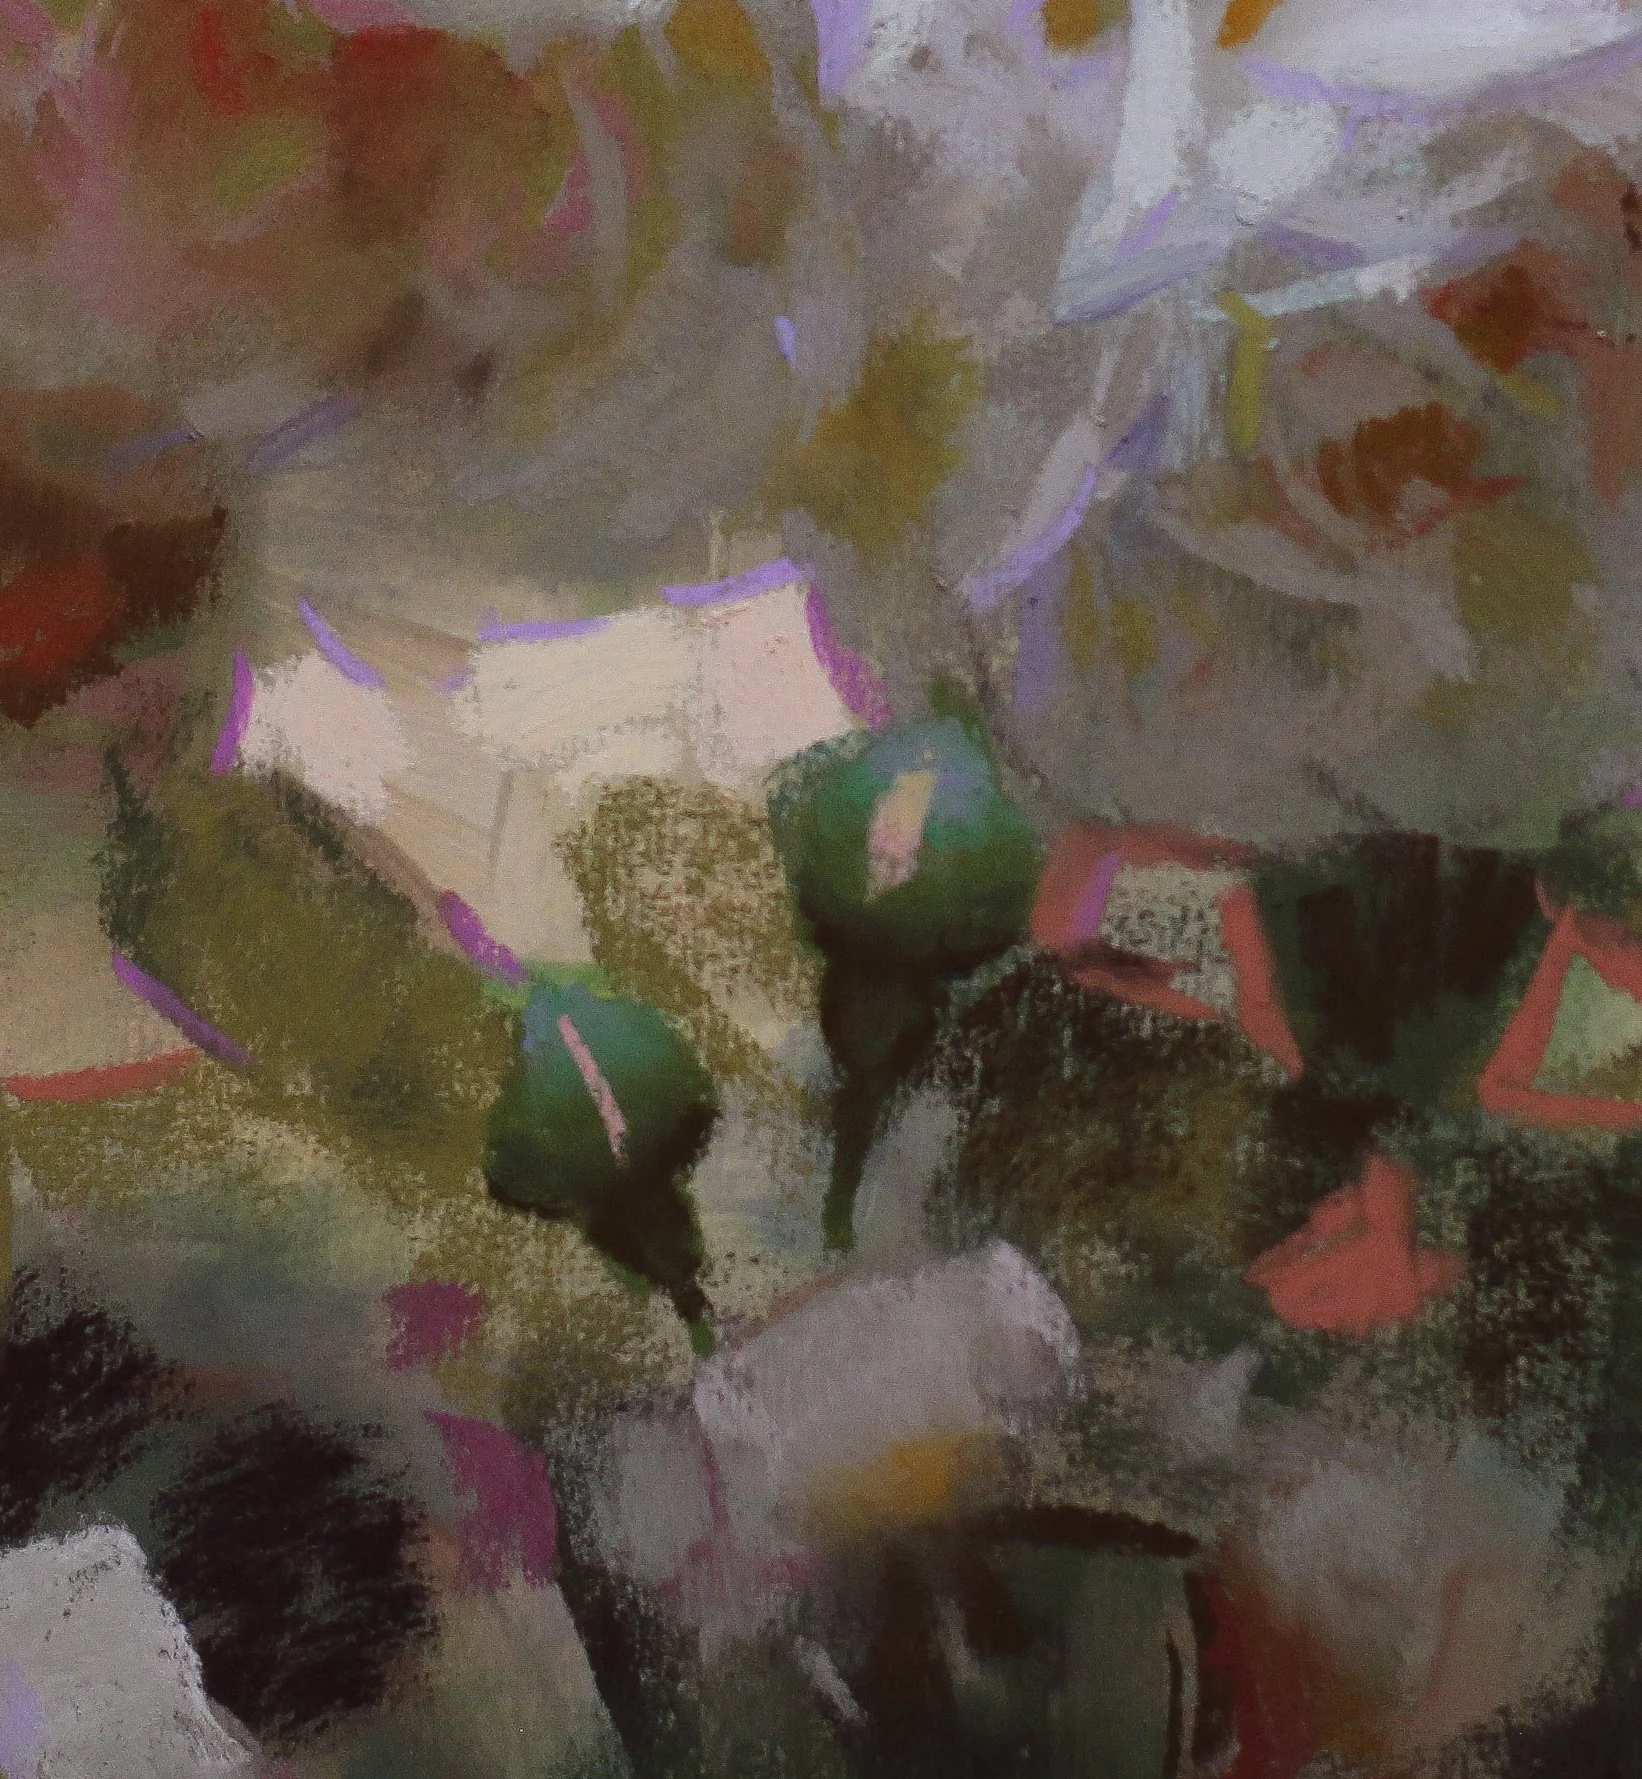
PROGRESSION OF THE ROSEBUDS …
I started these with a couple values of green, using a warmer one at the base of the buds.
Next, I added darker greens and browns to the base.
The sepals tend to spread open revealing the color of the petals inside, making a “cat eye“ shape.
I picked up a few pastel pencils and gave the buds more definition.
STEP 5
By now everything in the painting has been established, and I’m beginning to address the leaves, as well as nuances like the color transitions between light and shadow. I like to keep my greens both simple in execution and complex in variety. Meaning, I don’t want them overly rendered and smoothed out, or tight with nothing but sharp edges. But I also want lots of different greens as well as shapes and levels of development. Leaves can often overpower a painting if they’re too rendered, and they can appear artificial if they’re just a single shade of green.
LEAF DETAILS…
STEP 6
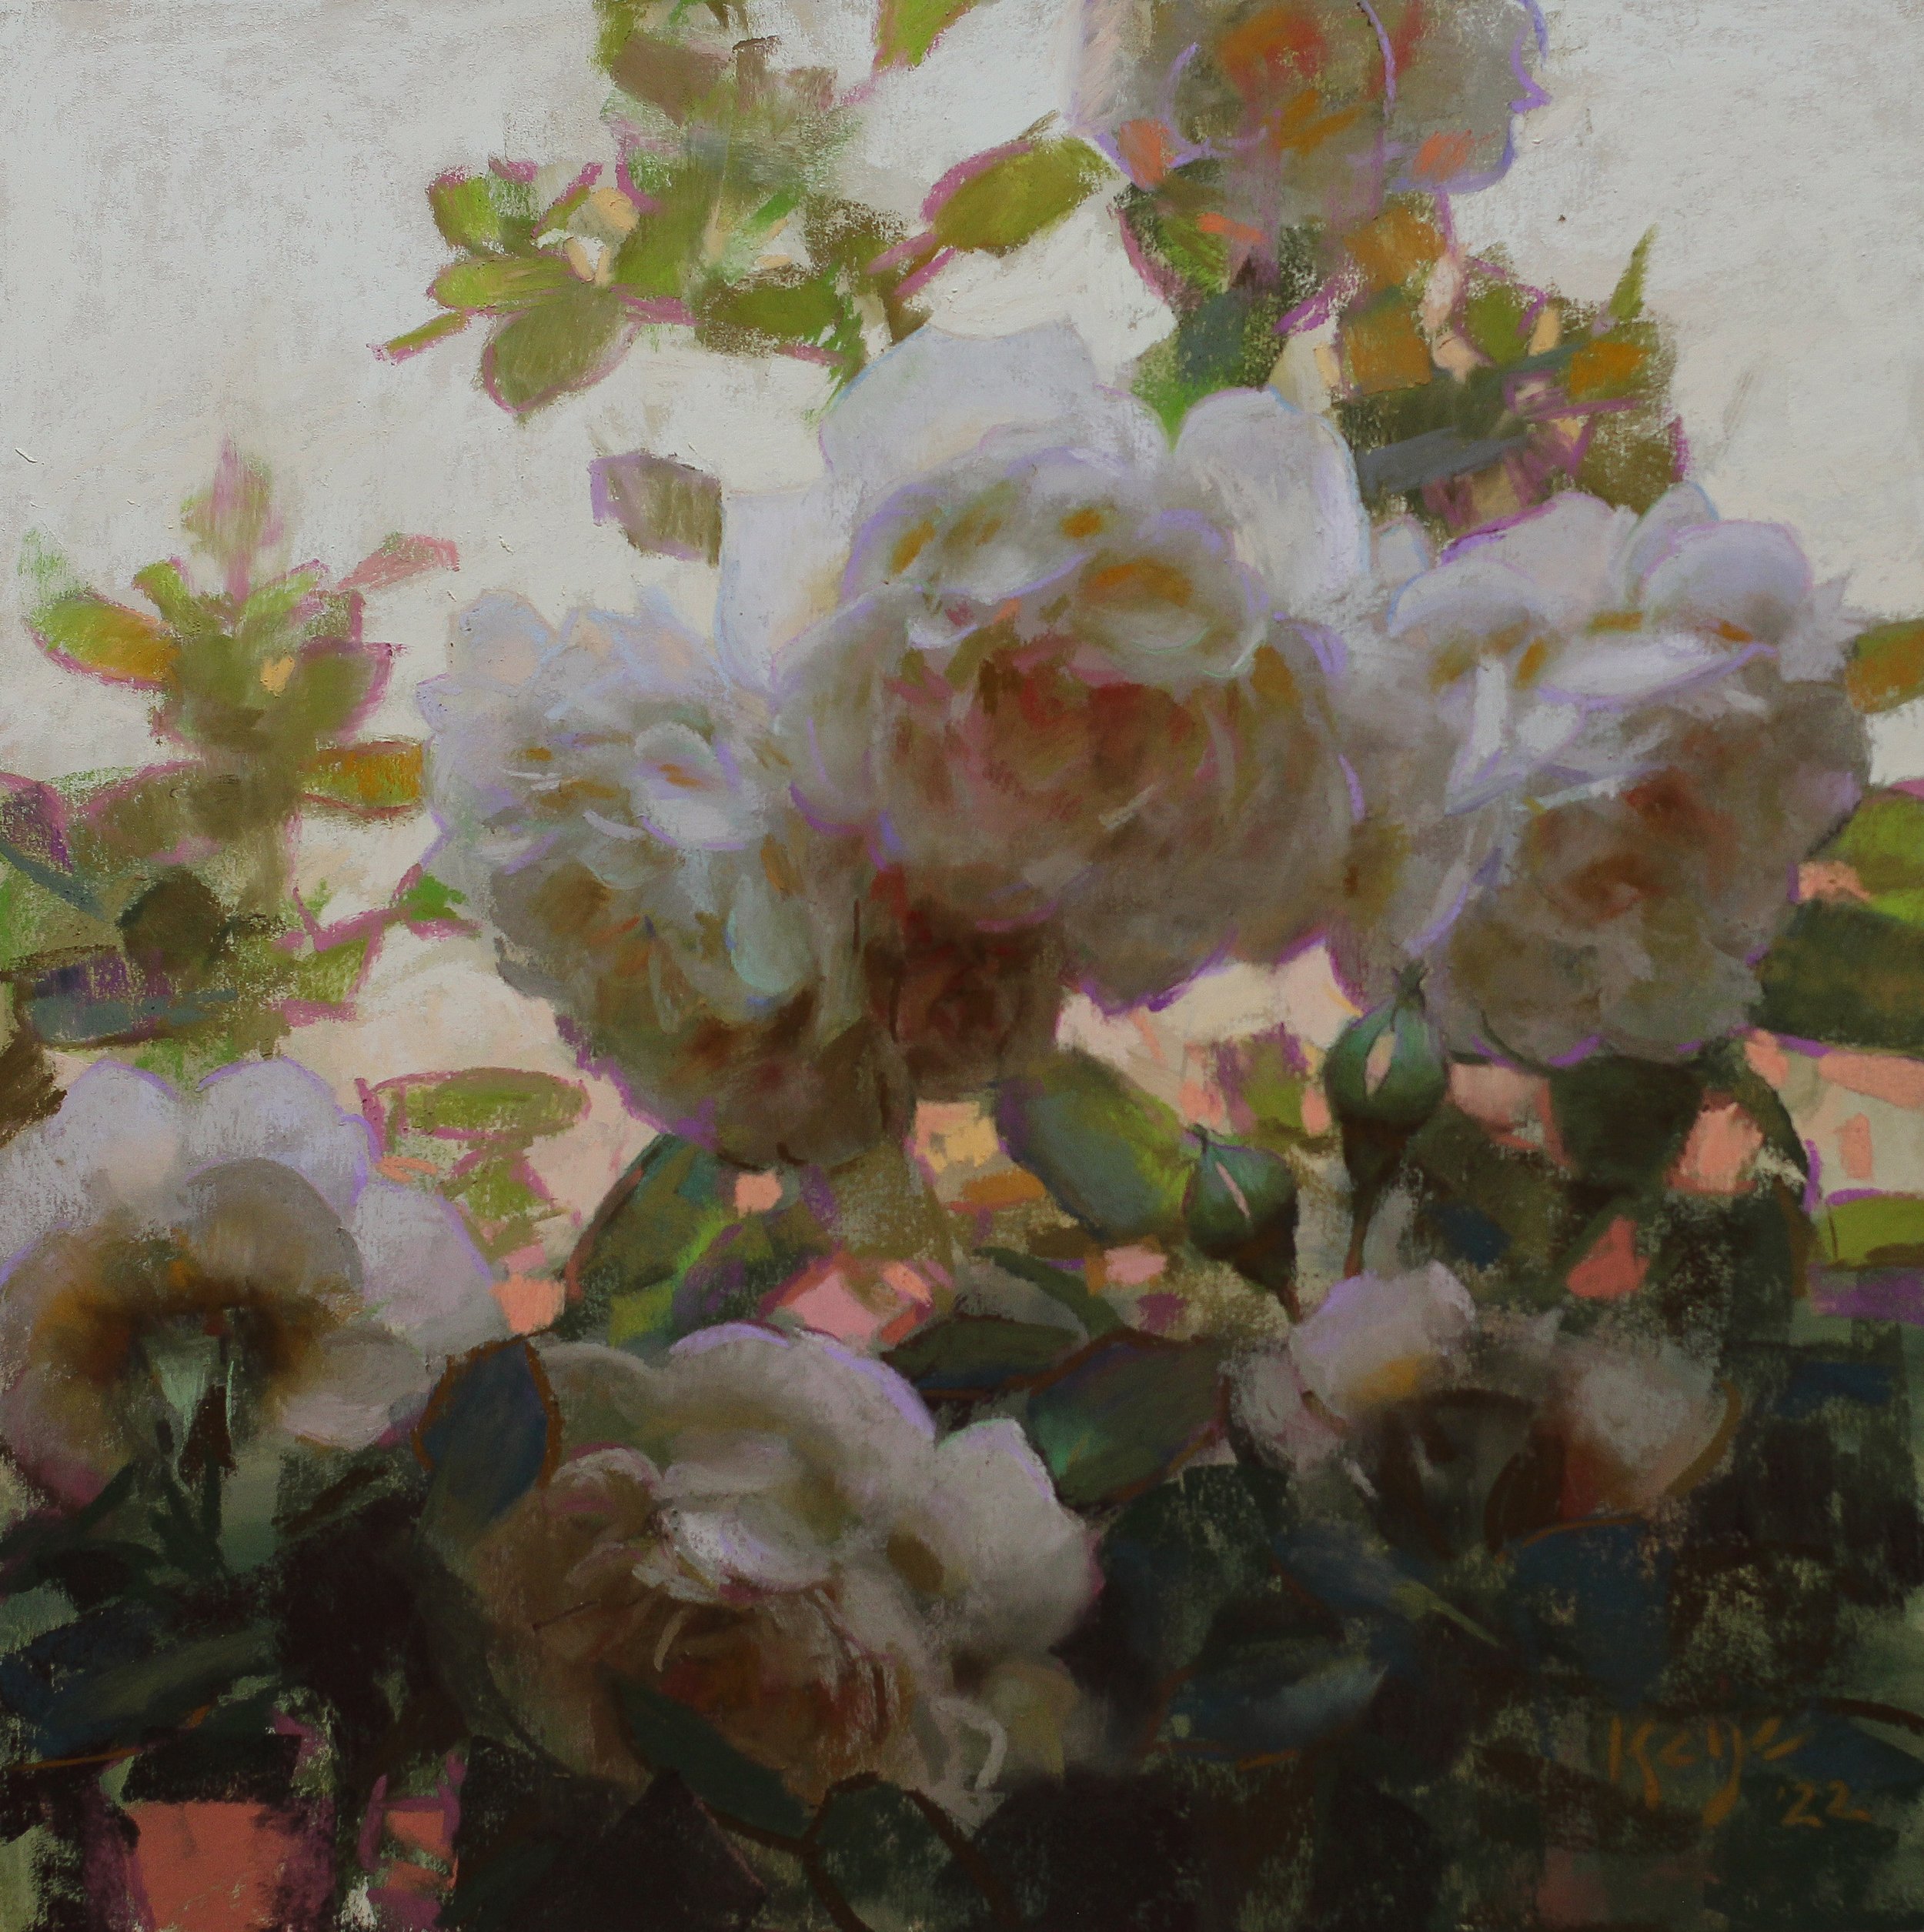
The final step involves getting out my trusty pastel pencils and looking for areas that I feel would look better with more definition - particularly around the edges. It doesn’t have to be the exact color as what’s underneath it. In fact, I often use this opportunity to introduce another bit of color to a petal or leaf! So it not only affords me the ability to control my edges, but also adds depth and a nuance of playful color where I think it might be beneficial.
“Summer Glow” 2022 - 12 x 12 inches, pastel

