For years I avoided using stretched (primed) linen canvas. It was never taut enough no matter how many blisters I would give myself trying to stretch the fabric around the wooden frame, and what was available in the stores seemed to loosen over time (or even before it left the store).
The popular, but inferior, stretched cotton canvases always seem plenteous in nearly any store that sells art supplies, but finding good quality linen pre-assembled and ready to use is nearly impossible. Thus I made the switch long ago to linen adhered to a board/panel. It’s still my first option (I prefer those made by RayMar), but once in awhile I’m in a pinch and don’t want to wait on an order to arrive before I can start a painting. And though I will glue linen to smaller panel surfaces with consistent success, making a large panel can go wrong very quickly (I’ve actually resorted to using medical syringes to inject adhesive into air bubbles that seem to inevitably appear!).
For larger works however, It’s nice to have the option to prepare a surface on a whim, and if I have a roll of linen laying around studio, I’ve FINALLY learned how to stretch it successfully with some ease!
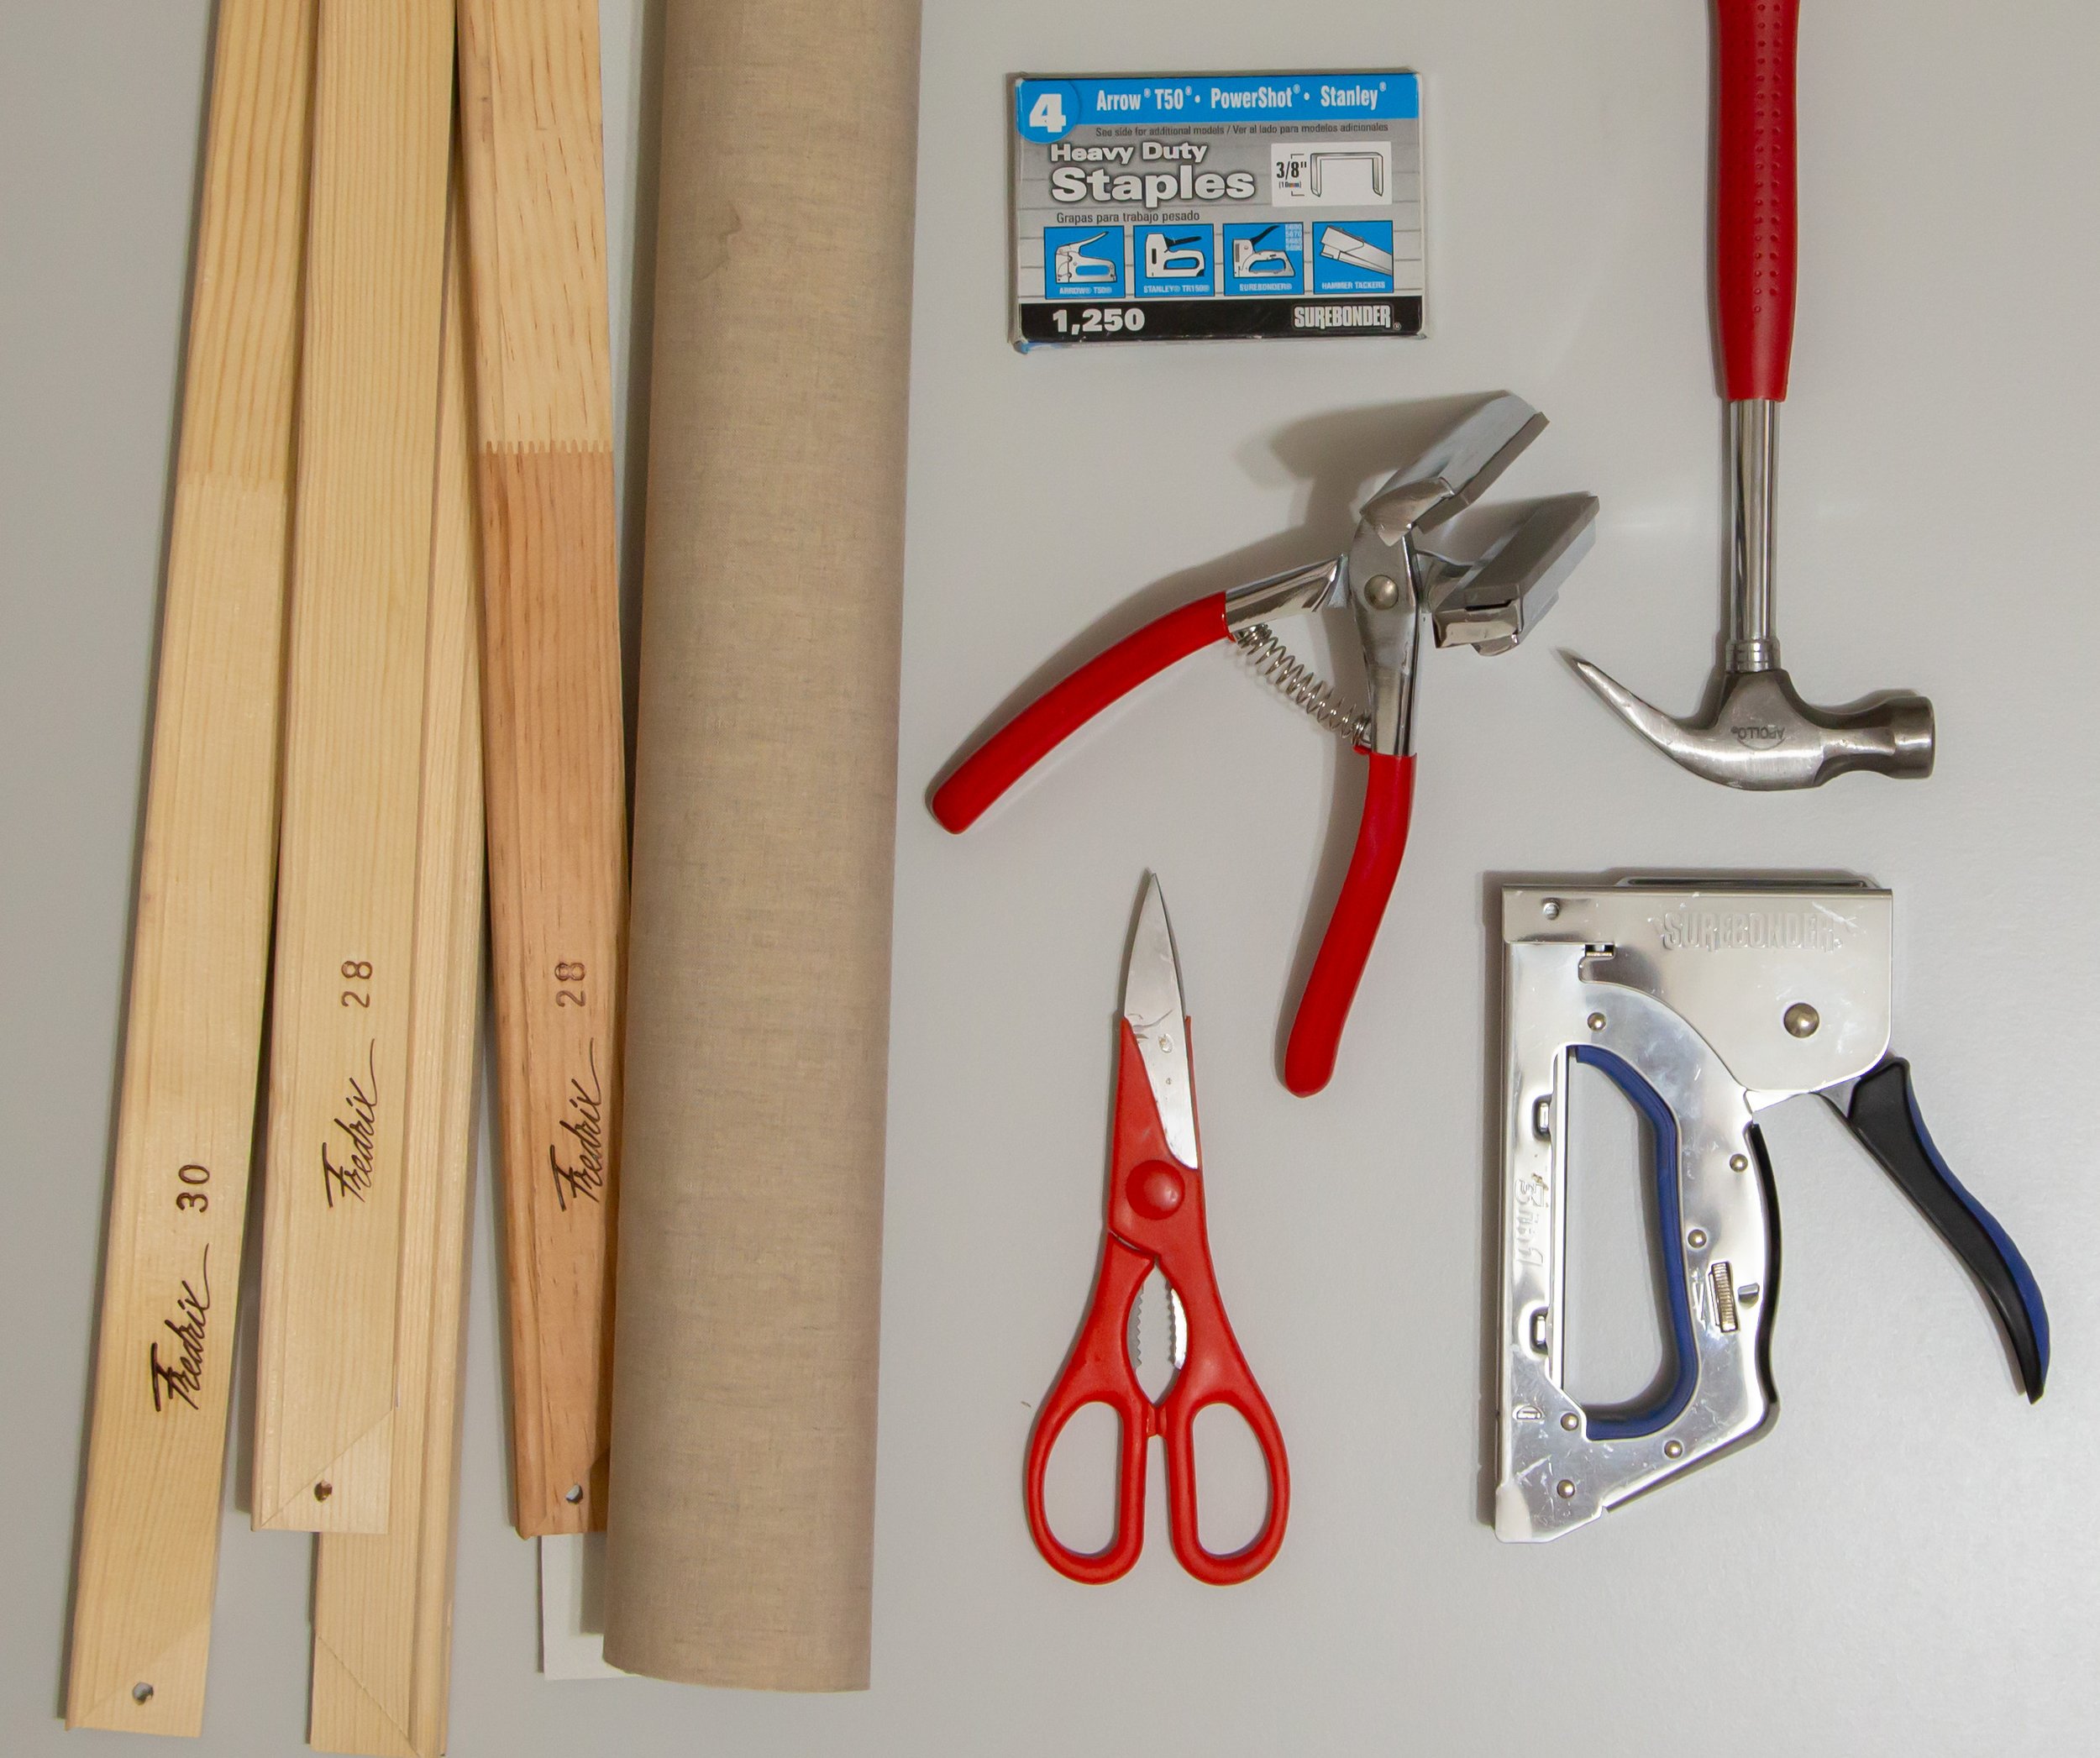
THINGS YOU’LL NEED:
Primed linen. I like to use Claessens #13 double oil primed. It’s an oil based primer on a very fine weave linen - perfect for oil paint, and adaptable to any subject.
Wooden stretcher bars. I have no preference for a particular brand - I simple buy what’s available at the local art store. They’re often sold in sizes ranging from 8” - 40” or more, and in varying degrees of thickness depending on your needs/preferences. Inspect each bar to ensure that it isn’t warped - it should be perfectly straight. Also, look for cross-brace bars if you’re going to make something with a dimension of more that 20” in any one direction.
Canvas pliers.
Staple gun, and staples.
Small hammer or mallet.
Scissors or box-cutter.
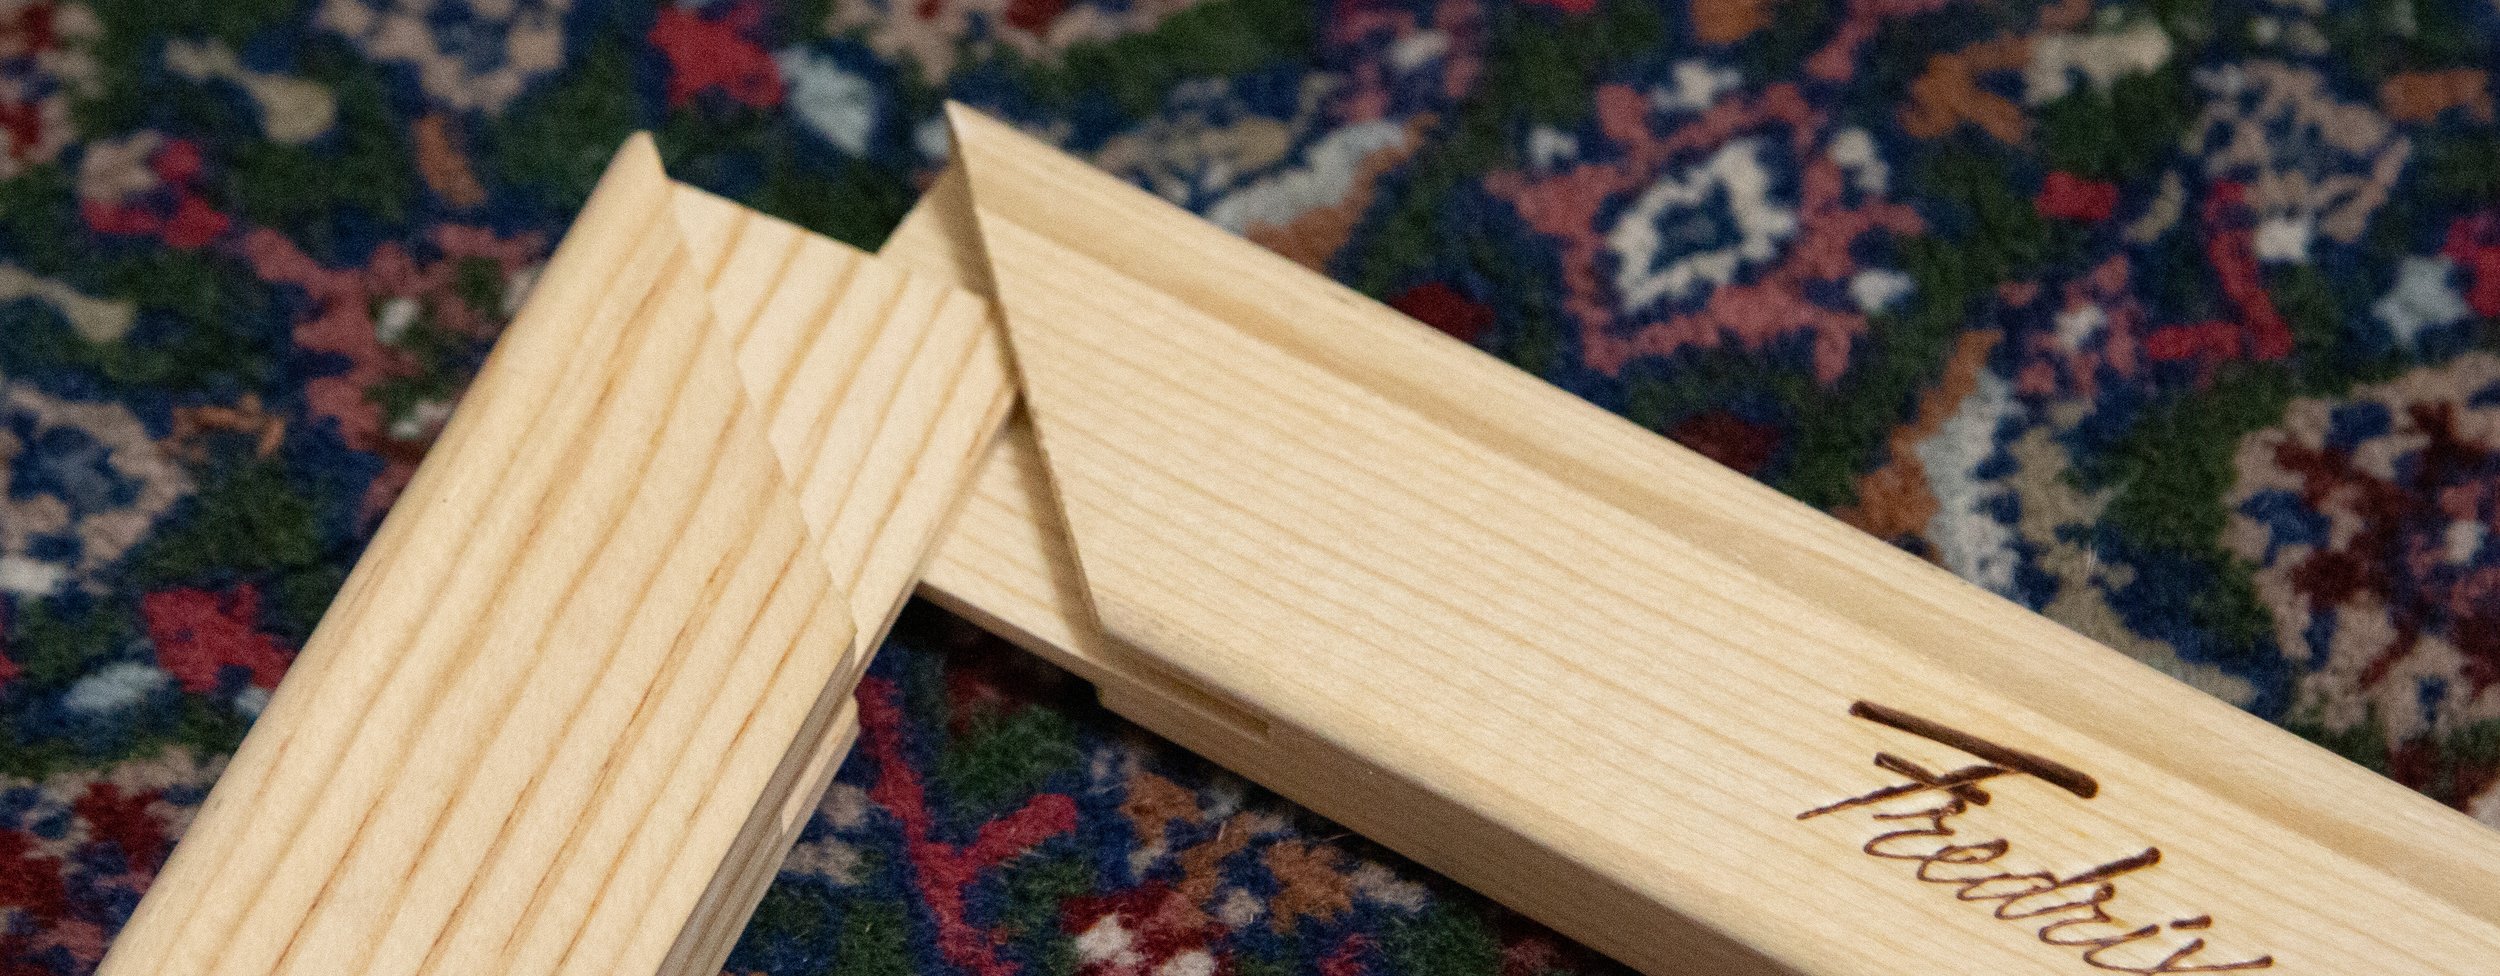
First, fit the stretcher bars together. Each one is fitted with tongue and groove corner ends making it easy to assemble by interlocking the joinery.
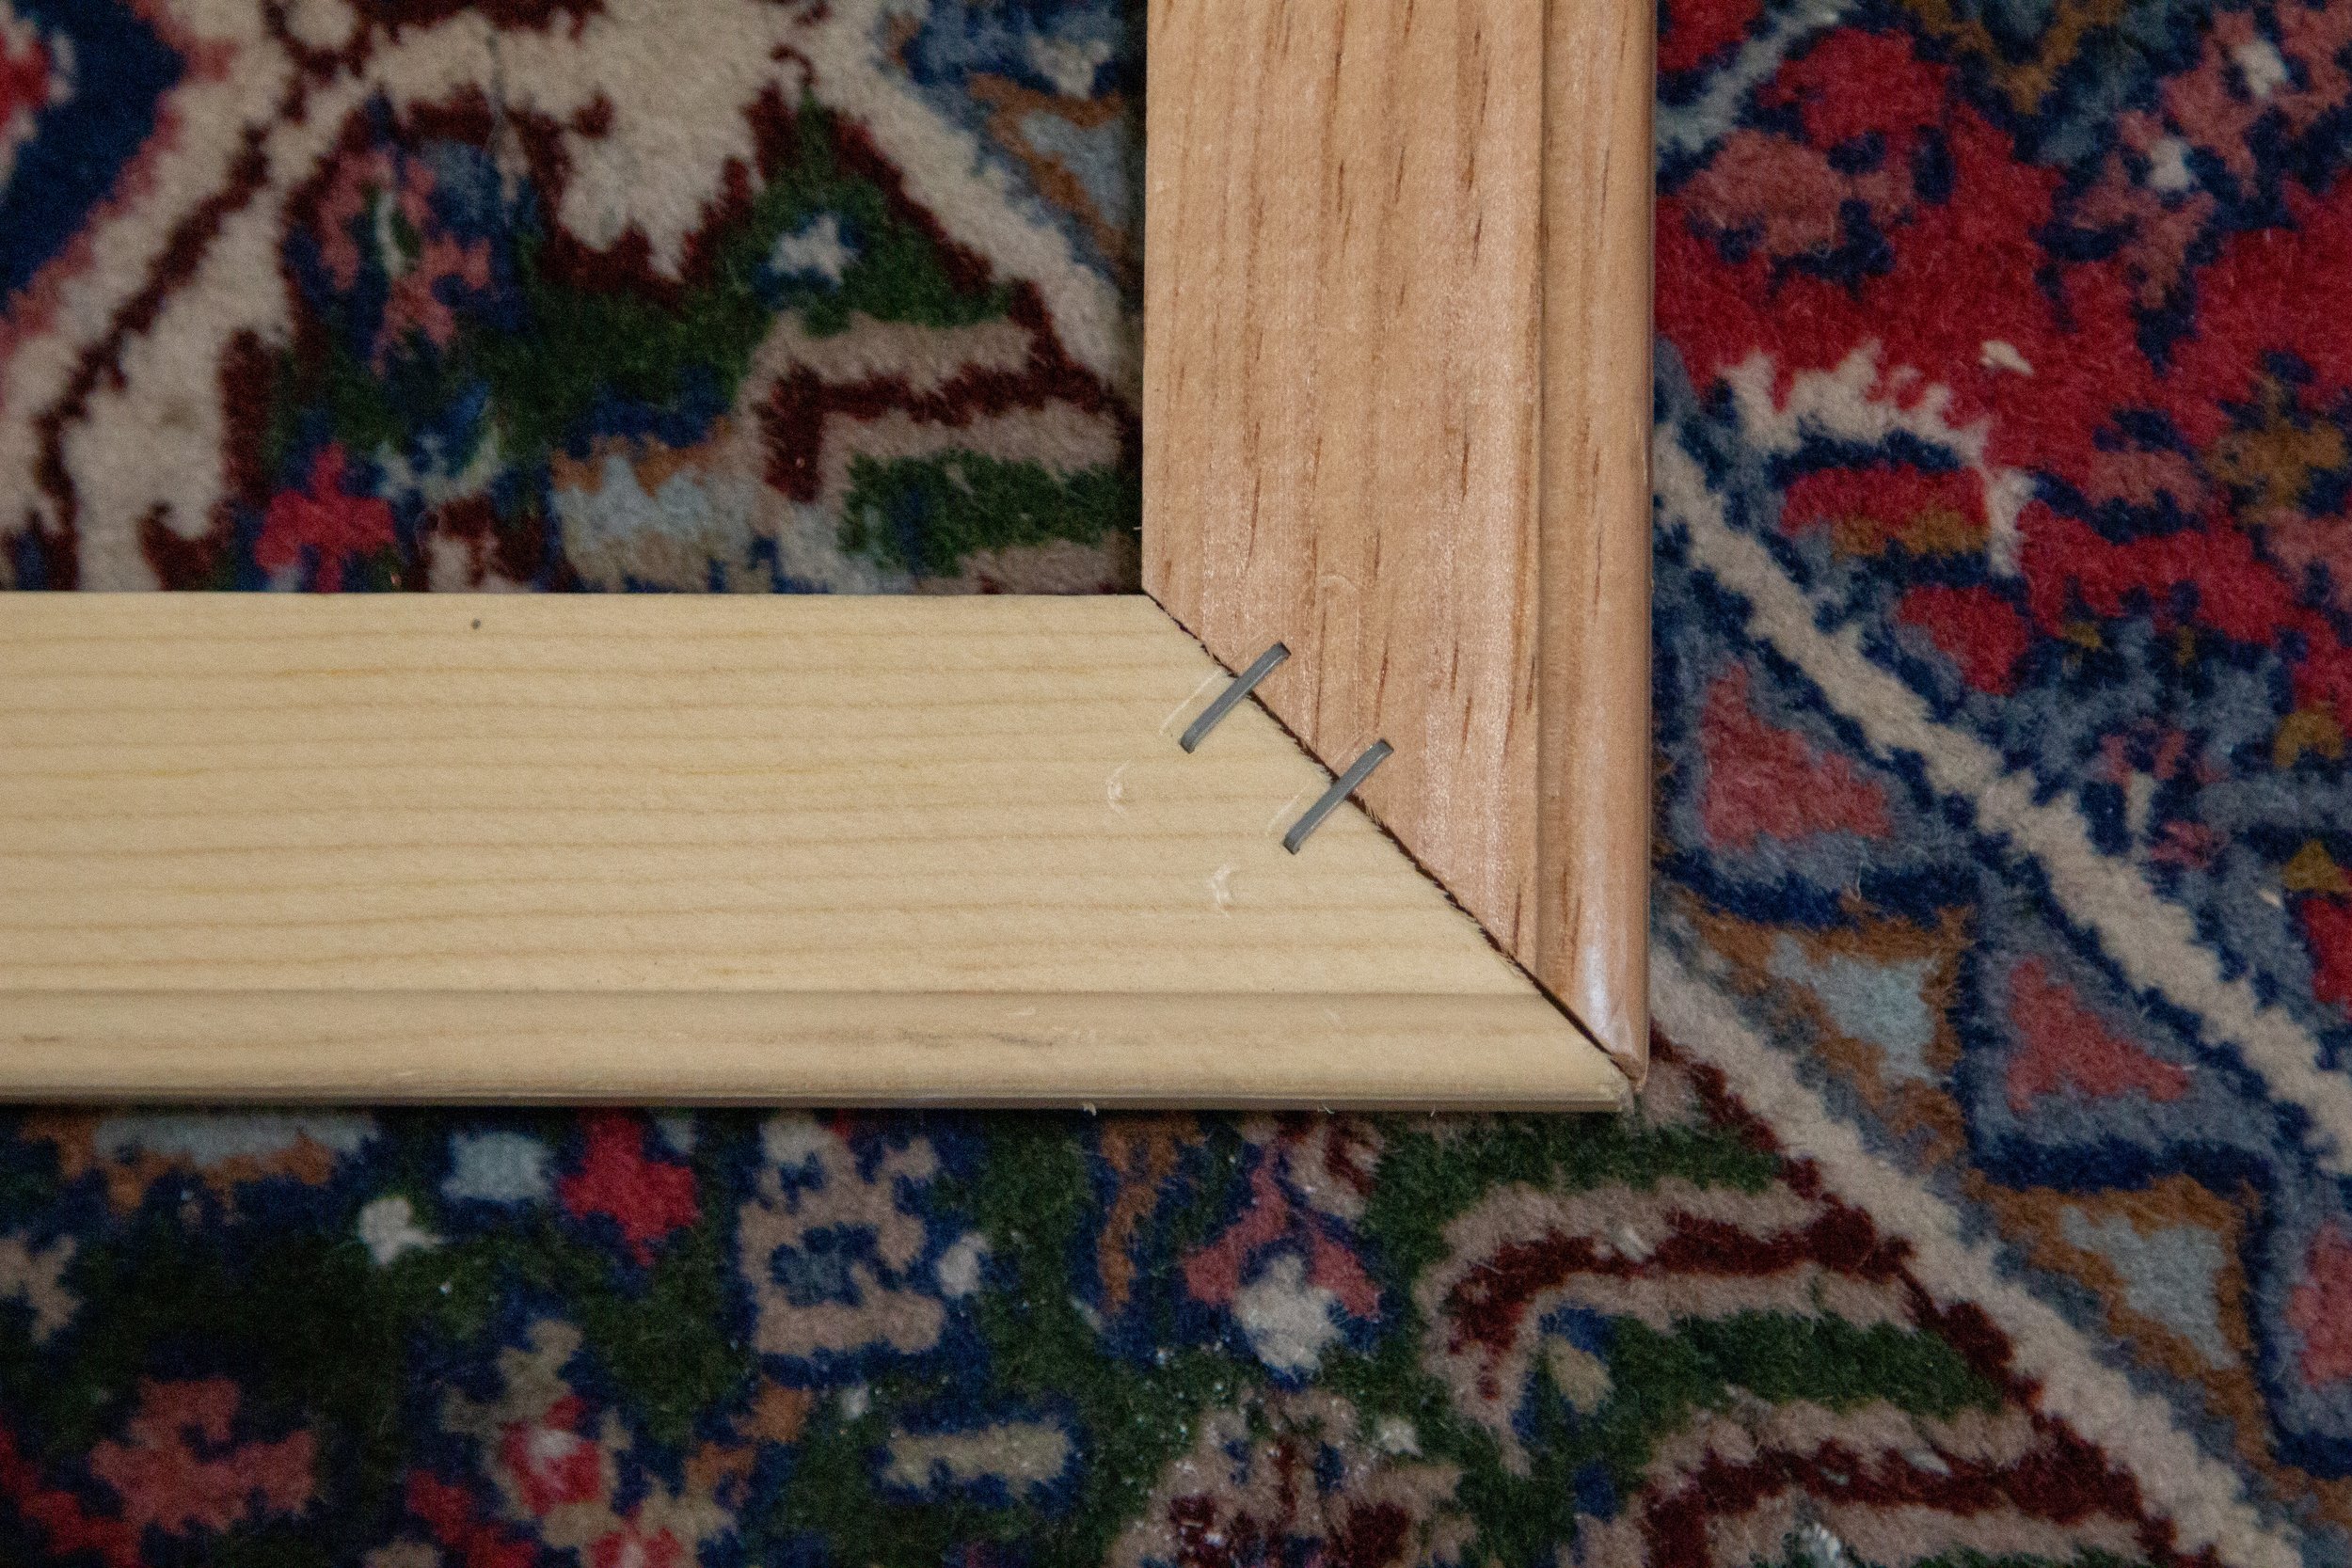
Once each is locked in place and the corners are squared, I staple them together on both sides (two on top and two on bottom). You could certainly use some wood glue for added strength, however if I ever need to “key” the corners ( a method of inserting small wooden cut-outs that open the joinery slightly and thus add tension to an already stretched canvas), the glue might prohibit this.
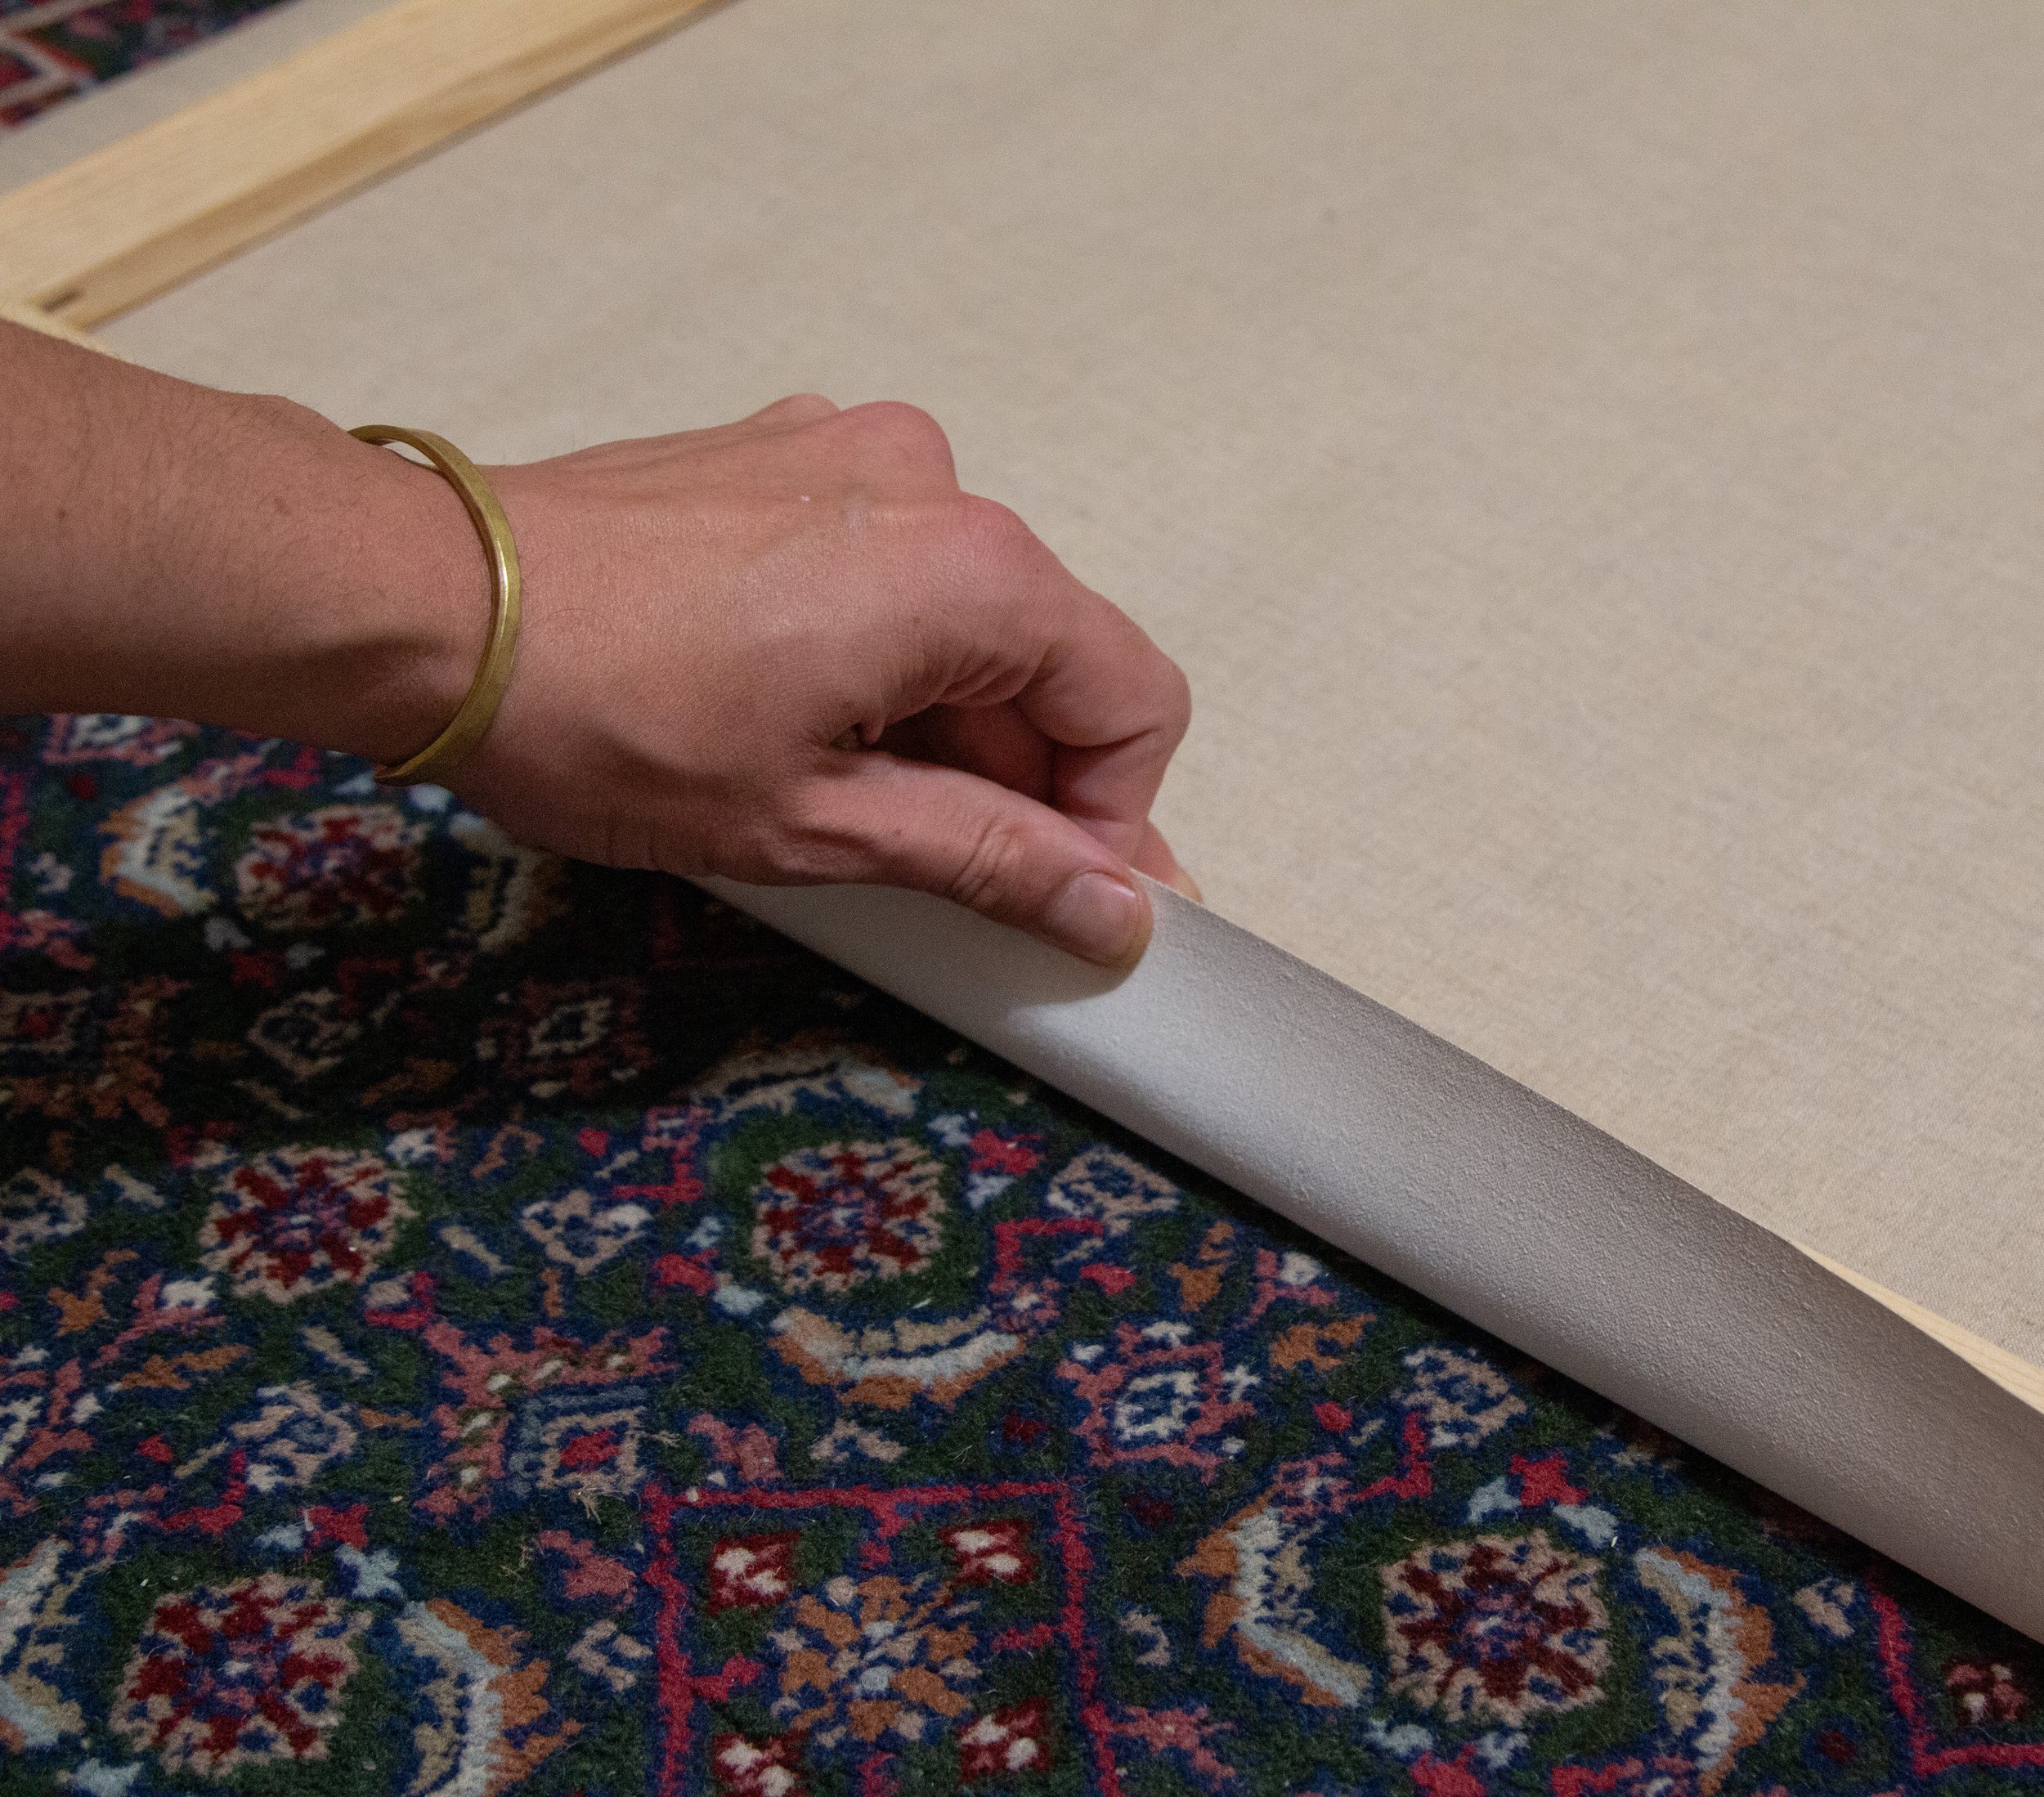
Now that my bars are connected, I lay the frame on top of my linen (laying primed side down). I’ve cut the fabric to have a surplus of 1.5” to 2”. This extra fabric will allow for a tight grip when I start to use my pliers, and will also aid in re-stretching later down the road if that ever comes up.
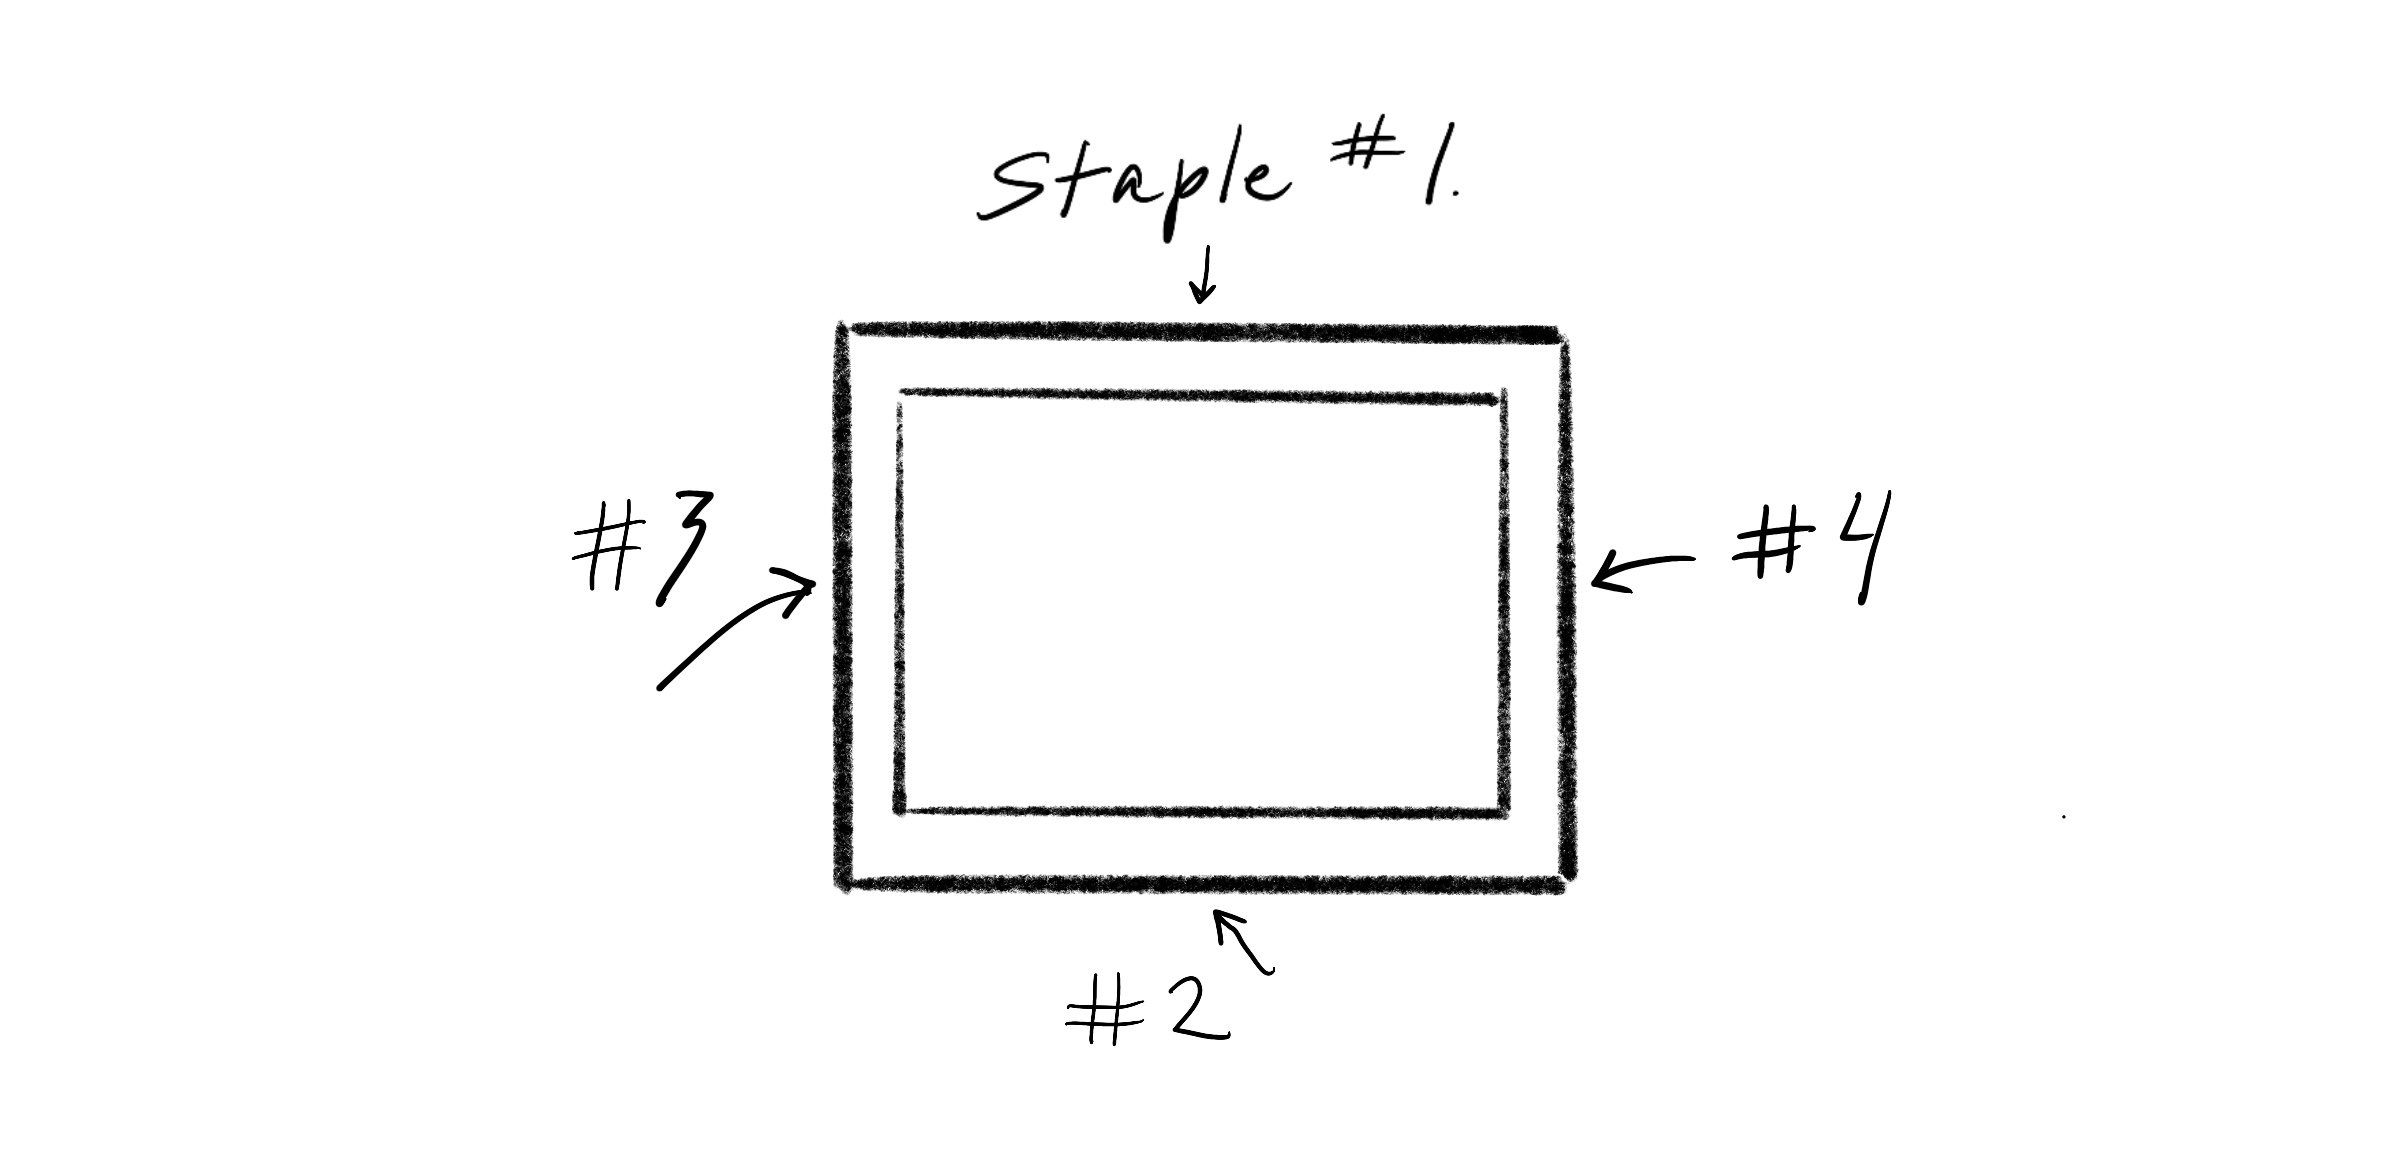
With the canvas and frame in place, I estimate the center of the first bar (you could measure to be more precise) and prepare to staple. Using the pliers is unnecessary at this point as there isn’t any tension needed.
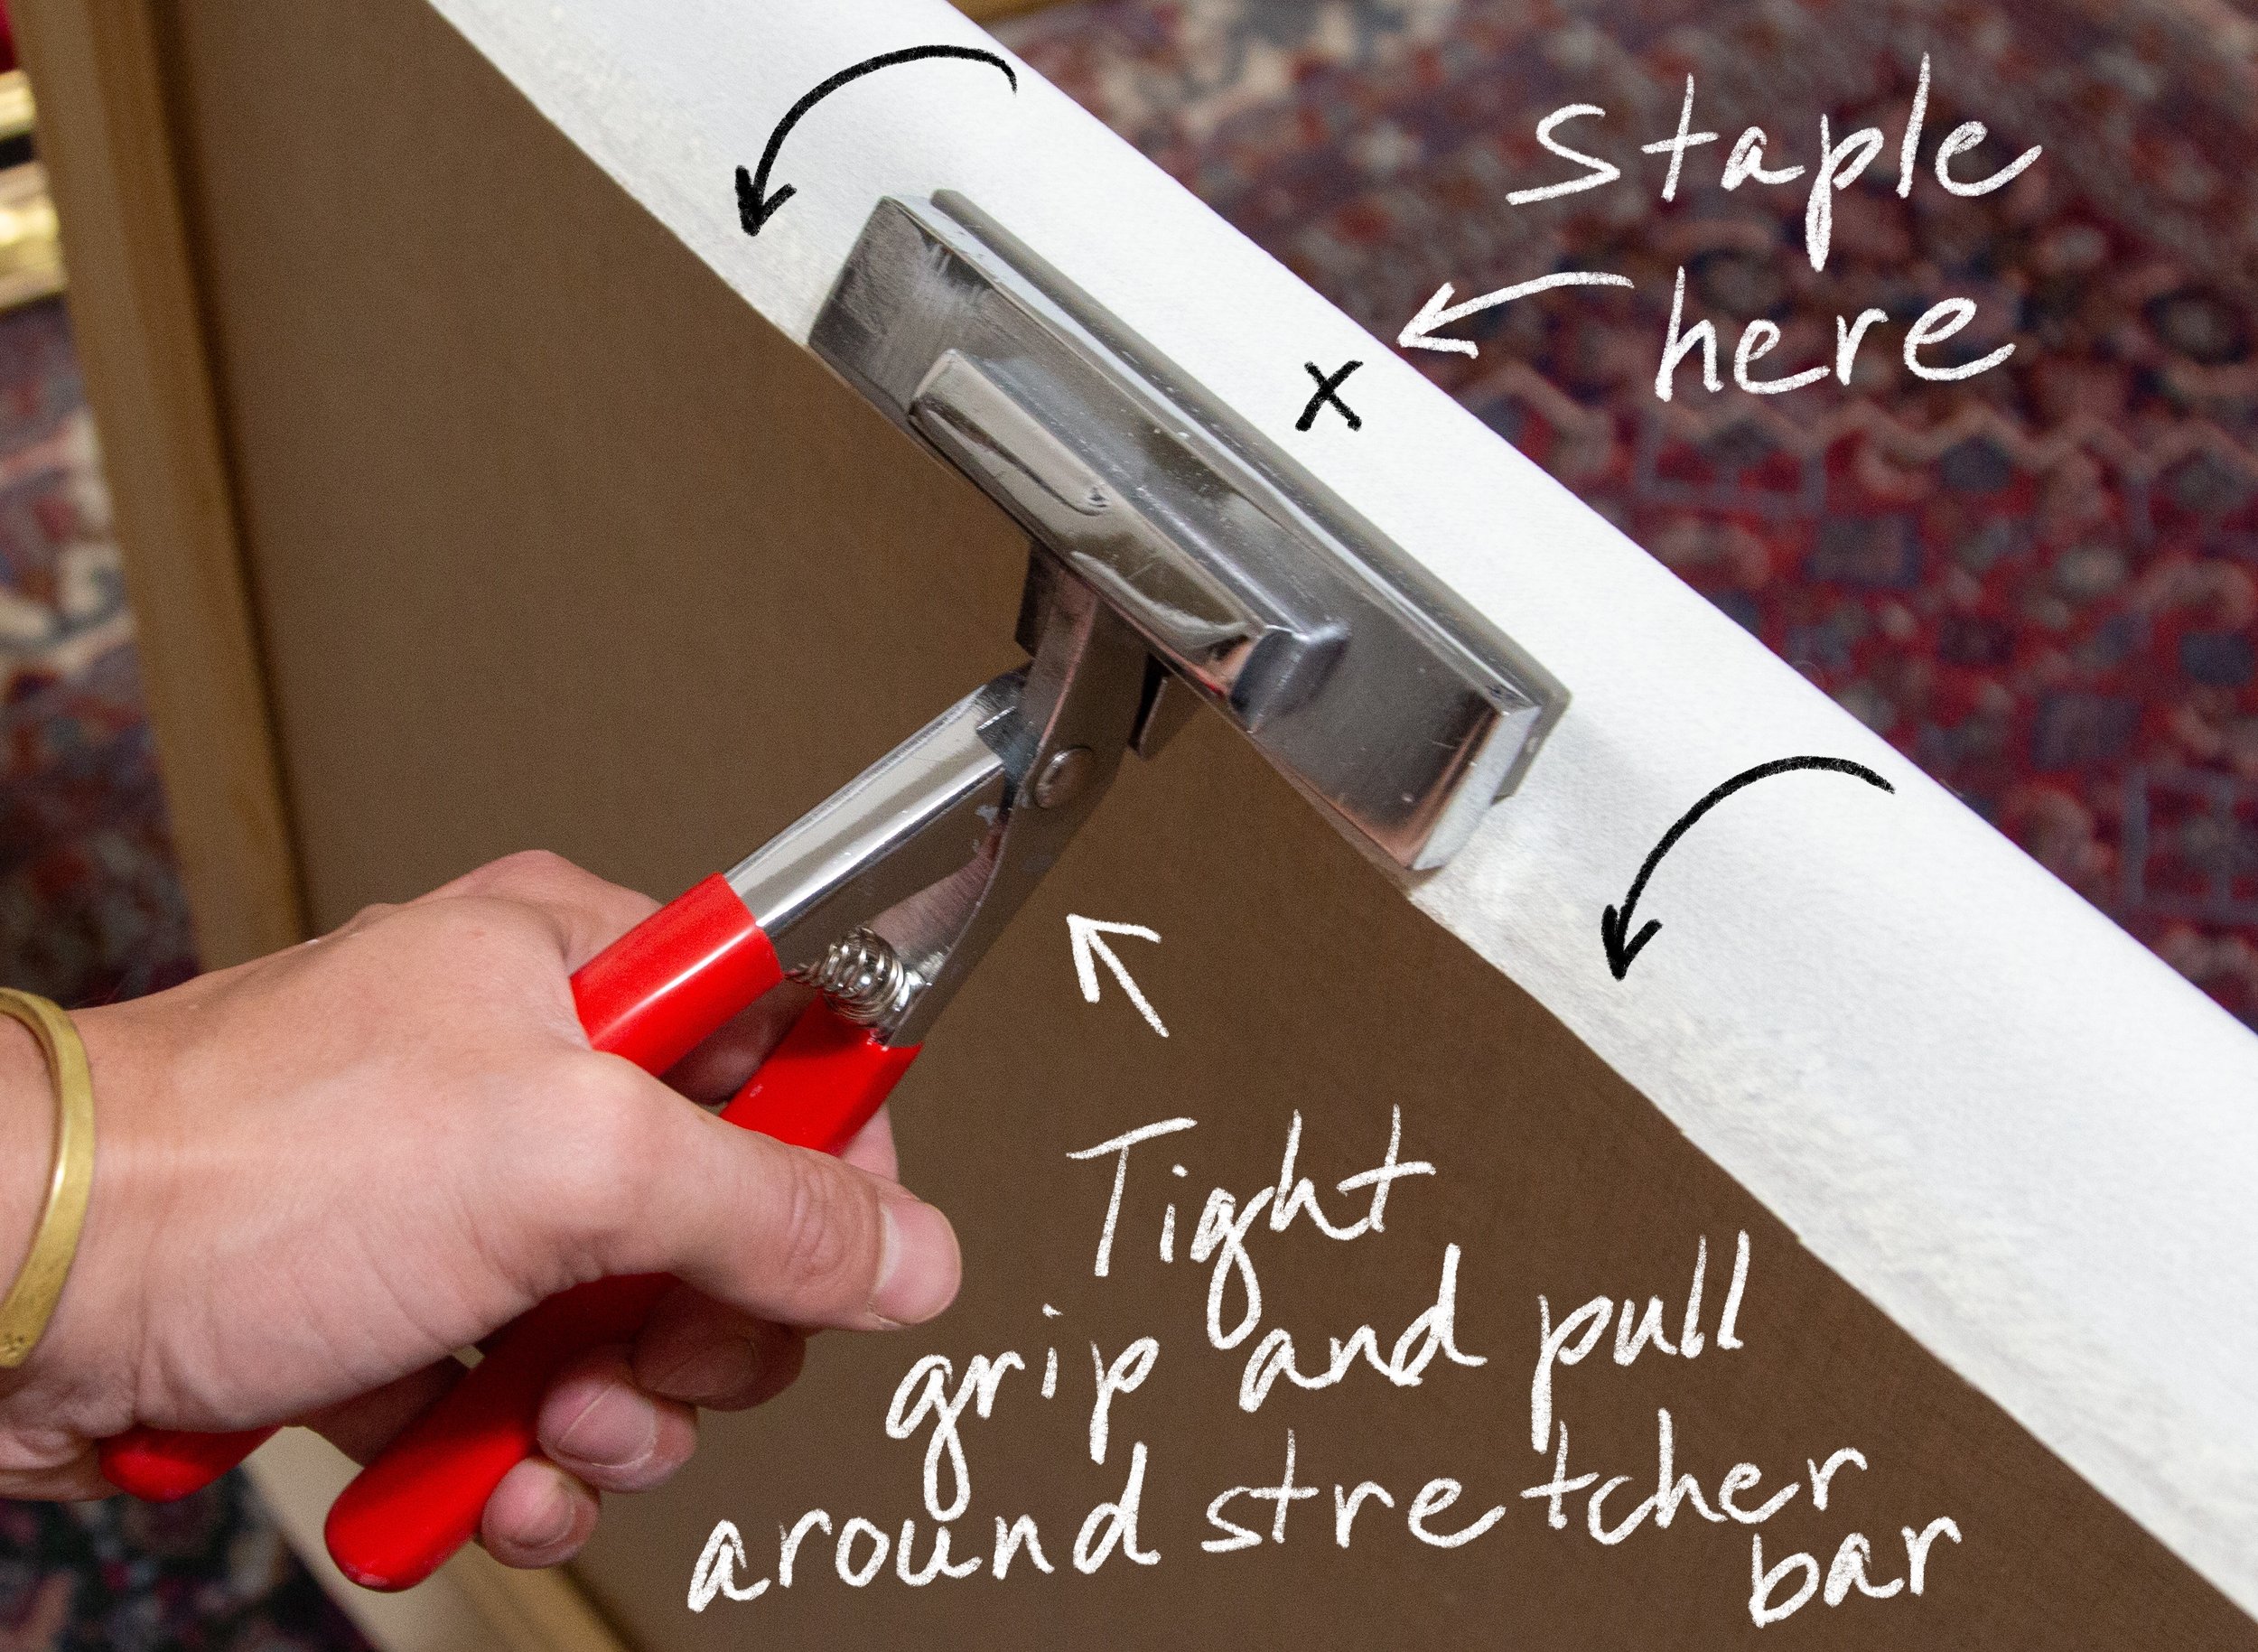
After the first staple has been inserted, I move to the OPPOSITE side (it’s important to always work in tandem from one side to its direct opposite) and now have opportunity to use the pliers and get some tension going. With one hand I grip the canvas with my pliers, and with the other I insert a staple. I’ll start with just one on opposite sides, and then rotate and do the same…
It’s difficult for me to simultaneously grip the pliers and use the staple gun, so I keep my hammer ready in case I need to finish securing the staple.
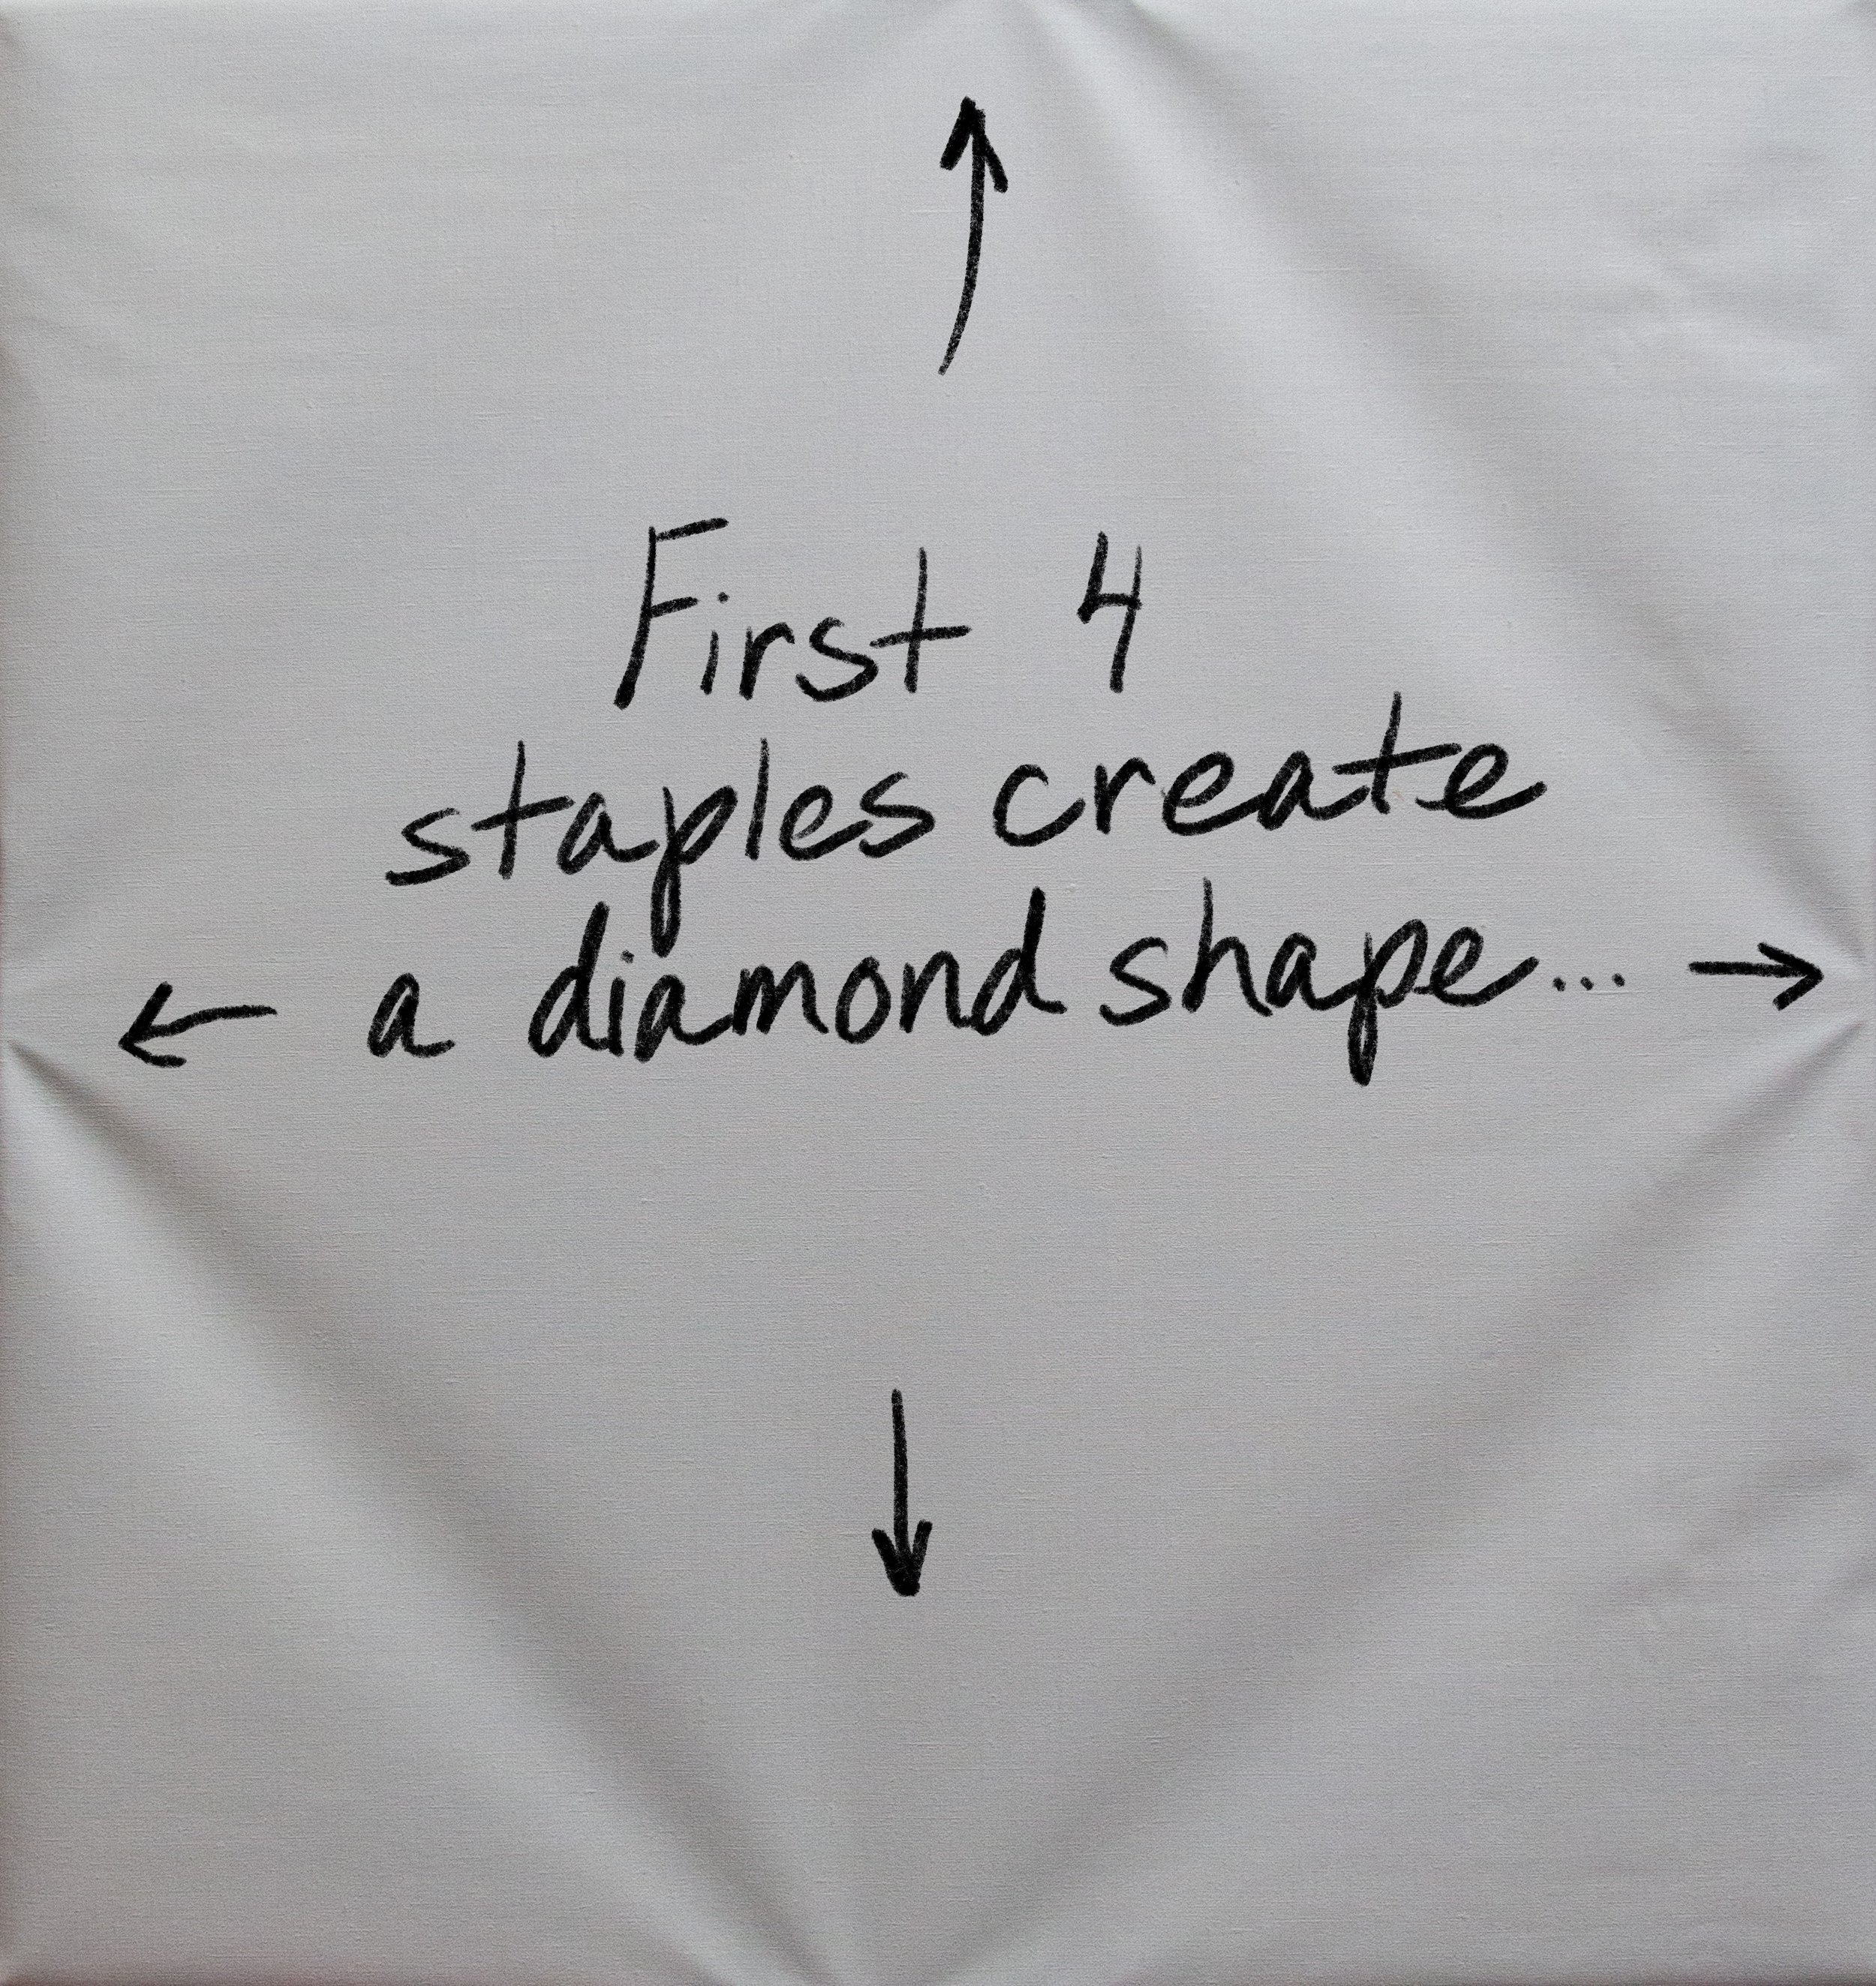
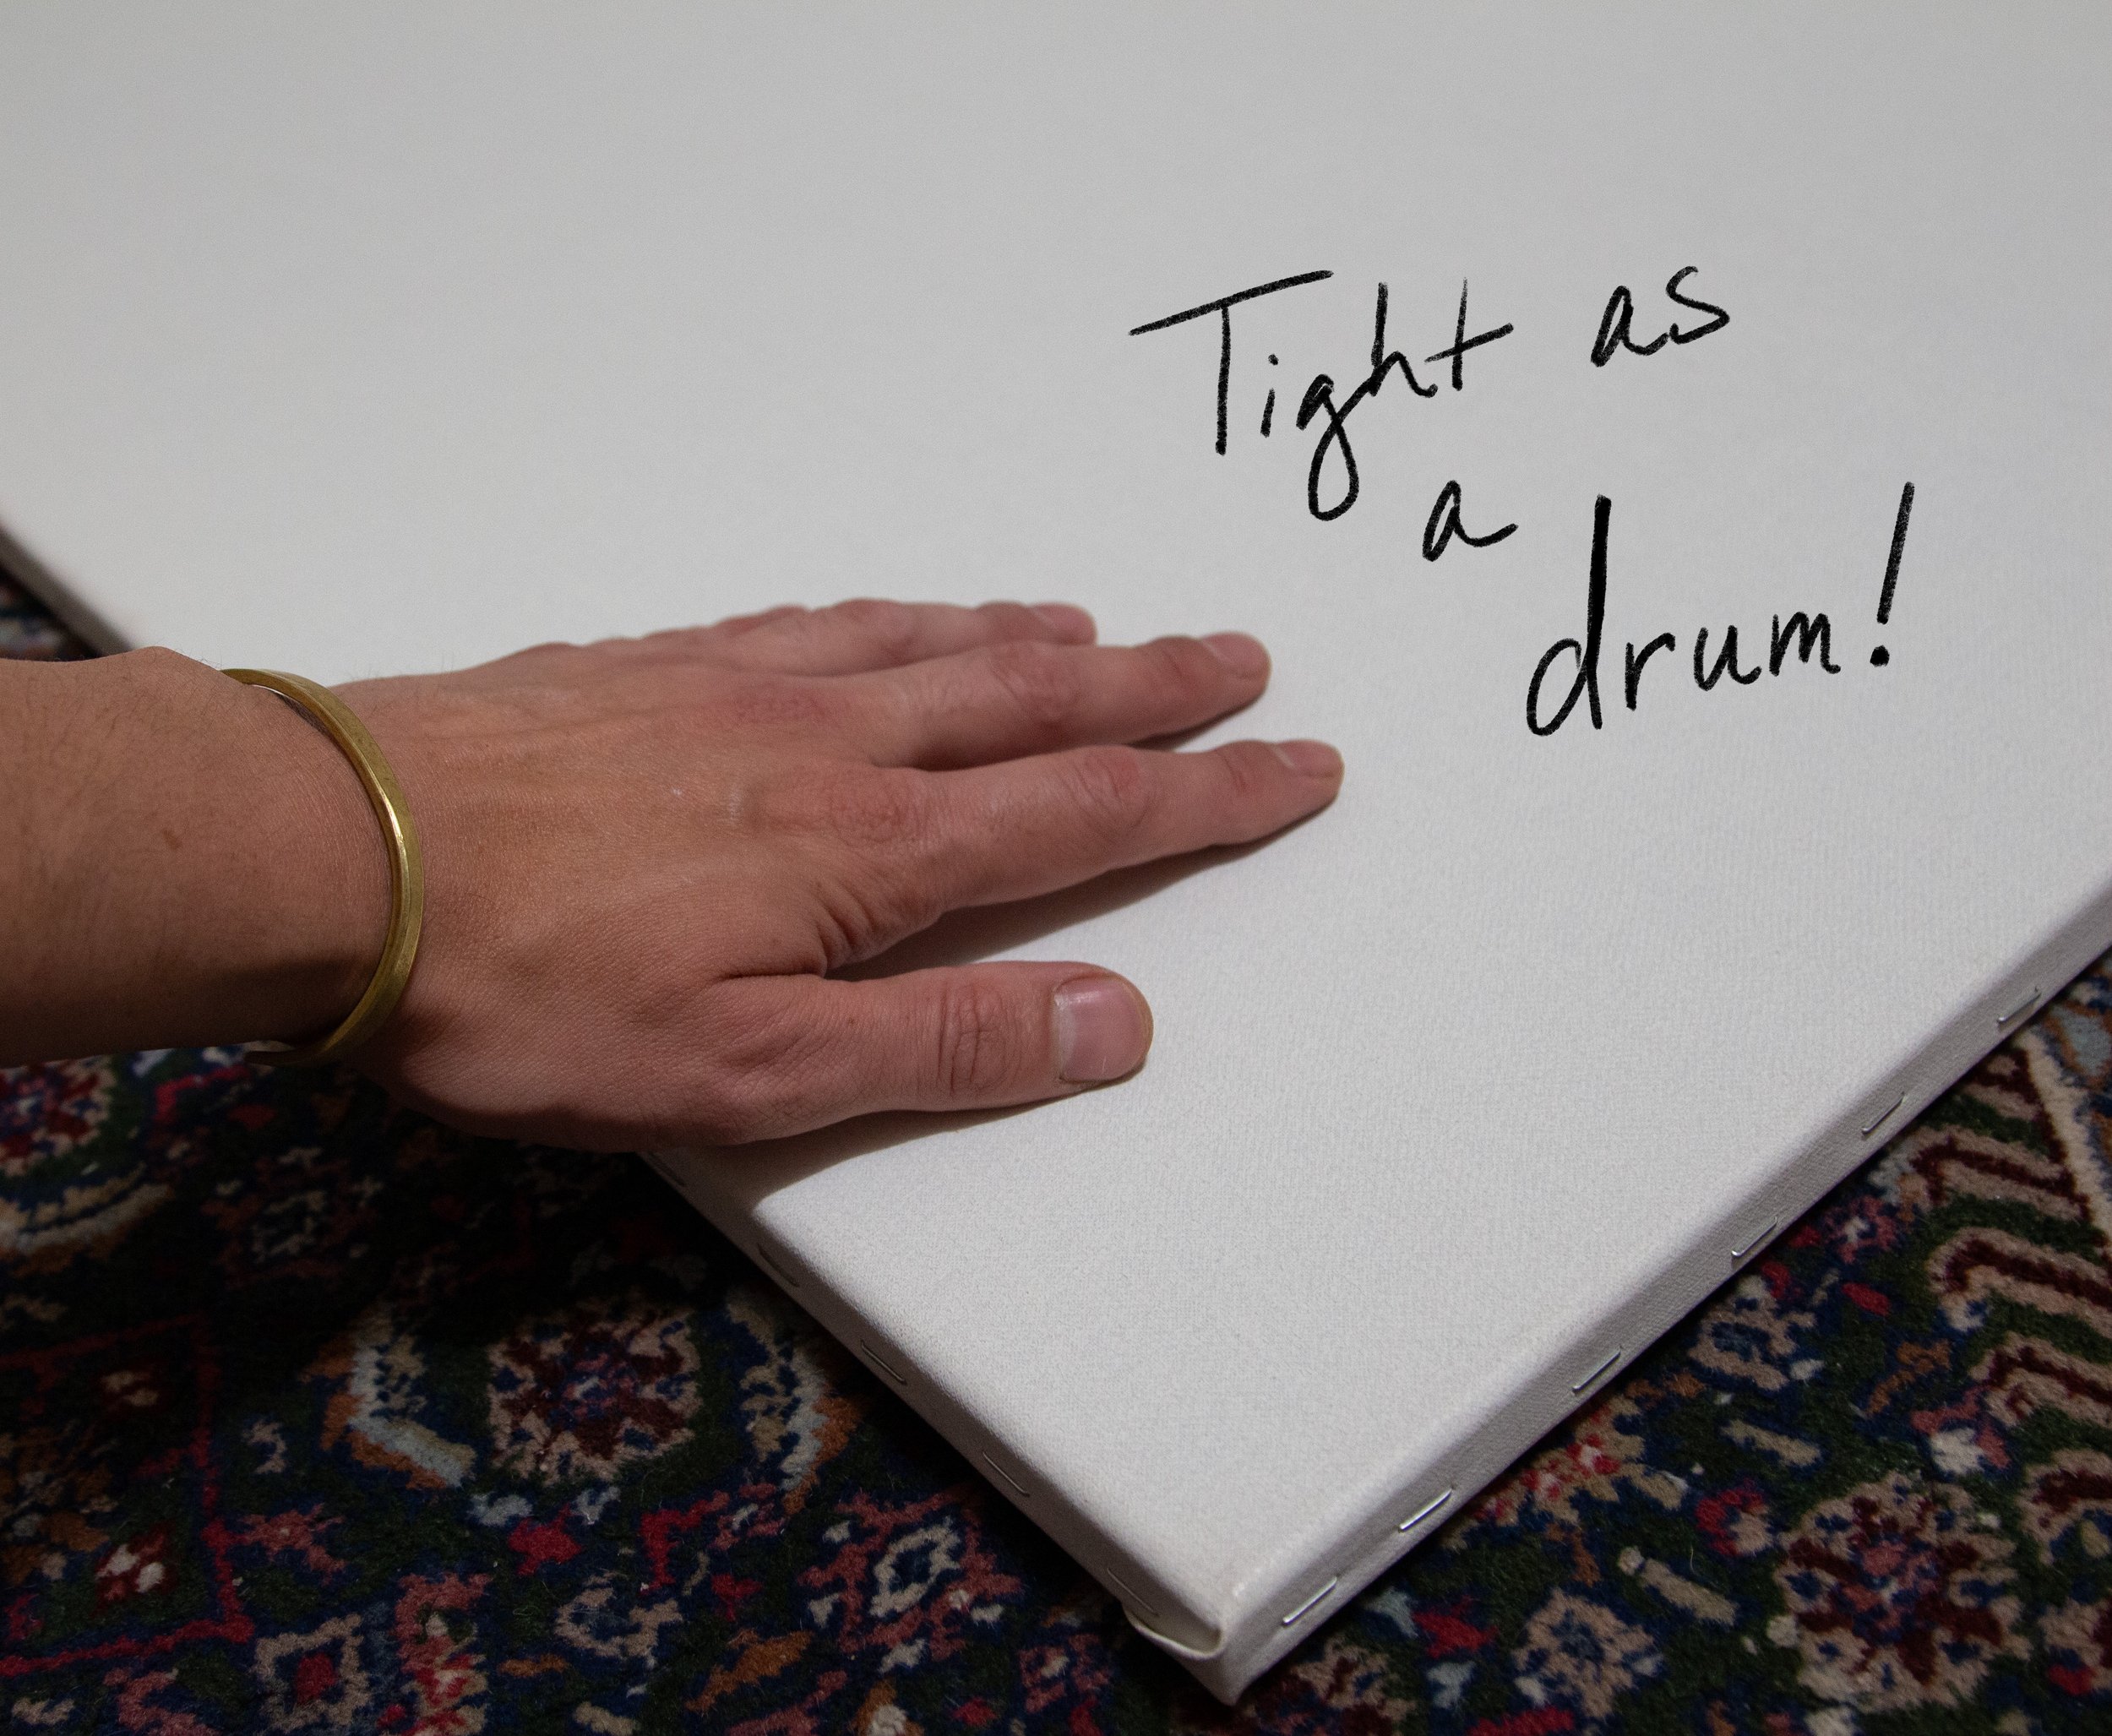
Once those initial four staples are in place, you should see a square or diamond shaped crease form on the surface of the canvas. This indicates that you’re creating the proper tension needed for what will eventually be a smooth surface.
Now I can move along the sides of my frame with additional staples, but in an organized pattern: adding one staple on either side of the first one, about an inch apart, and then moving to the opposite side of the frame and doing the same.
NOTE: Remember, whatever you do on one side of the frame, mirror that on the opposite side.
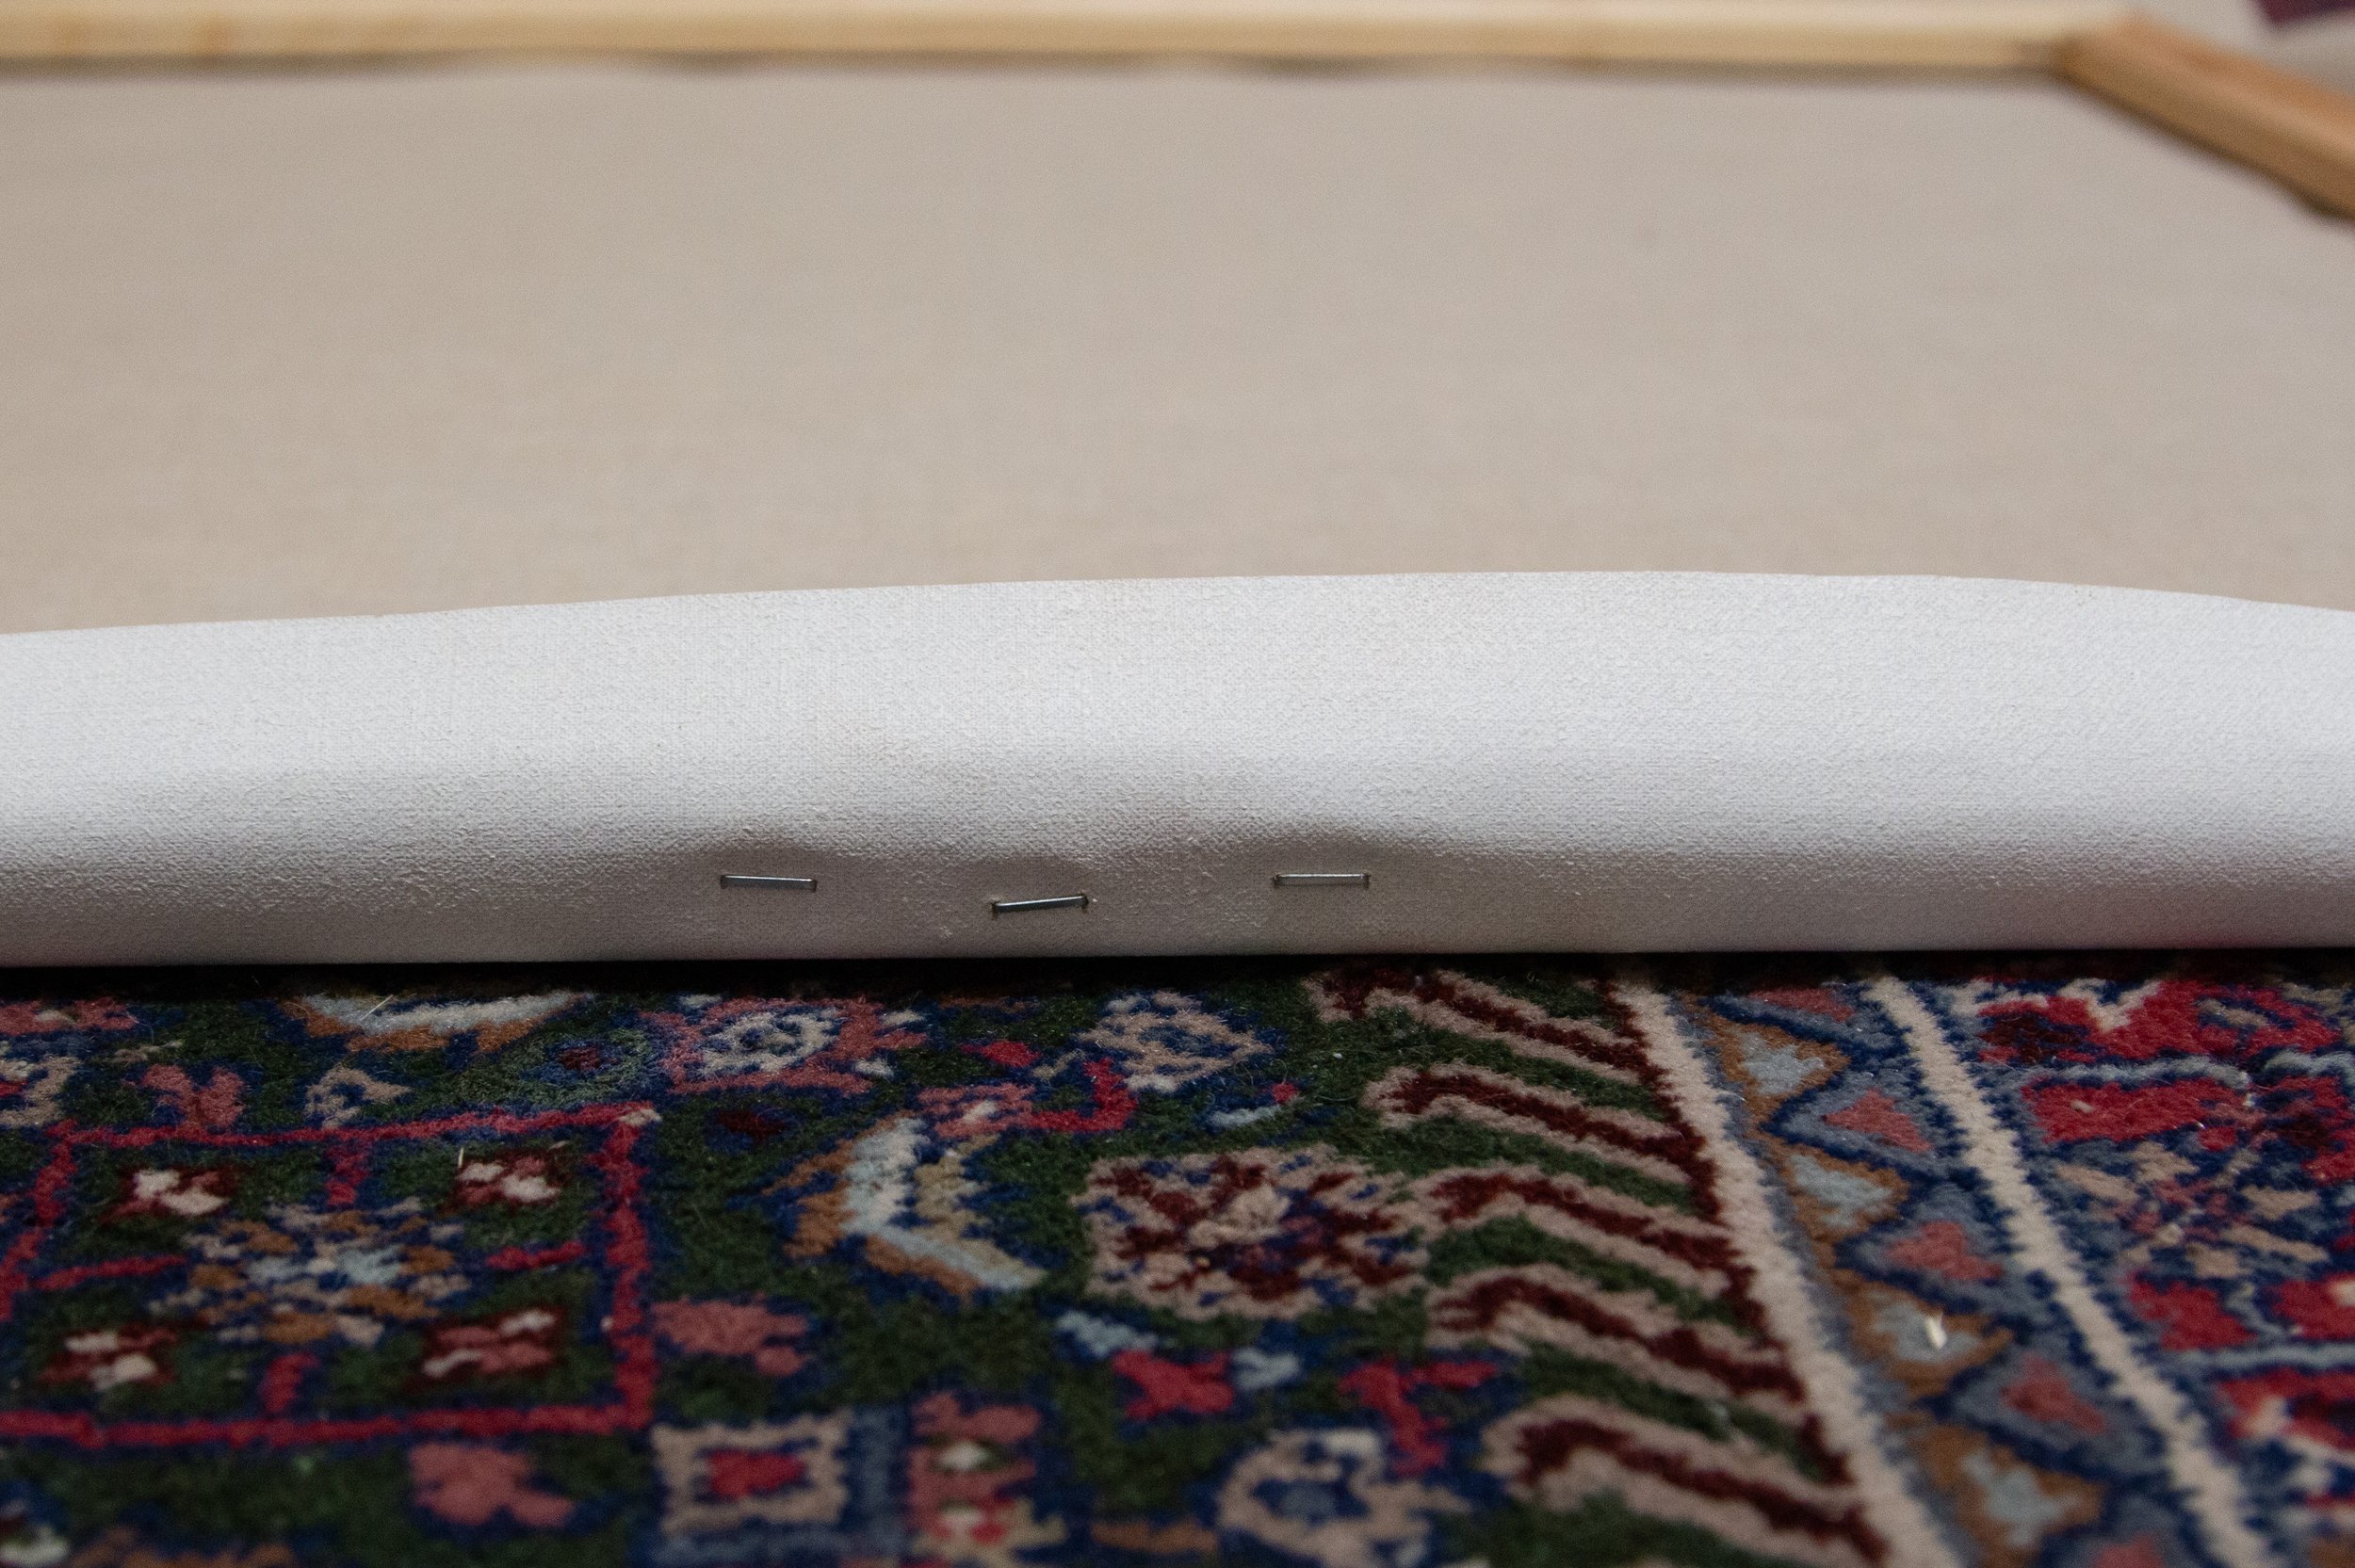
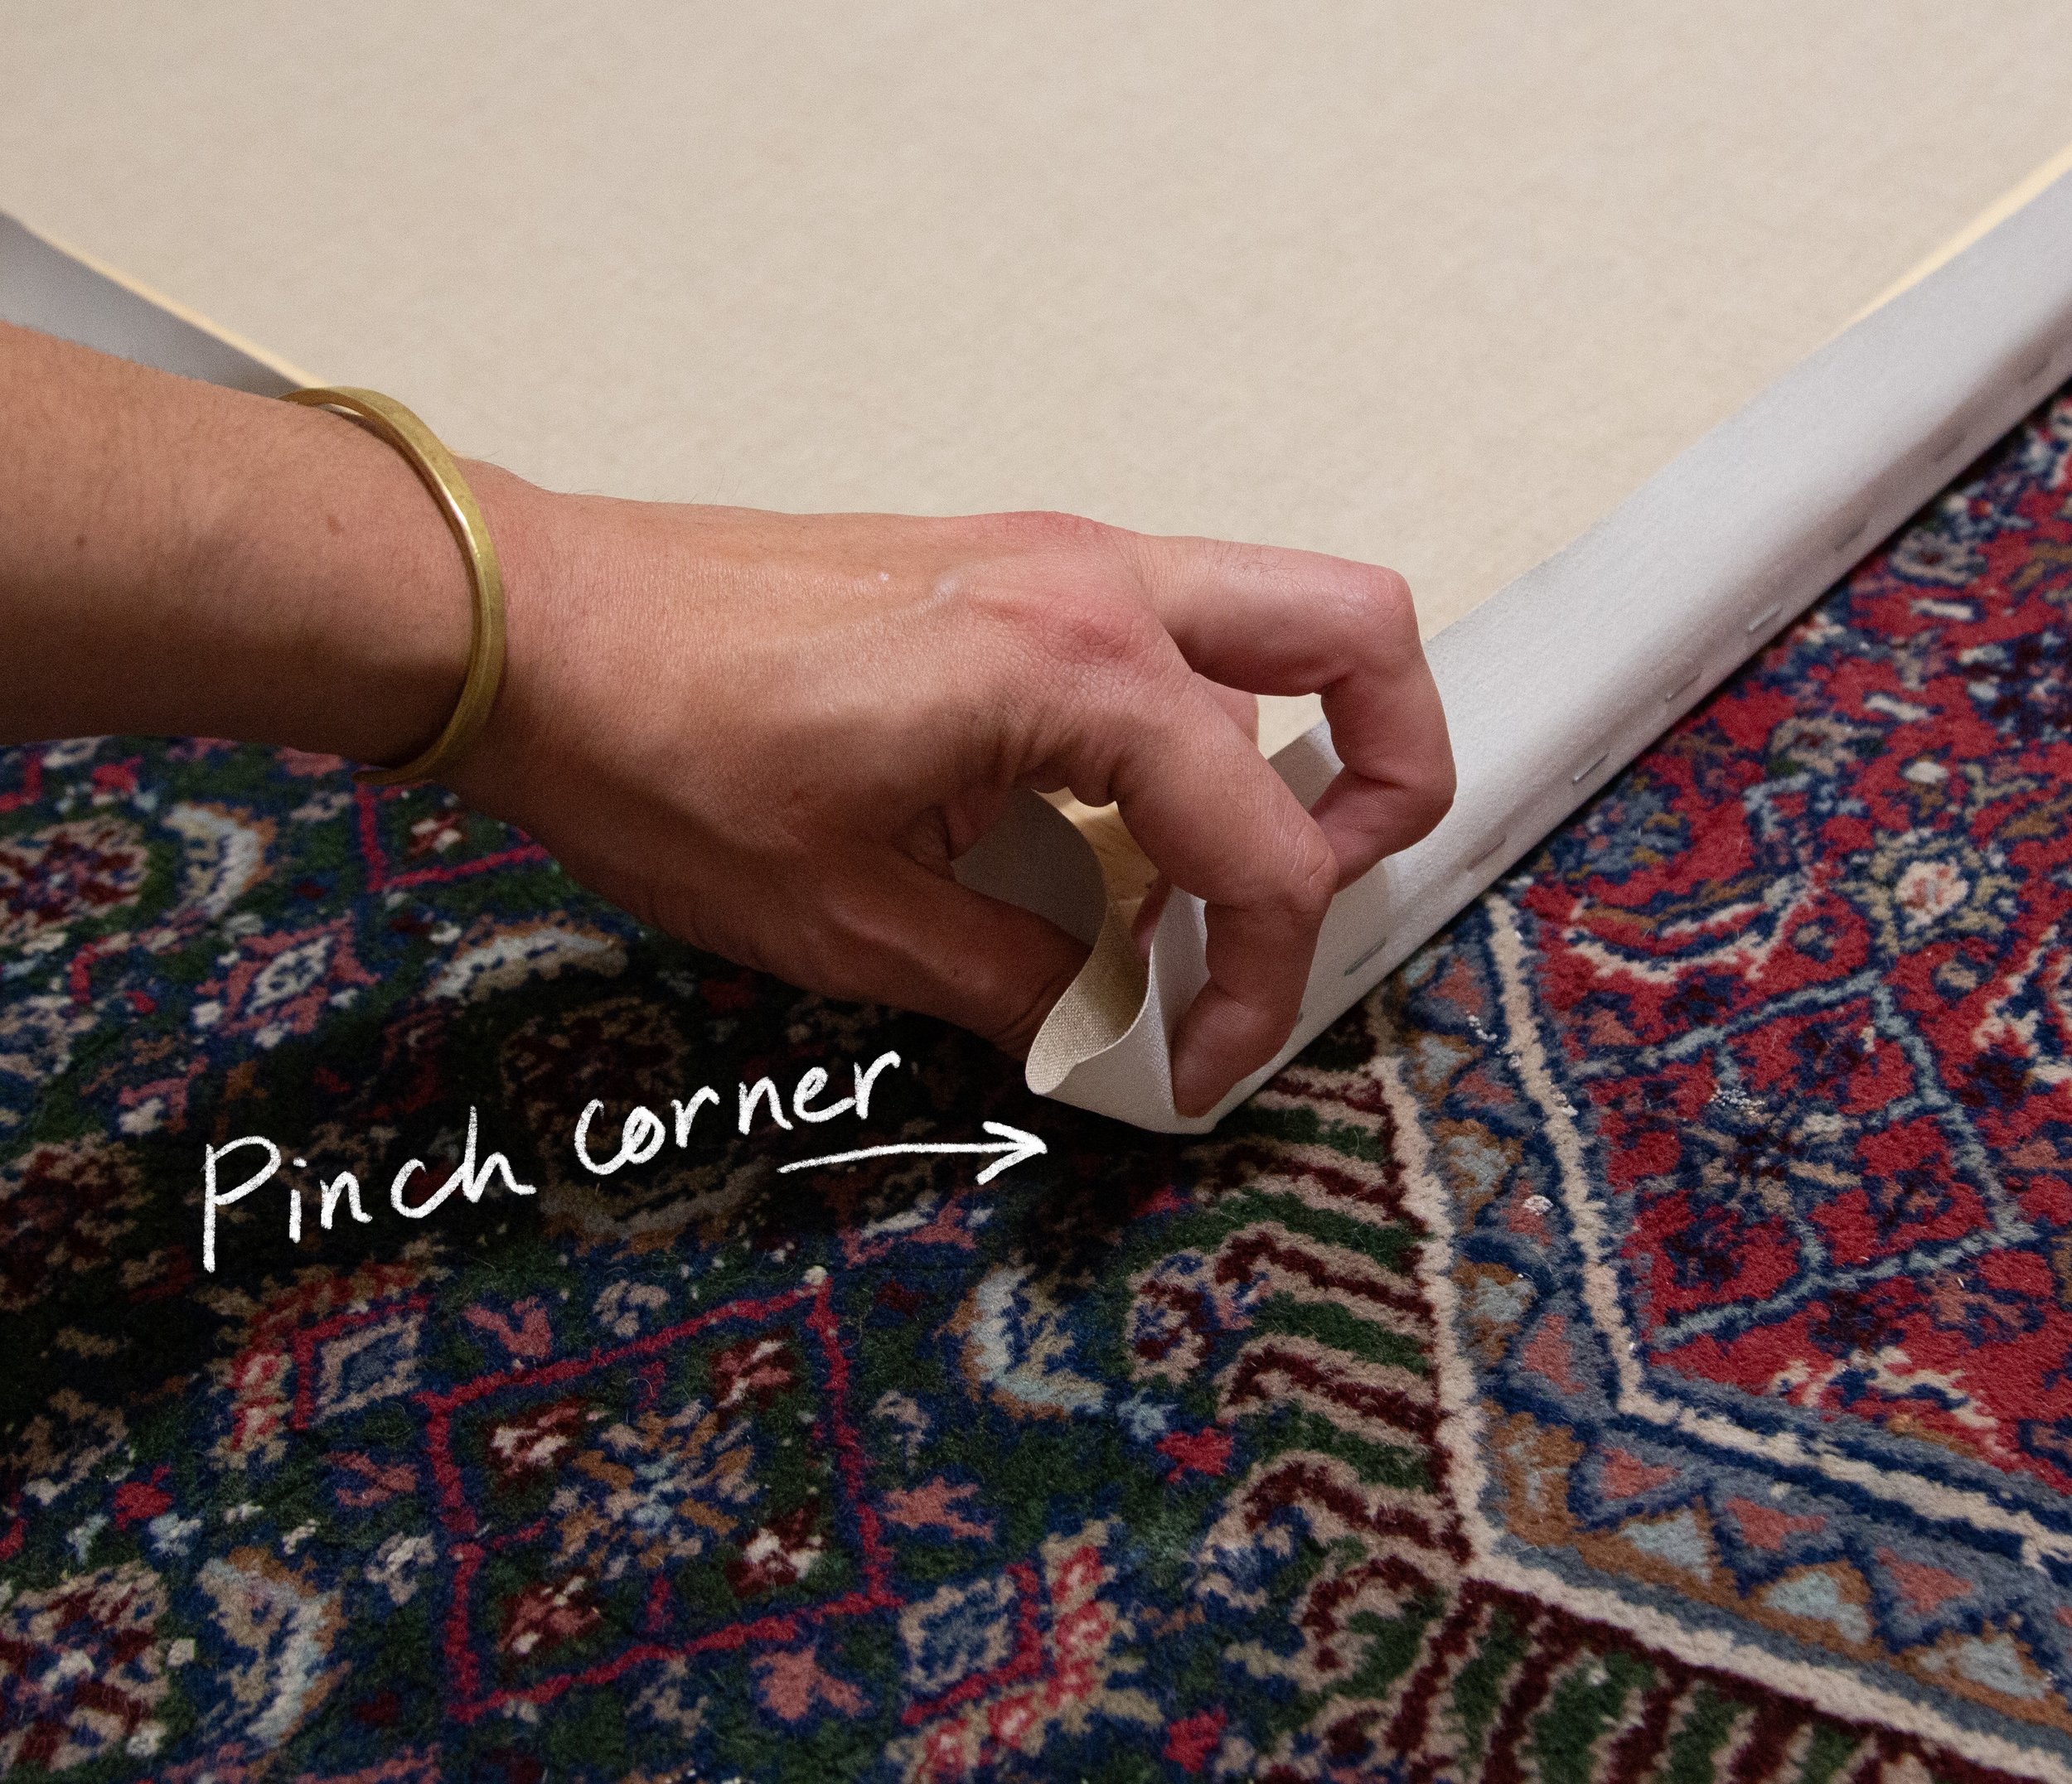
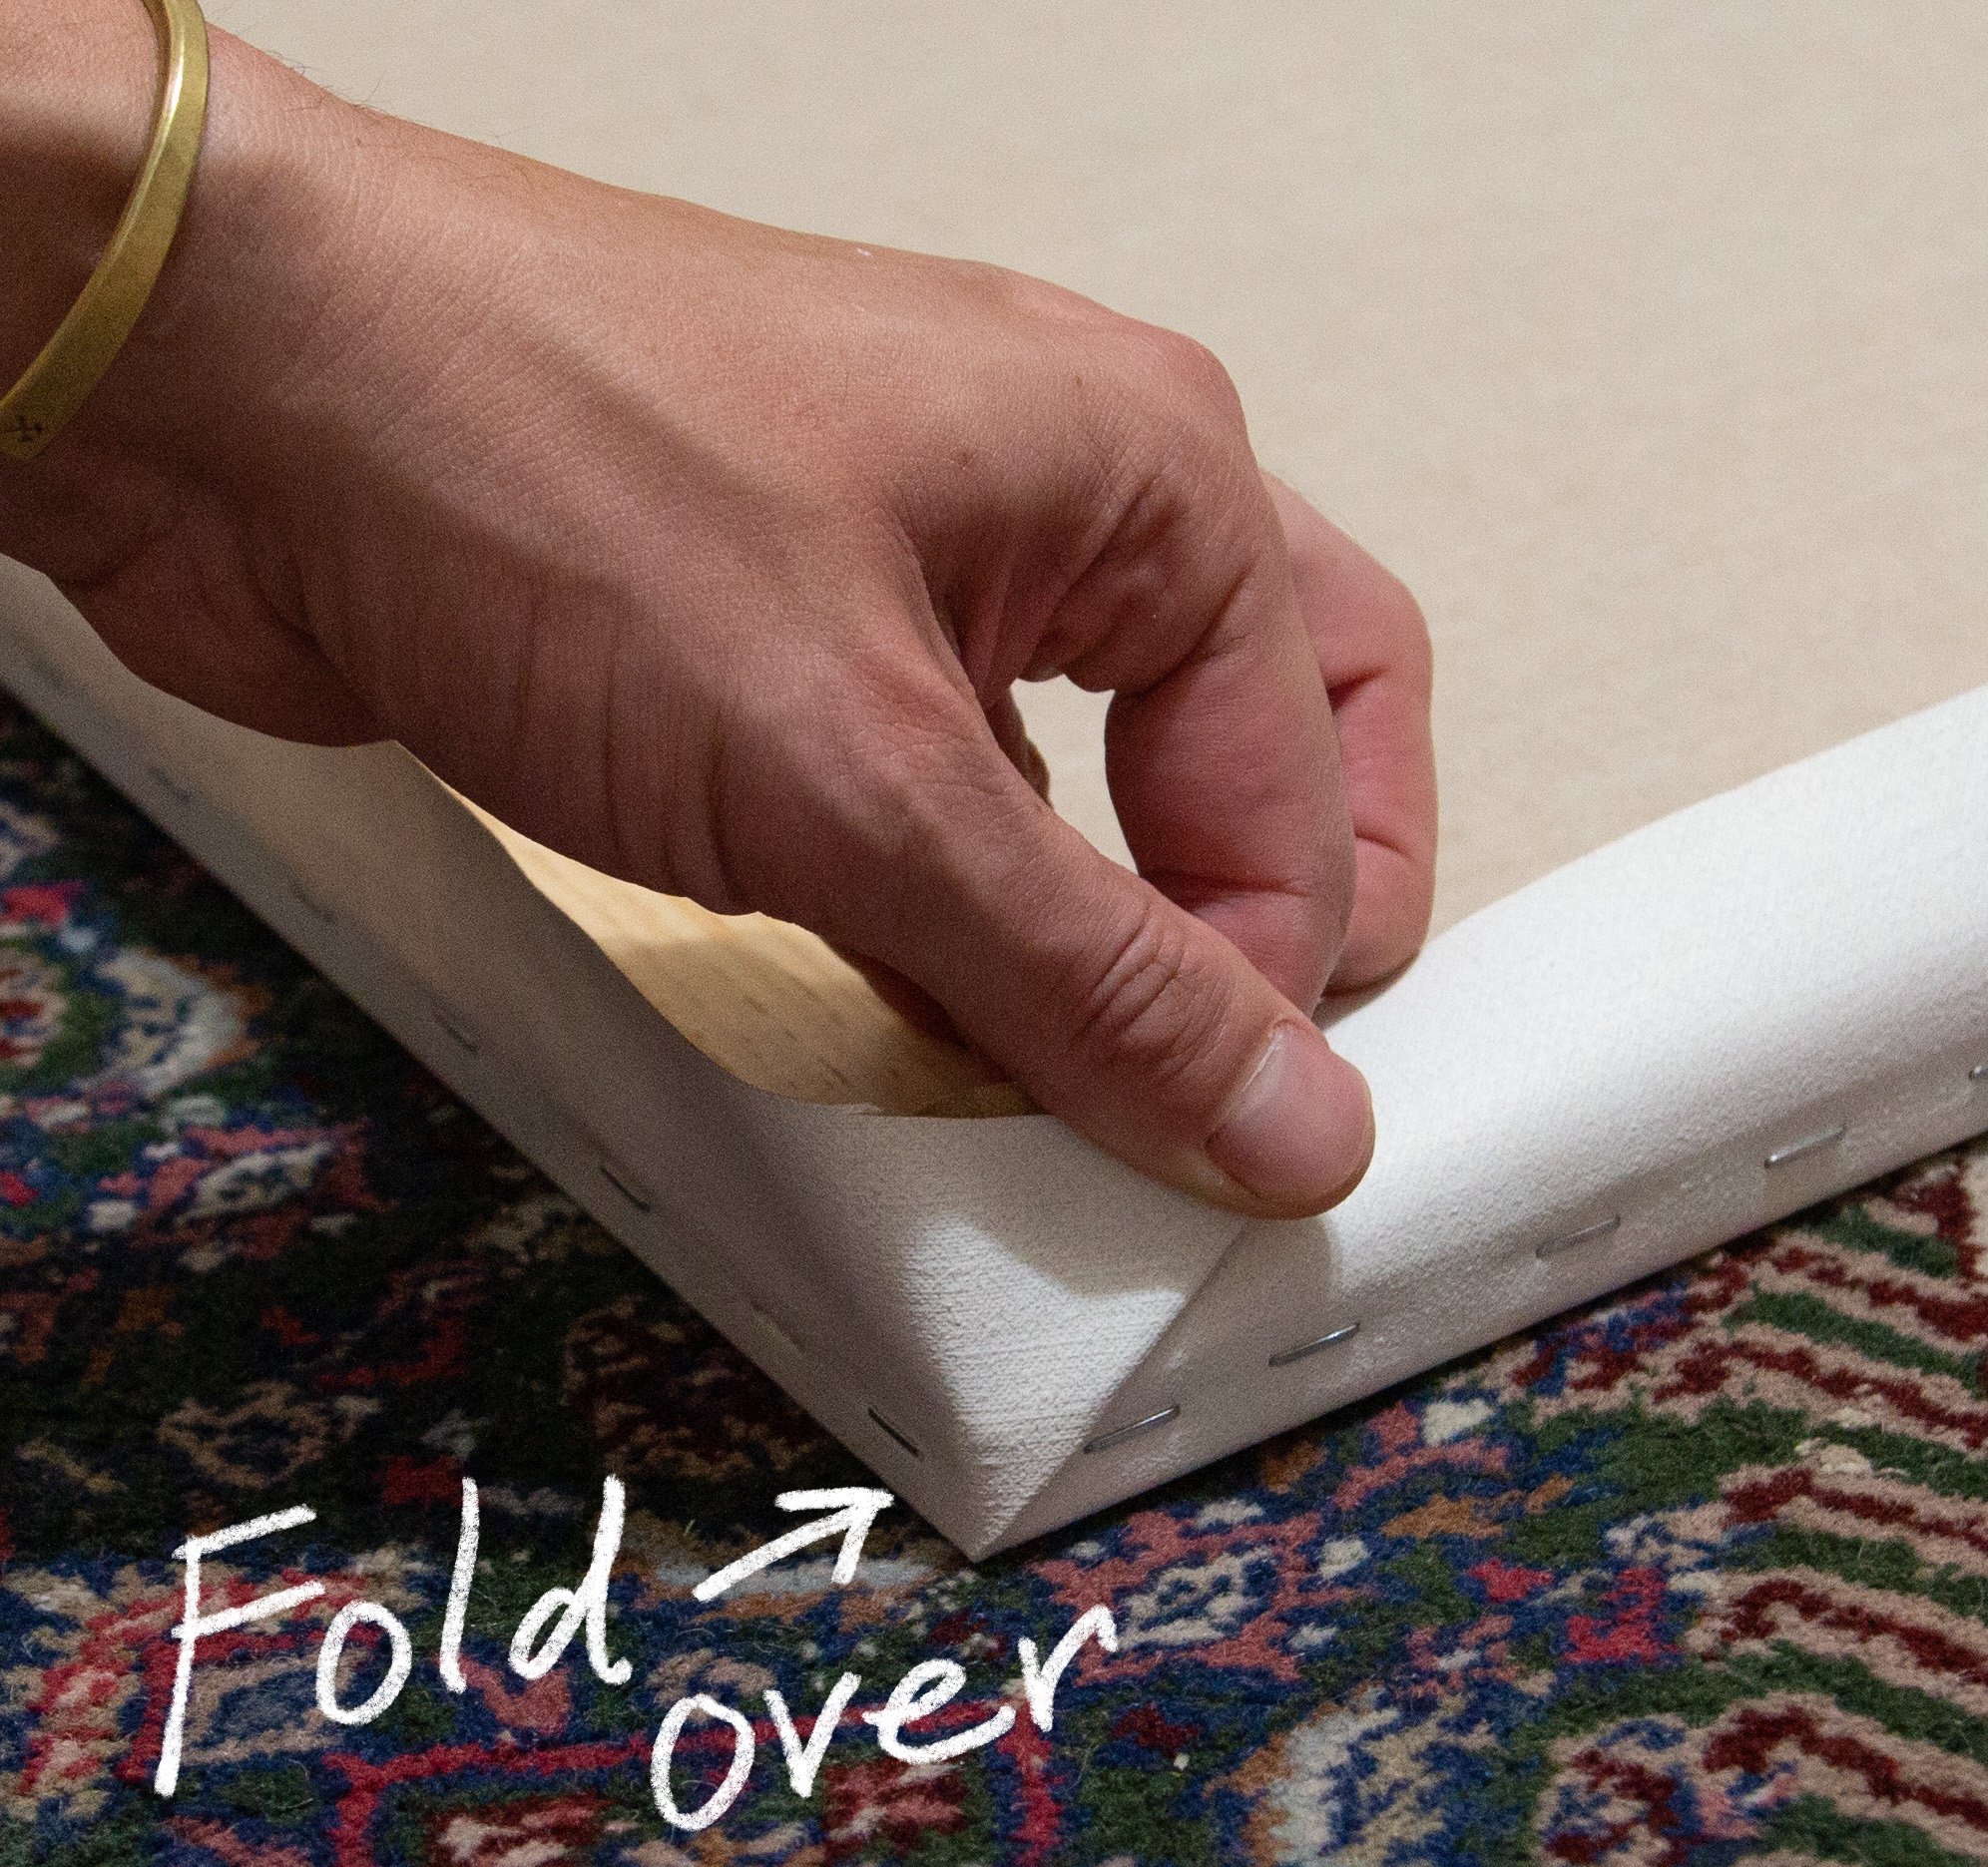
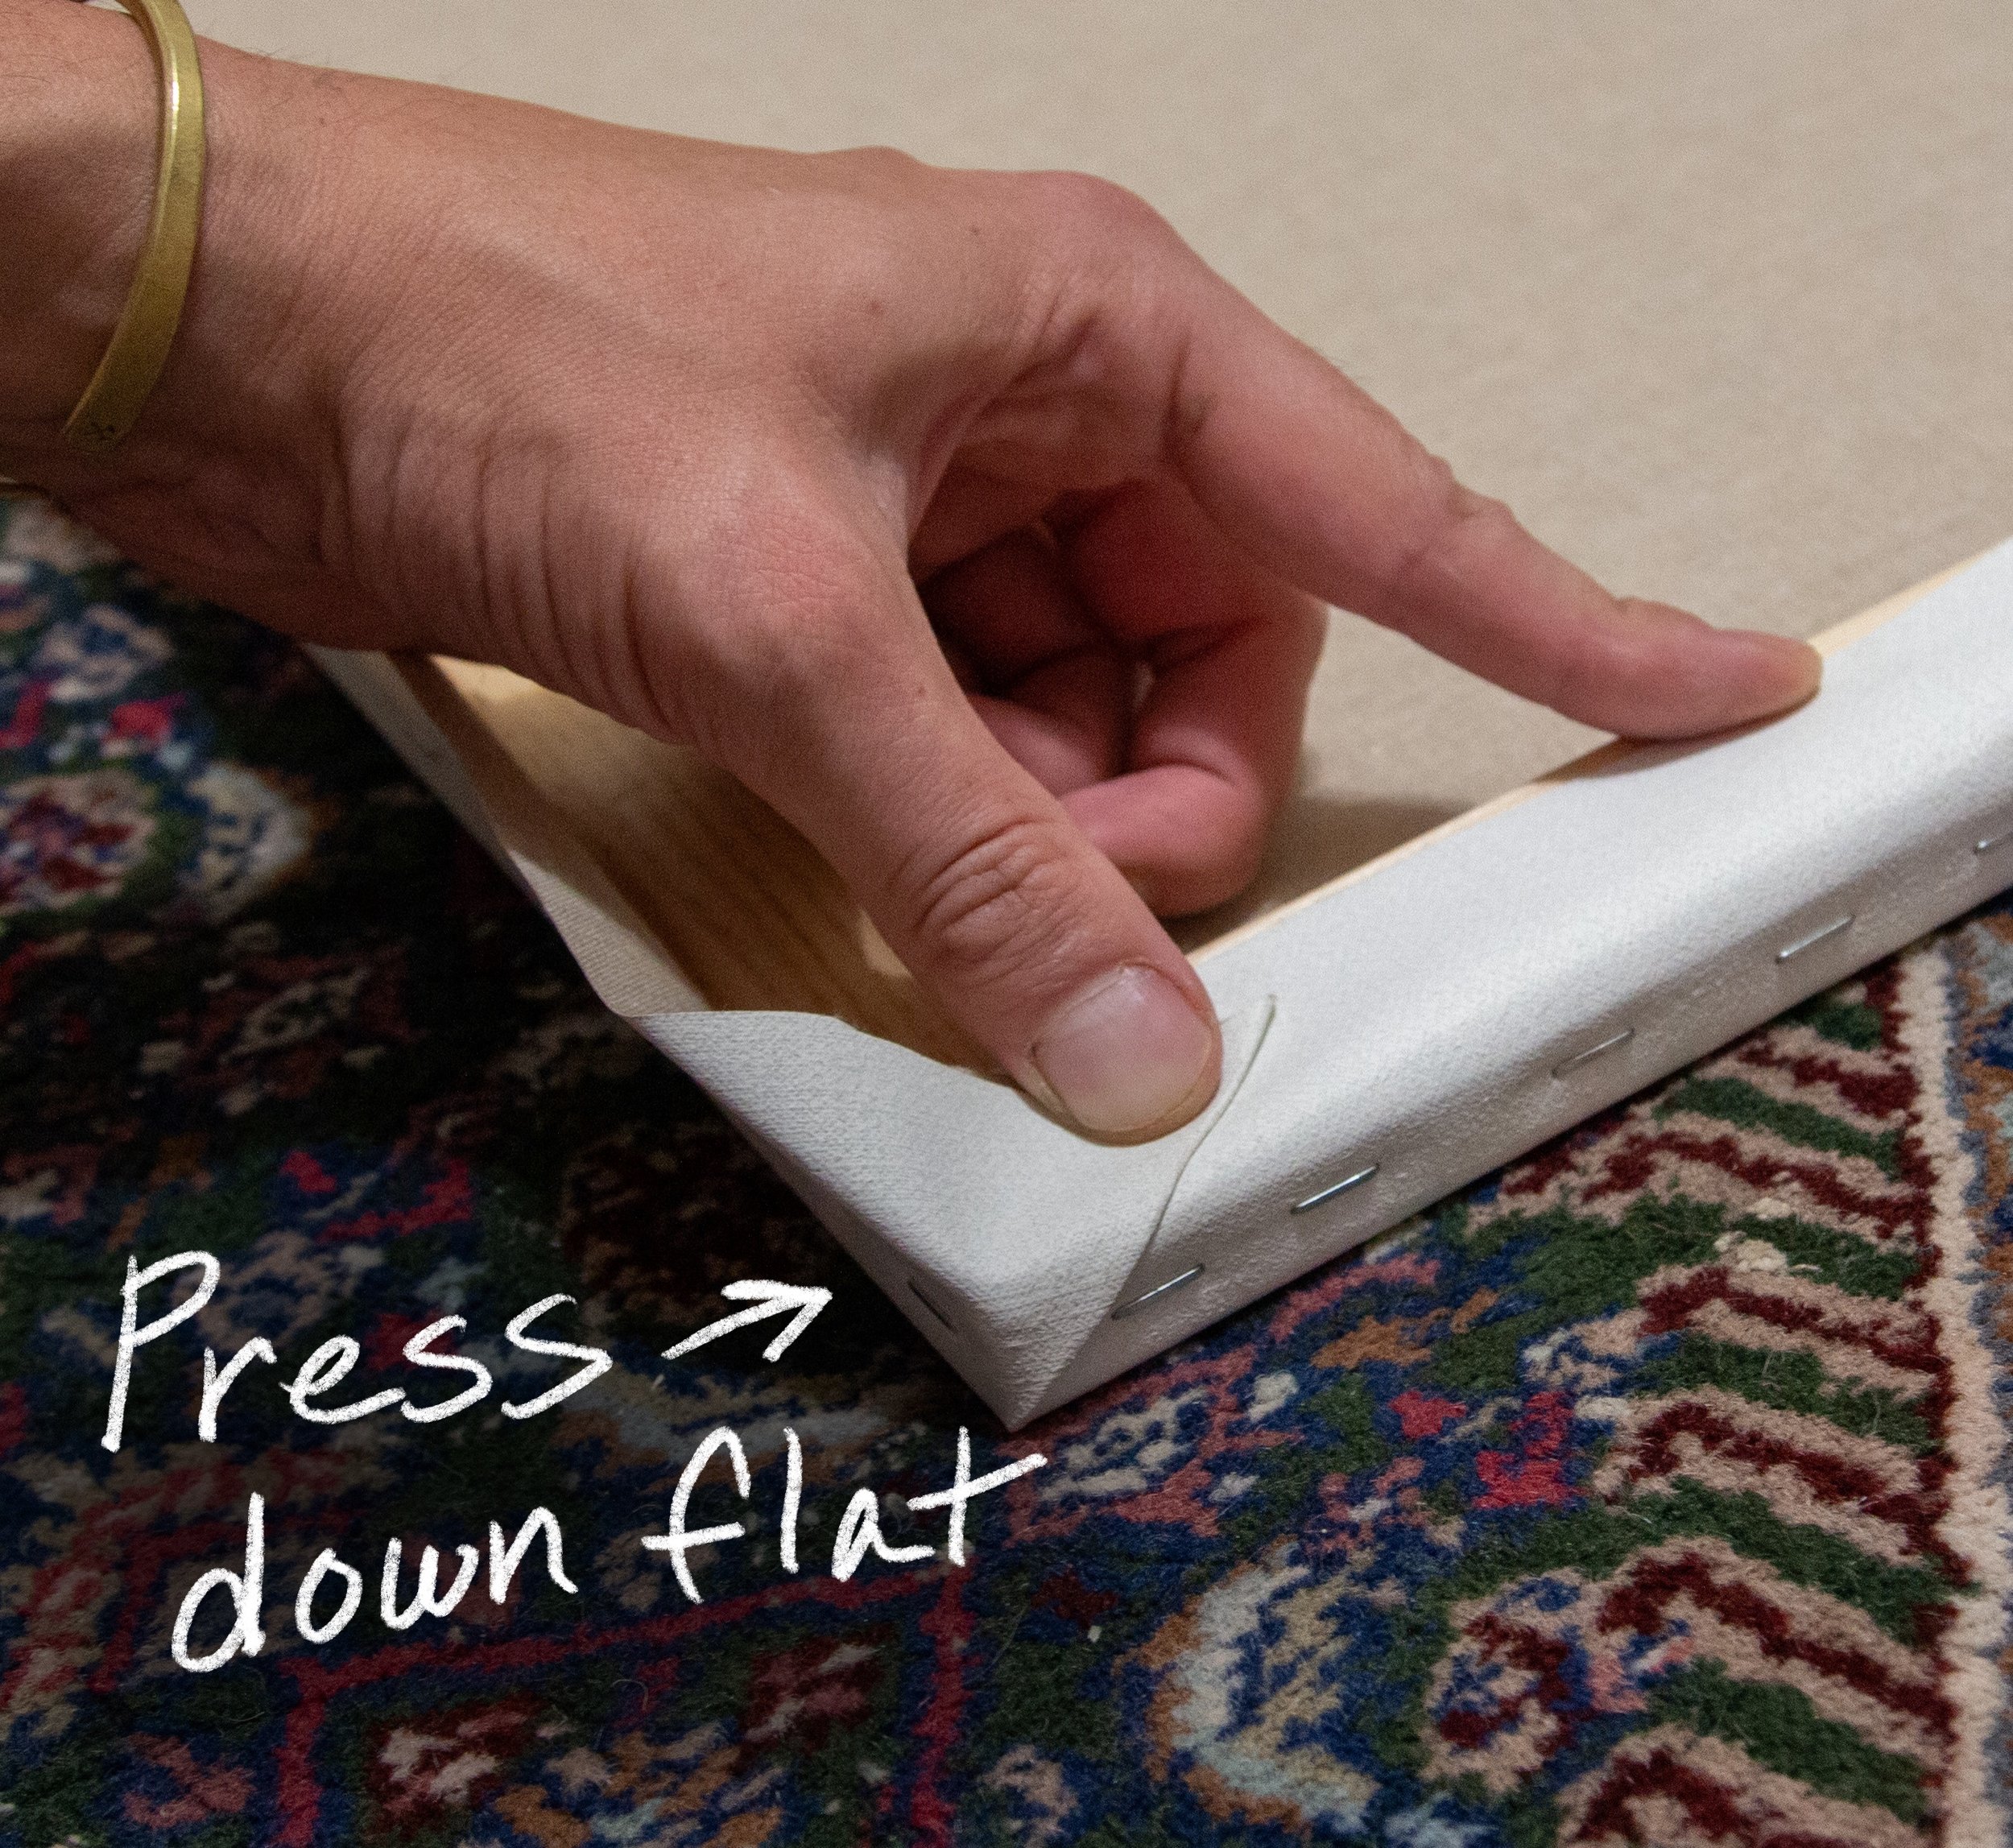
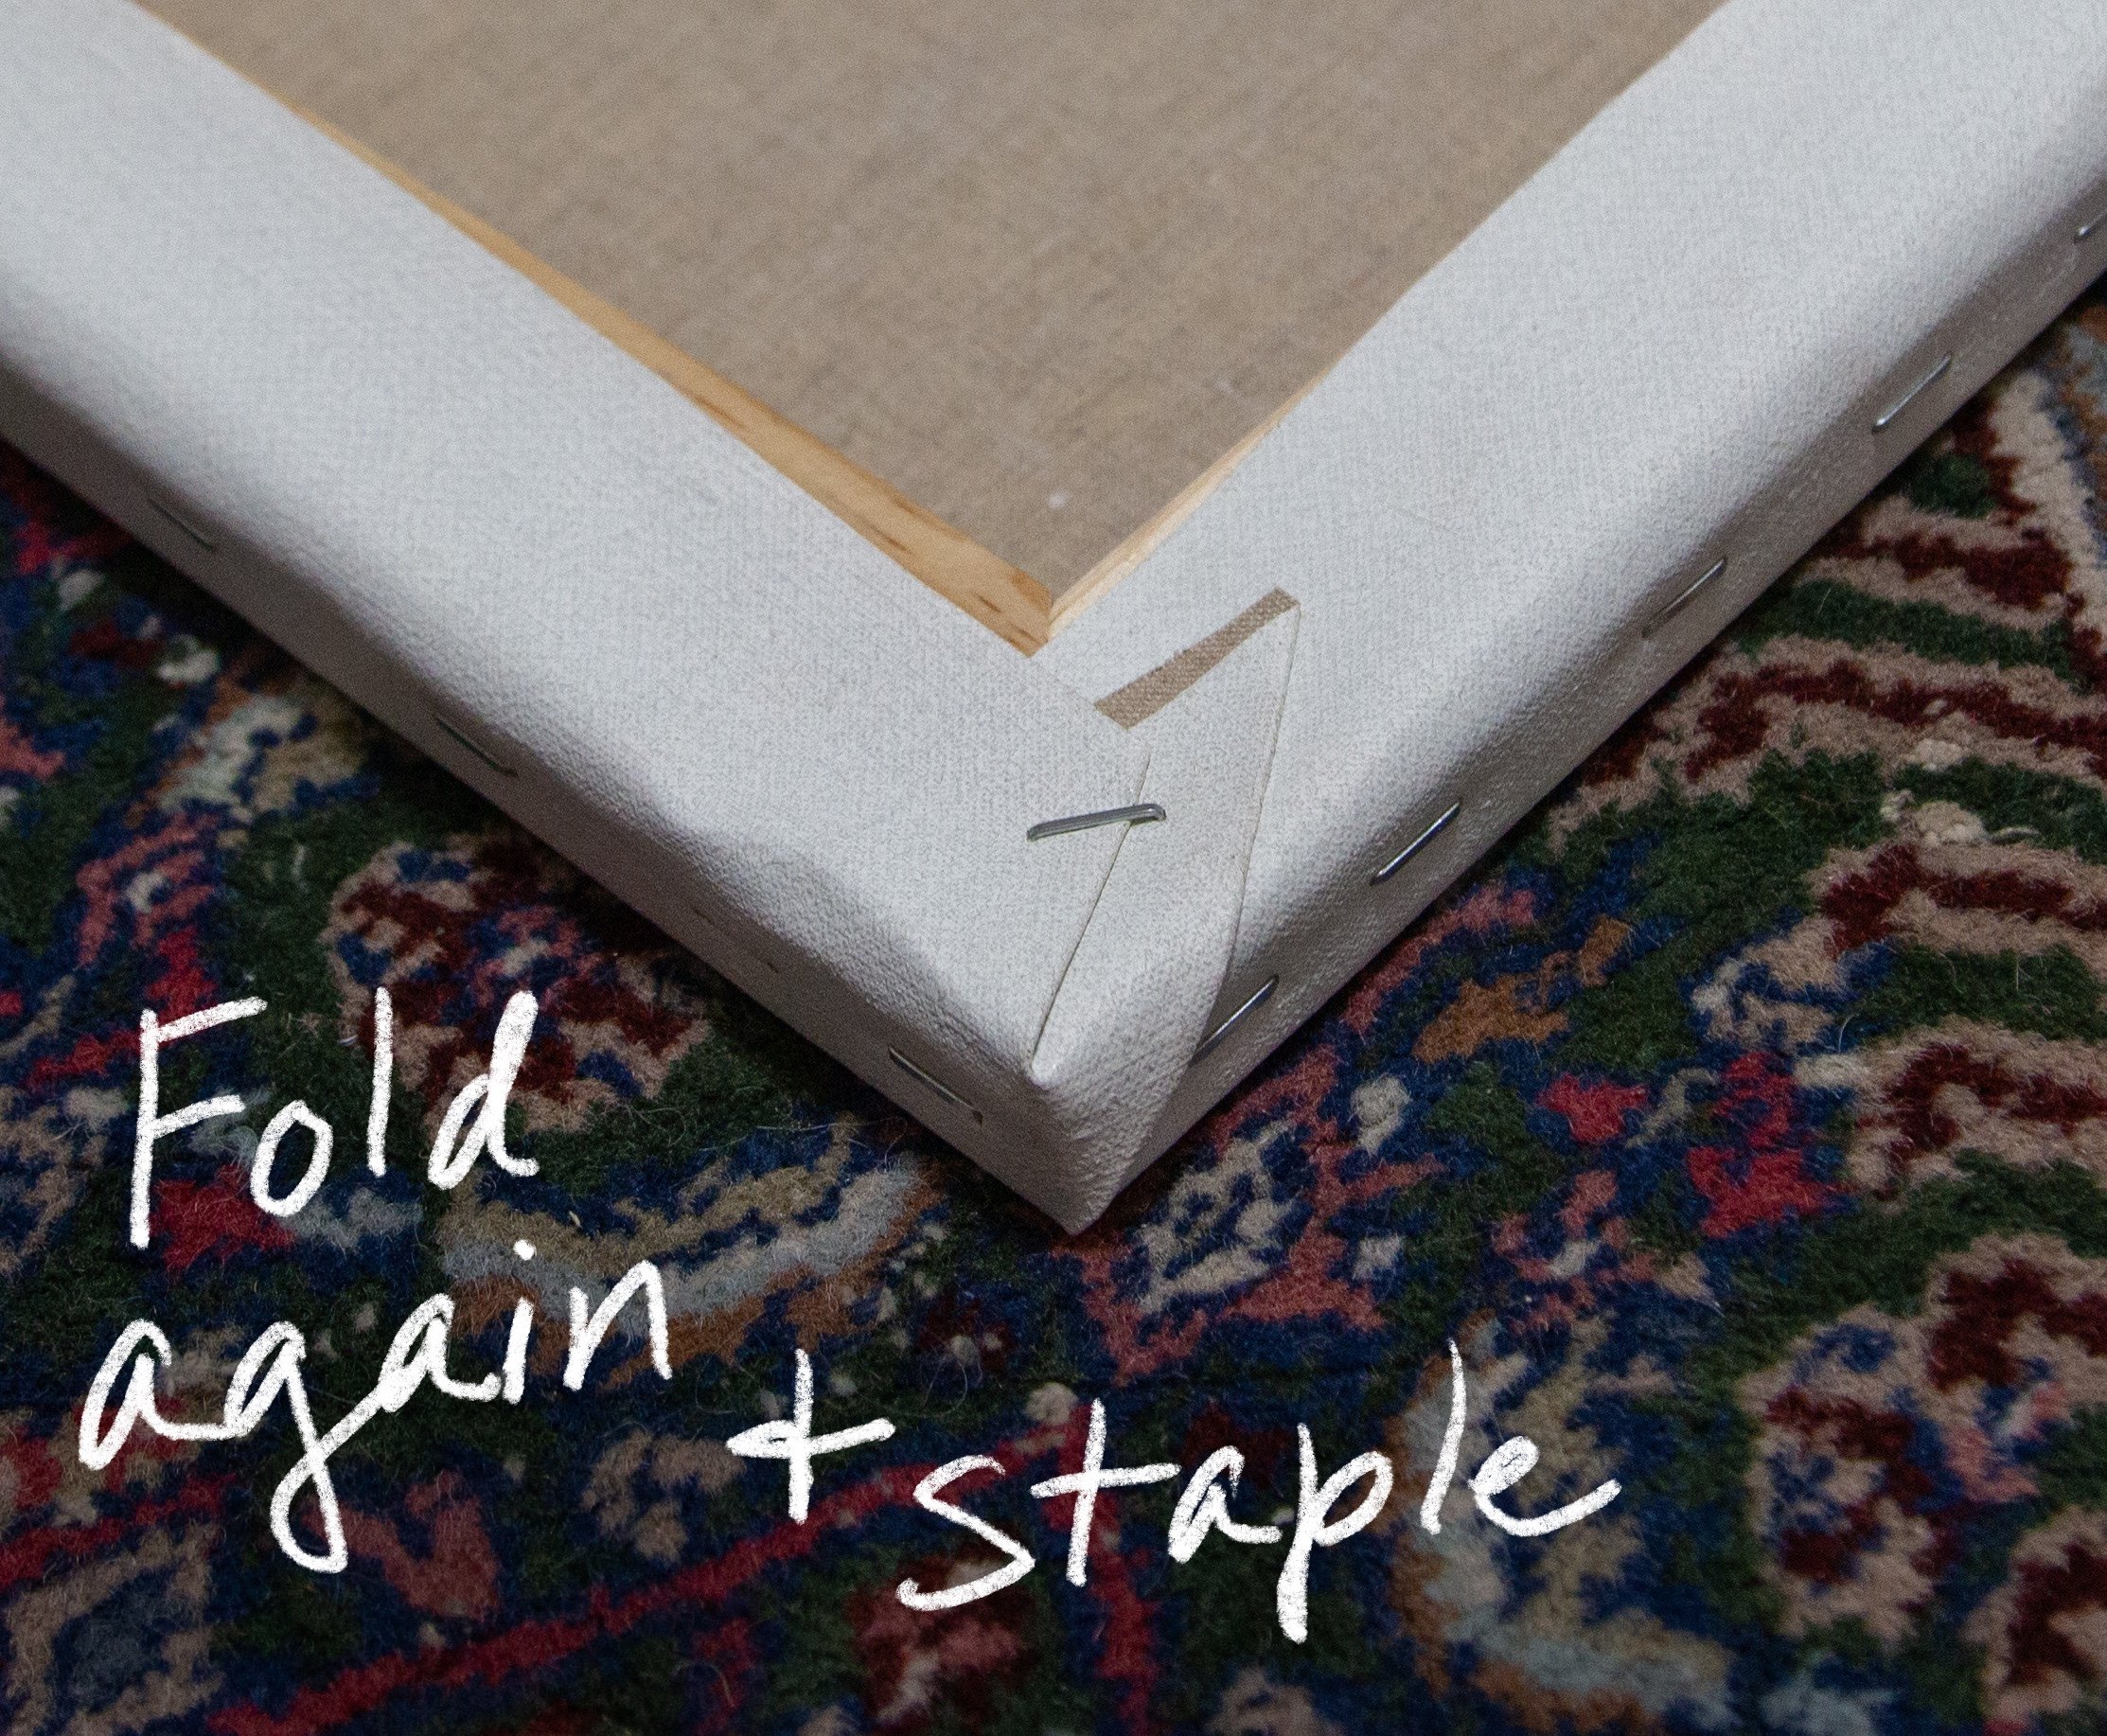
With all of the sides securely fastened into place, I can address the excess fabric on the corners. You can trim this and remove any unwanted linen, but I like to fold it as neatly as I can and keep the excess attached. Again, thinking long-term I want the option to have the painting re-stretched if it ever needs to be, and any additional canvas will only make that more possible.
HOW I FOLD MY CORNERS:
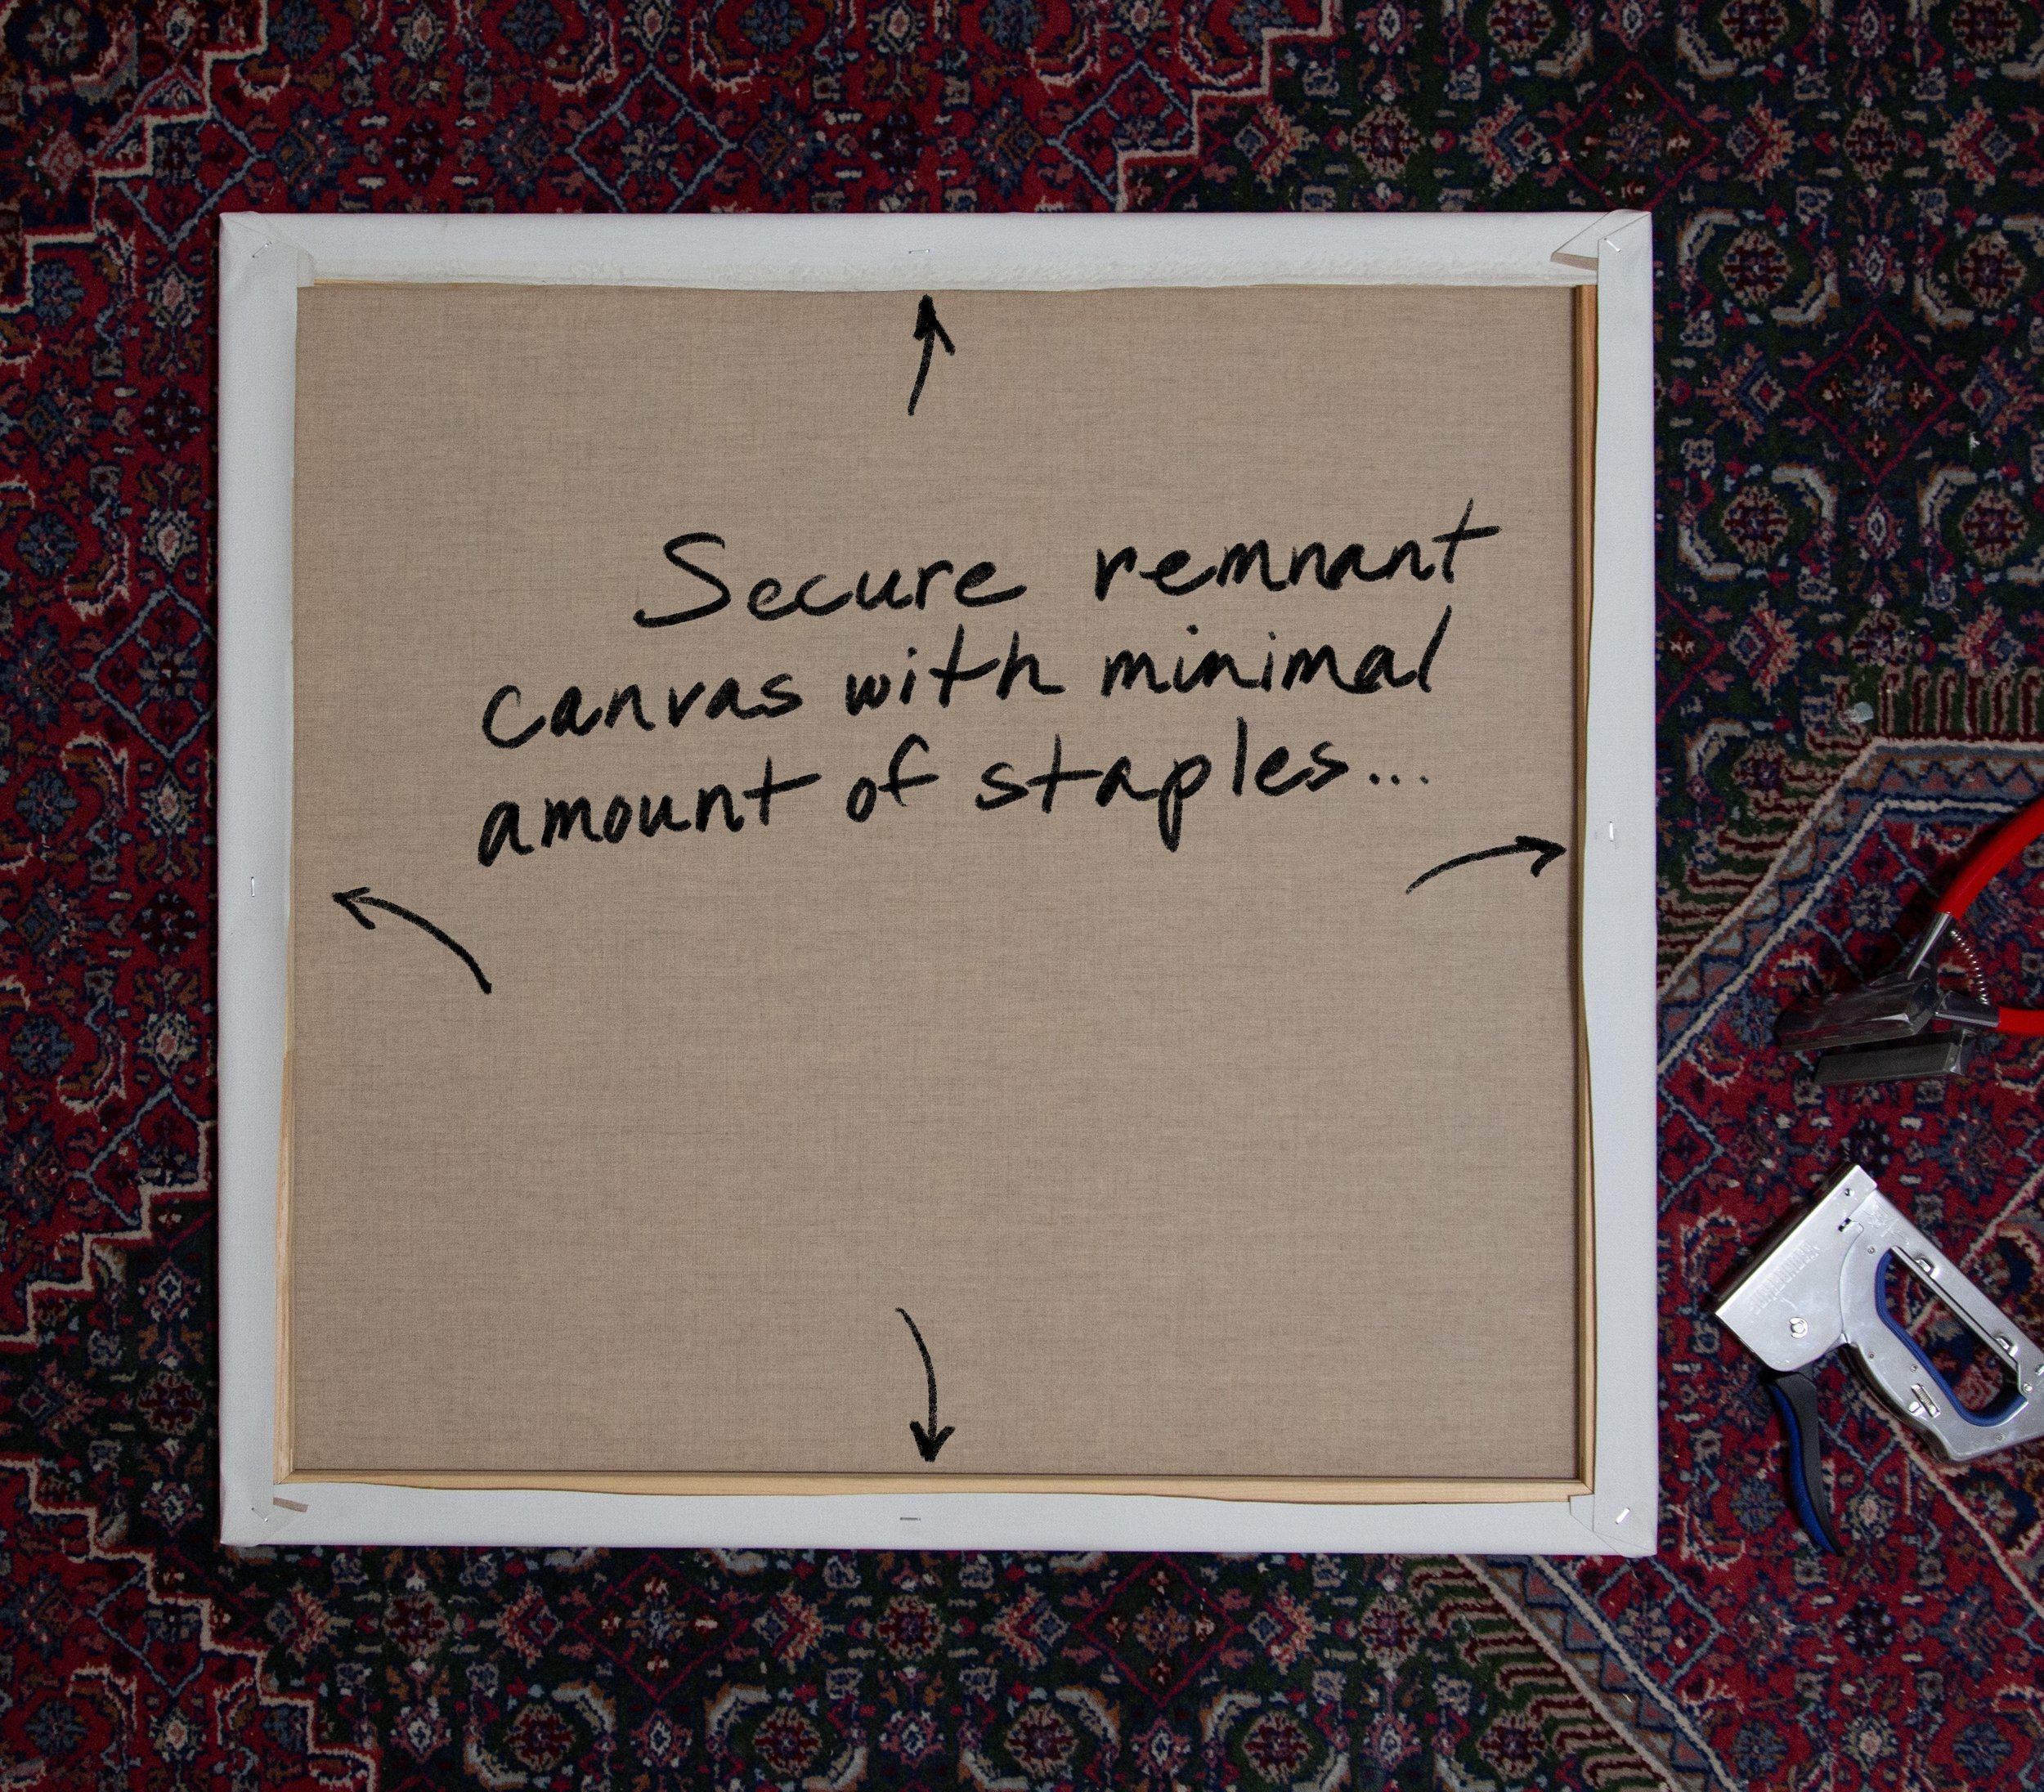
I like to keep the excess canvas secured down a bit, so I usually add a staple or two to each side. It doesn’t need more than that, but this will keep things tidy without the headache of having so many additional staples to remove if it ever needs to come up.

